Redecorating your beautiful haven, switching up the mood, or simply adding a little color or edge, large wall picture frames are always a go-to. They help transcend your ideas into concrete visuals.
But oftentimes, buying ready-made picture frames can feel constricting, and many times customers find it better to match their pictures to the frame rather than the other way around. Not to forget the huge amount we’ll end up paying.
The modern user is trailing their own paths, making custom frames with these cool DIY picture frame ideas. With just a bundle of cheap and common stationeries plus this simple and easy tutorial, you are well set to design and build your picture frames that represent your unique personality.
Here are 13 different DIY picture frame ideas; classy or quirky, whatever you love!
1. Box Frame
These are multi-purpose frames that can accommodate much more than a picture. Whatever you feel like fitting in, a minimalistic art, monochrome print, or a simple pastel, these frames can make beautiful shelves in your living or hallways. Feel like changing up your bathroom or sink mirrors a little, use box frames and make extra space for handwashes or face cares.
Instructions for this DIY Picture Frame
- Place the picture on the plywood and take apt measurements
- Cut the wood accordingly.
- Make sure all four sides have equal width.
- Polish the frame.
- Secure the corners using fasteners and glue. Sand the holes after using filler.
- Slide the mirror or plywood containing the picture into the frame. Secure using fasteners.
- Use proper hooks to hang the frame.
2. Floating Frames
Don’t you want your pictures to feel suffocated in their glass cages? Build them some floating frames that blend into the picture. Made using softer wooden bases that are stained or matched to suit the background of the art, the frames stay seen but not demanding, giving the pictures the edge and attention they need.
Instructions for this DIY Picture Frame
- Measure the wooden pieces apt for the picture.
- Cut the wooden pieces.
- Make sure the dimensions are correct.
- Drill pilot holes to insert and secure the fasteners.
- Fill the area with wood fillers and polish using sandpaper.
The absence of a glass cover gives a much more realistic and warm experience yet offers little protection. Hence these frames are advised to be used in areas of lesser exposure.
3. Wood-Burned Frames

Rather than giving your wooden frames custom details, wood burning is extremely satisfying. Much loved among craft enthusiasts, wood burning can demand a bit of your time and attention but result in a cool skill with pretty amazing outputs.
Using a commercially available wood-burning set, you can just grab a piece of wood, doodle your imagination using the lighter touch and just have fun in the process!
Instructions for this DIY Picture Frame
- Creating a design using computer software or just downloading your favorites
- Getting the design printed on a paper fit on the wood
- Transfer the design onto the wood using a transparent paper
- Burn away!
PS: Be careful with the hot pen and take breaks if you want. And even if you get some burns wrong, it simply adds to the texture.
4. Washi Tape Gallery Wall
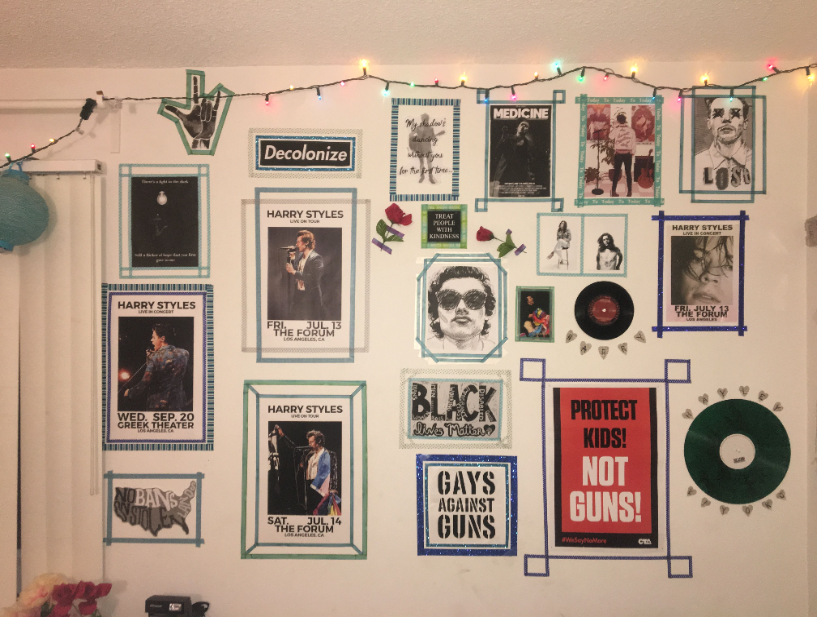
If you are looking for way less commitment, here is a fun alternative. Washi tapes are so cool to work with as they are removable from wood and wall surfaces.
So if your temporary personality decides to go on a wholly different ride, these tapes can be a fun temporary frame for your new wall stickers and be taken out the moment that regrets kick in. They are extremely useful in apartments where permanent wall designs are not allowed.
Instructions for this DIY Picture Frame
- Select the picture of your taste. As these are directly pasted onto the wall, wall stickers or slim posters can be used.
- Decide the dimensions of the frame as per the dimensions of the picture.
- Take a long scale and pencil to sketch out the dimension on the wall.
- Cut out the washi tapes and stick them properly as per the drawn sketch.
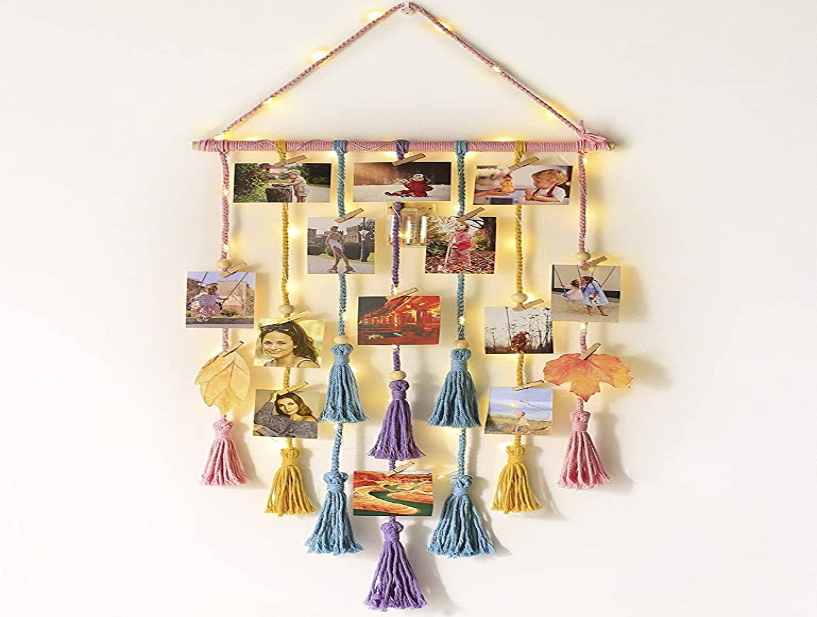
5. Clothespin Frame
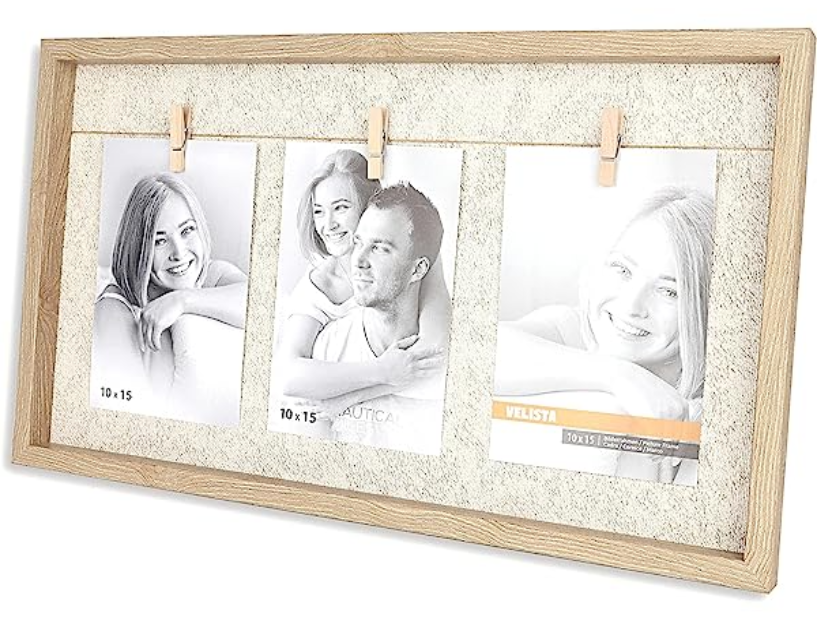
Picture walls are trending around the world, and if you are thinking of creating something similar to assemble your gram-ready pictures, clothespin frames are ideal. If large frames are your thing, pinning around small frames inside a bigger background frame that matches the color would look great.
Instructions for this DIY Picture Frame
- Get plywood cuttings of the required size polished.
- Take a pair of small clothespin clips and glue them on one side of the plywood.
- Get the picture and hank them on the pins.
- Secure the smaller plywood frames on a larger frame to create a bigger frame of memories.
6. Wooden Hangings
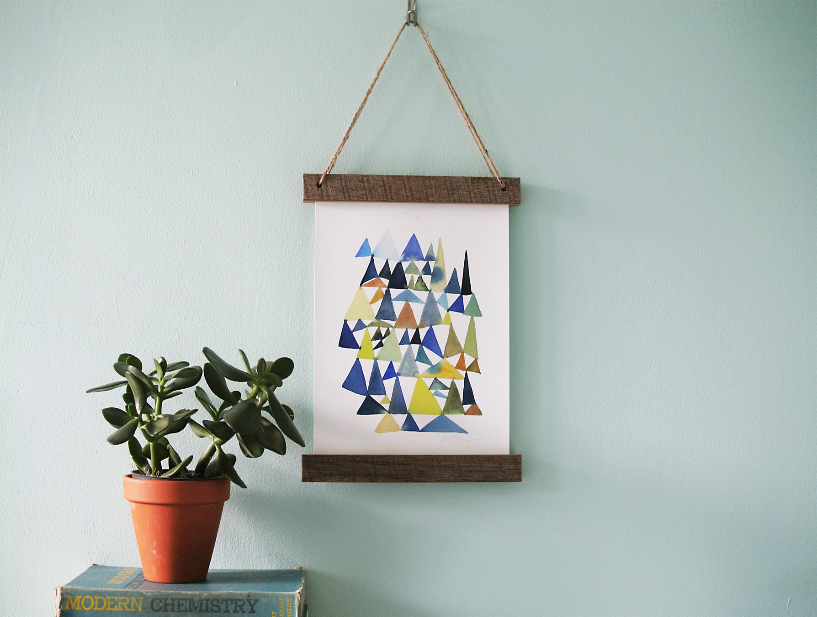
So simple to make yet much more elegant in design, fitting into almost all styles, DIY wooden hangings demand so much less than it gives.
Instructions for this DIY Picture Frame
- Cut two equally long pieces of well-polished wood. Take the thickness of your need.
- Mark and drill holes on each side of the top piece to insert the rope. Tie the rope, and secure it with glue if necessary.
- Select a vertical picture art of your choice.
- Now place the picture onto the wood such that a small piece of it stays in the wood just enough to sustain the weight. Paste it on both wooden pieces using hot glue.
7. Pallet Picture Frame
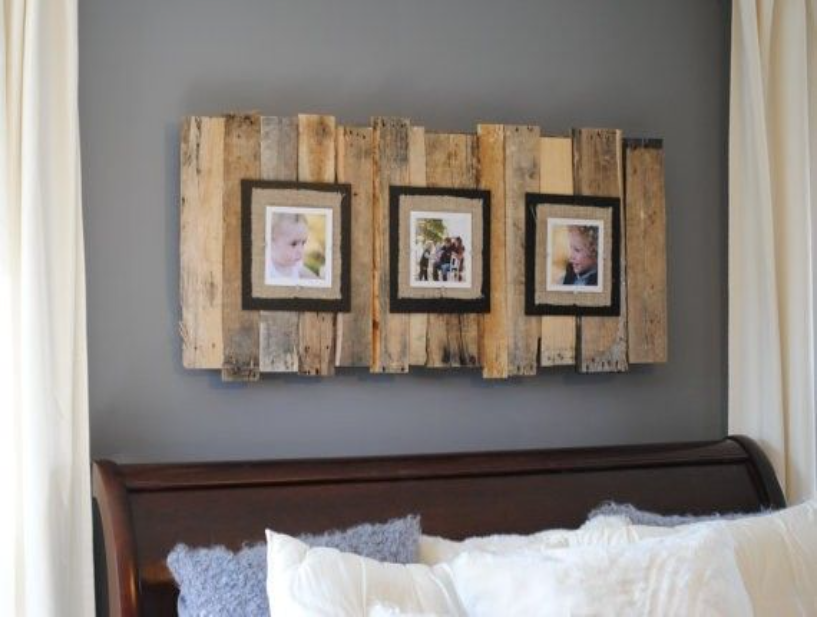
Set to bring a rustic feel to the house; the pallet picture frame is as raw as it sounds. A technique of using palette boards with merely any finish to bring on the medieval aroma, with paper cutes of pale pictures directly pasted (transferred) onto it.
Many transfer glues are commercially available for this purpose. Other than that, these frames can be made with minimal items following these simple steps:
Instructions for this DIY Picture Frame
- After cutting out pallet wood planks from a desired wooden sheet, glue them together with near-order errors to preserve the rawness.
- Clamping them and letting them dry, secure them with support nails.
- Cleaning the pallet thoroughly, get the picture on the board by covering it with the transfer medium over the frame. Let dry.
- Using sandpaper, edges can be scratched off a bit to go with the whole mood.
8. Fabric Paintings
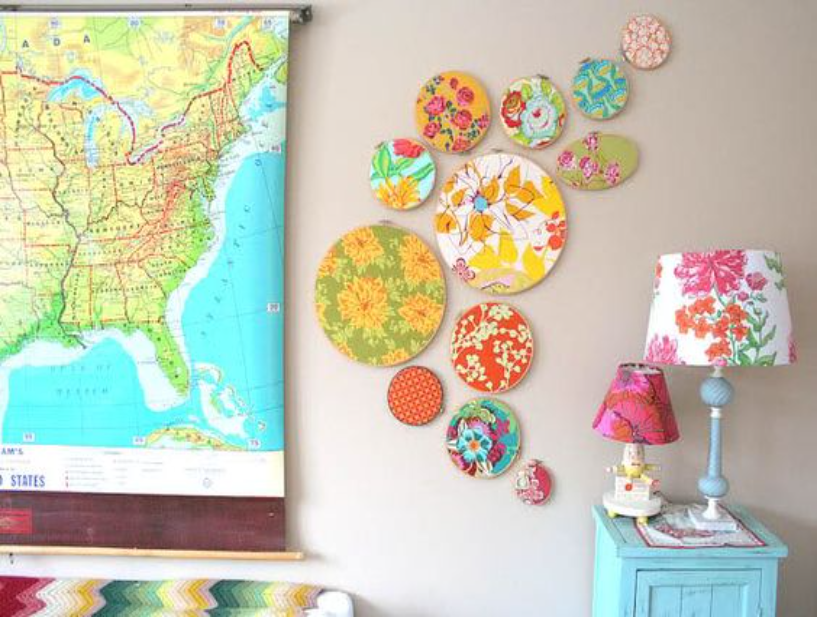
Fabric paints express a wide range of styles and can be very bold pieces on your wall hangings if chosen rightly. Whether you are a fabric painter or just found a piece that felt right, follow these steps to get them on your wall:
Instructions for this DIY Picture Frame
- Find the perfect piece of fabric-painted art
- Get embroidery hoops in your desired sizes. Get out of the conventions and find rectangular hoops of desired sizes.
- Get the picture tightly wrapped in. Cut out the extra fabric. Secure the remaining cloth using glue if required.
- Hang them on nails in your favorite spots.
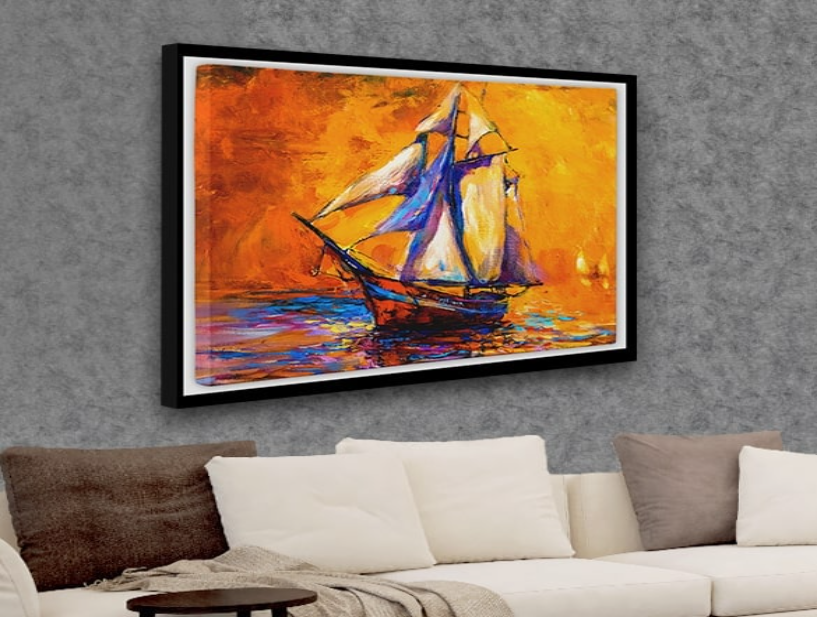
9. Painted/Custom Frames
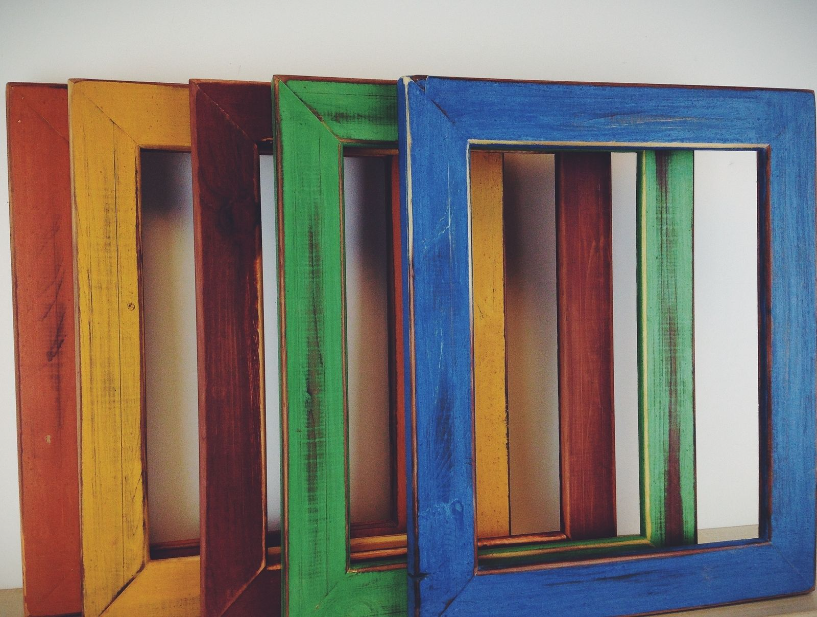
Let’s get a little crazy! Custom wooden frames are an excellent chance for you to just go with the flow and experiment with random ideas to adore your frames. Whether you go all the way with glitters and colors or you stick on with old gold rustic ways, you can’t go wrong.
Instructions for this DIY Picture Frame
- Select a wooden frame of your need. You can either buy one or simply make one if you are enthusiastic.
- Get a bunch of wooden paints of your choice.
- First, sketch out the desired designs on the wood with a pencil or such.
- Now paint the long draft.
- Let it dry.
- Mount the picture within.
10. Scroll Hangings
Not much different from wood hangings, scroll hangings also give a size-independent style to your home. As the scroll requires wrapping support, cloth art rather than paper paintings are ideal. But paper art can also be hung using lighter alternatives for the scroll.
Instructions for this DIY Picture Frame
- Take a pair of PVC tubes for the scroll weight.
- Select a cloth art of your choice and equally stitch both ends inside to create a pocket for the pipe.
- Insert the pipe
- Drill two holes on the top pipe for hanging rope
- Insert the rope and secure it.
11. Framed Chalkboard
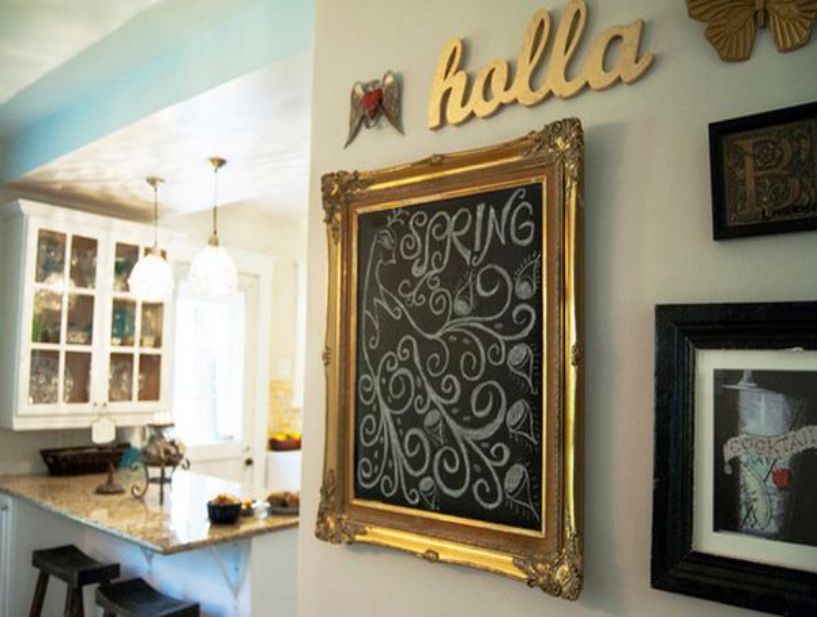
Framing chalkboards is a great way to lighten up your living spaces. Rather than just being visually pleasing, they also have the added advantage of being the family notepad. Essentially a frame where you decide what to put in. Use this method to bring home one:
Instructions for this DIY Picture Frame
- Select an appropriate area to fix the board.
- Paint the area using black chalkboard paint. Make sure it’s thick and properly dried before moving on to the next step.
- Fix a custom frame.
- Write up!
12. Acrylic Pictures
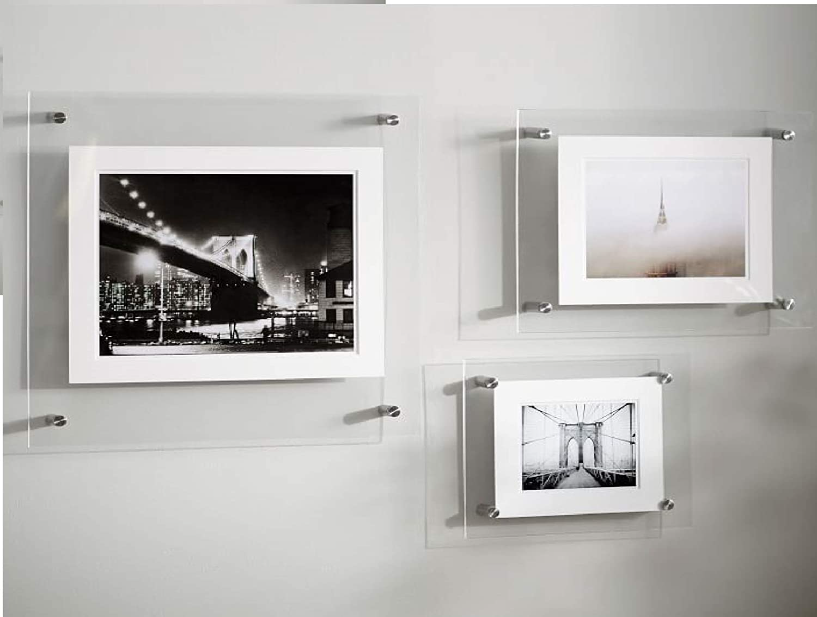
Acrylic sheets are a great way of hanging no non-contact frames and using Sugru, a moldable glue, paintings can be hung with no contact and no drill.
Instructions for this DIY Picture Frame
- Get a pair of acrylic sheets and the art you want. You can also insert aesthetic leaves or flowers.
- Get pea-sized pieces of Sugru on four corners of one sheet and attach both sheets together. Make sure they are squished tightly.
- Now get Sugru on the four corners outside the sheet to fix them on the wall.
- Let dry for 24 hrs.
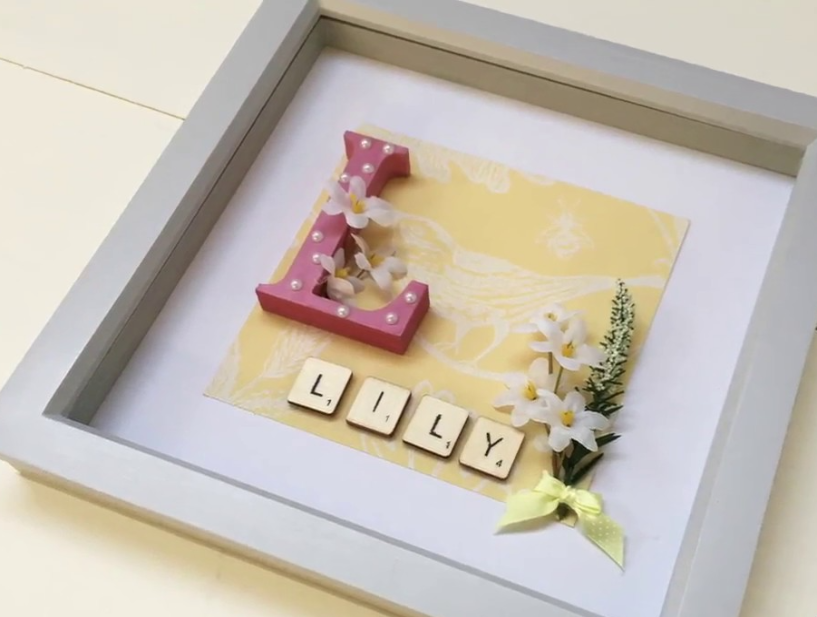
13. Cheap Wooden Frames
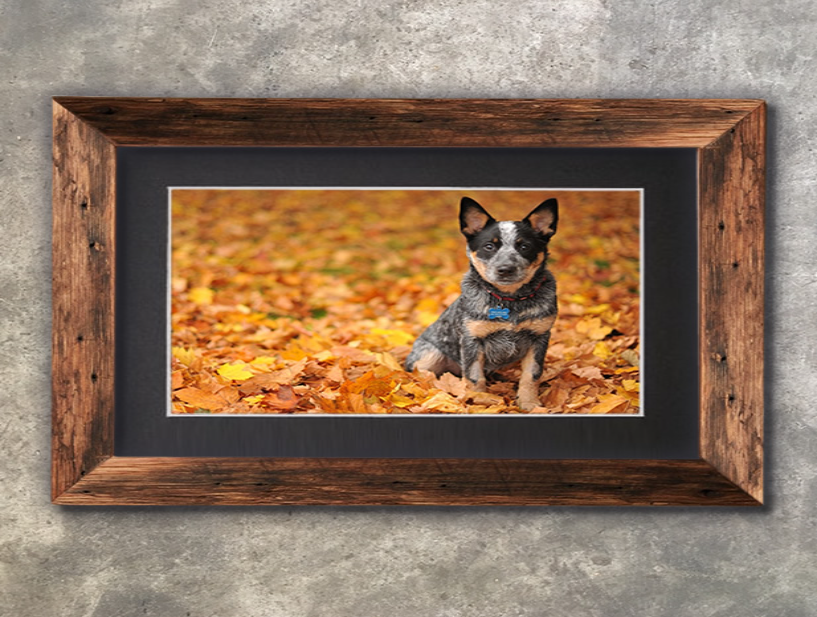
Last but never ever the least, cheap wooden frames of simple designs never disappoint, no matter what. Learning to make one would be the basic step toward DIY picture frames.
They are humble and are moldable to any style of the user’s desire, made with readily available stationeries and easy, so easy to make.
Instructions for this DIY Picture Frame
- Take proper measurements of the mounting board (⅛” chipboard), matt board, glass, and picture to be framed. Plexiglass glass is commonly preferred to reduce added weight on the already heavy frame.
- Paste an acid-free paper the size of the picture on the mounting board using acid-free glue to avoid damage to the picture due to contact from the board.
- Paste the picture over.
- Prepare the wooden frame edges by cutting triangular grooves to accommodate the corners.
- Assemble the frame using a wood gun. Secure it with a corner clamp and let it dry.
- Now for the final assembly, drop in the glass, matt board, and mounting board one by one into the frame kept inside out.
- Use a screwdriver to push the glazing points into the wood.
Final Thoughts
These are just the beginnings of what you could do with a piece of wood, glue, and a nice picture. From simple clip hangs to large custom statement pieces, the sky’s the limit for DIY picture frame ideas.
Rather than spending tens and hundreds on decor frames that do not justify your energy, getting DIY frames can curb your creativity and help express your emotion.
Before starting on a frame, think about where you want this frame, what specific emotion you want it to convey, how much wall space you think it deserves, and what kind of art it will hold.
And if you feel like this is not your thing, always hop on the Amazon links provided and find our recommended matches.