Are you excited about getting brand-new cabinets but not so much about the price?
Here is an easy beginner-friendly tutorial for painting kitchen cabinets white, with tips and tricks along the way. Thinking about a little elegant makeover for your lovely kitchen but doesn’t feel like the commercial price rate suits your budget or needs?
Or.. do you just love getting your hands dirty?
Whatever the reasons might be, if you are on a journey of painting kitchen cabinets white, we have just the thing for you. With this beginner-friendly tutorial, anyone can make this journey themselves, reaching the other side with a brand-new kitchen and invaluable self-satisfaction. Here are a few tips and tricks along the way. You can modify your cabinets with readily available tools and a little bit of patience.
Things to Take Care of Before Painting Kitchen Cabinets
1. Prepare the Materials Required
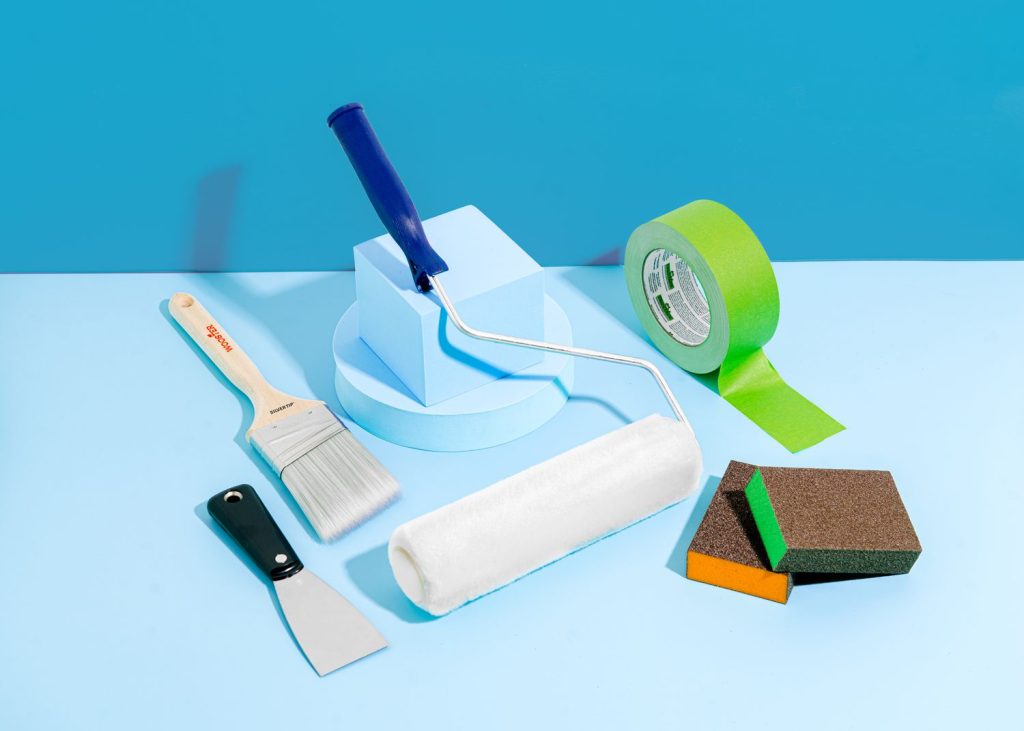
If you already have a little tool room on your own and have done painting jobs before, you are good to go in the case of basic tools. If not, get basic tools like sandpaper, rags, sanding blocks, plastic wraps, paper sheets, a small tool kit for hardware removal, etc.
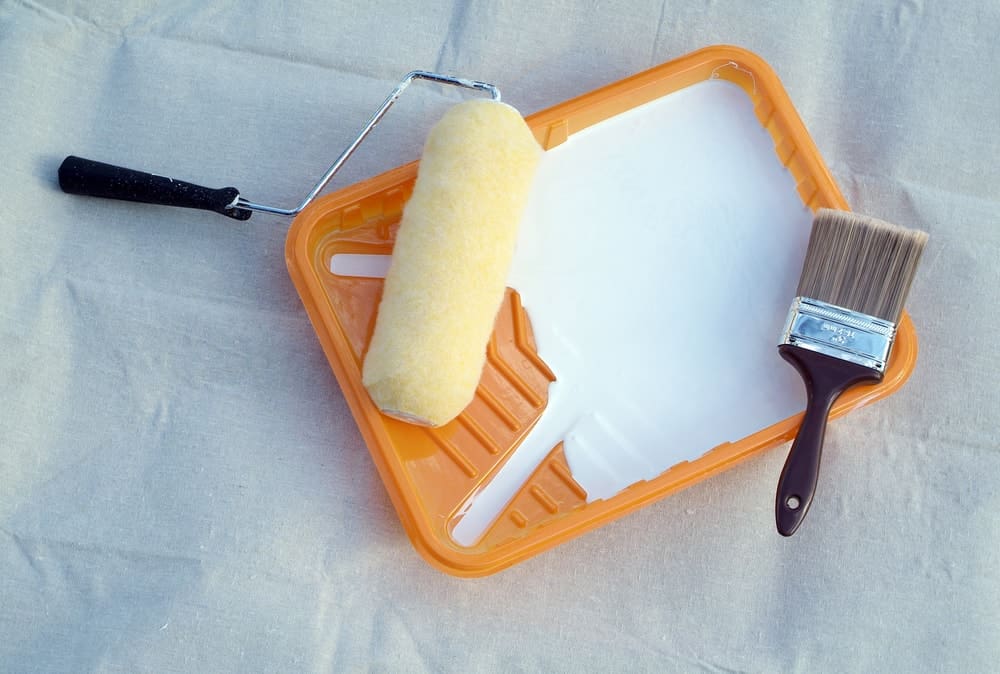
Firstly, buy a quality brush. For common cabinets, a 2-in brush would suffice. Maintaining it properly will make it last for many jobs. Also, find proper stools or stands to keep the items while painting.
2. Type of Primer
Finding a primer can be more tedious than finding the perfect paint because not everyone has heard a lot of types of these. Other than common primers, many go for acrylic urethane, spray primers, etc. AU cures a beautiful finish and can even be used as the final coat, whereas spray painting helps get a factory finish. Also, pigmented shellac are canned spray perfect for spot-priming areas you might have missed, having the added advantage of quick drying.
3. Decide on a Type of Paint
Even though you are going for white paint, the type of paint you use is also important. Commercially available options can be latex or oil-based paints. If you are new to the same and want something user-friendly and cheap to work with, latex-based paints are your go-to. They can easily be cleaned with water and are easily available. But it comes with a downside; they simply won’t dry. It can take up to three weeks for the paint to fully set, a situation almost impossible in a household of pets or kids.
Using oil-based paints, even though pricey, could solve this problem. They are also thick with a smooth finish that can easily cover up small scratches and indentations on the cabinet.
4. Find the Perfect Finish
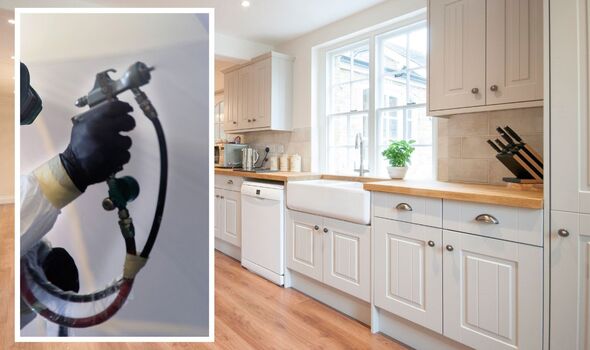
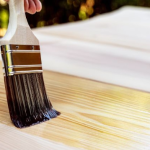
Adding the last coat of paint is important as it decides the final look of your cabinets. People go for finer brushes or spray painting. As common knowledge, spray painting is contactless and thus gives a much better finish. But it could add an extra cost of renting or buying a spray painting machine. And if you are invested enough to buy one, taping specific regions of the cabinet is also required to avoid getting paint on them.
Hence if you end up opting for finishing with finer brushes, use natural bristle brushes for oil-based paint and synthetic bristle brushes for latex paint.
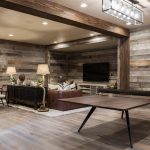
5. Get the Scene Ready
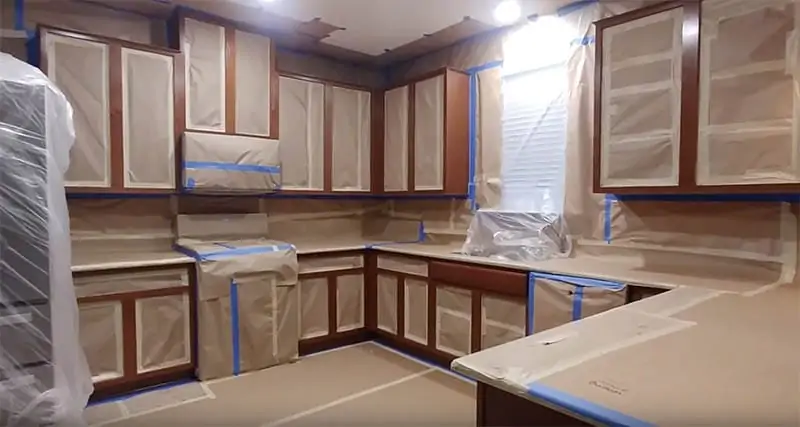
Before you jump into the anarchy, remember these are places you will want to come back to. So make sure to empty the cabinets and related areas. Cover up the floor and other regions around the cabinet that could get paint on them.
Also, move the nearby furniture the area to make room around the work so that you won’t stumble onto them while painting.
Steps to Follow While Painting Kitchen Cabinets White
1. Get the Station Ready
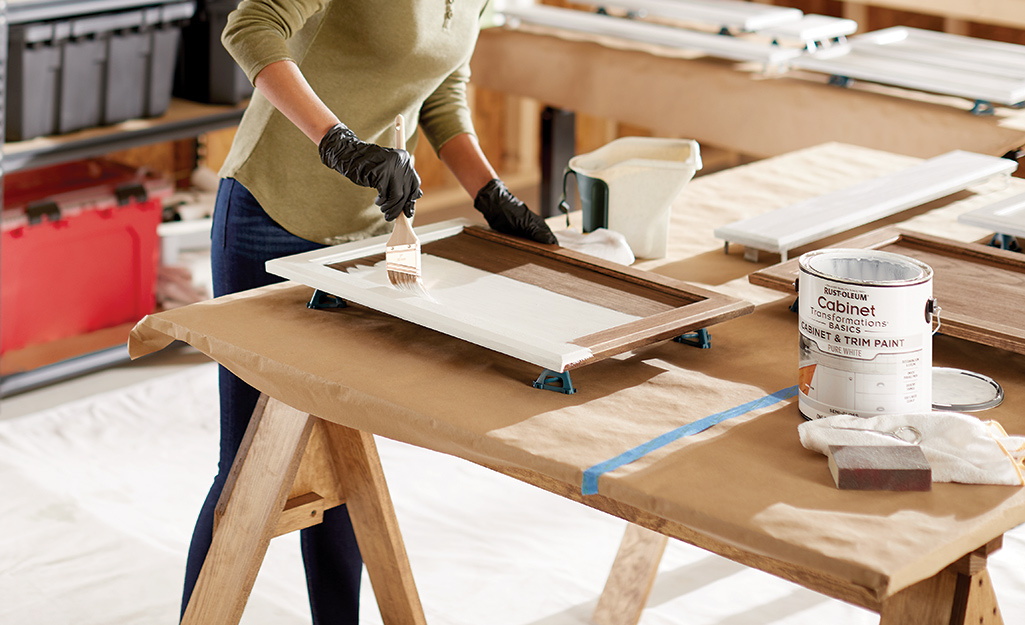
Even if you are new to the game and have no fancy tools in your possession, make sure to prep a proper workstation. This ensures a calm working environment and productivity. The workstation is expected to be away from areas of common usage so that you do not spoil anything during the process or let anyone else ruin your space of tools and work.
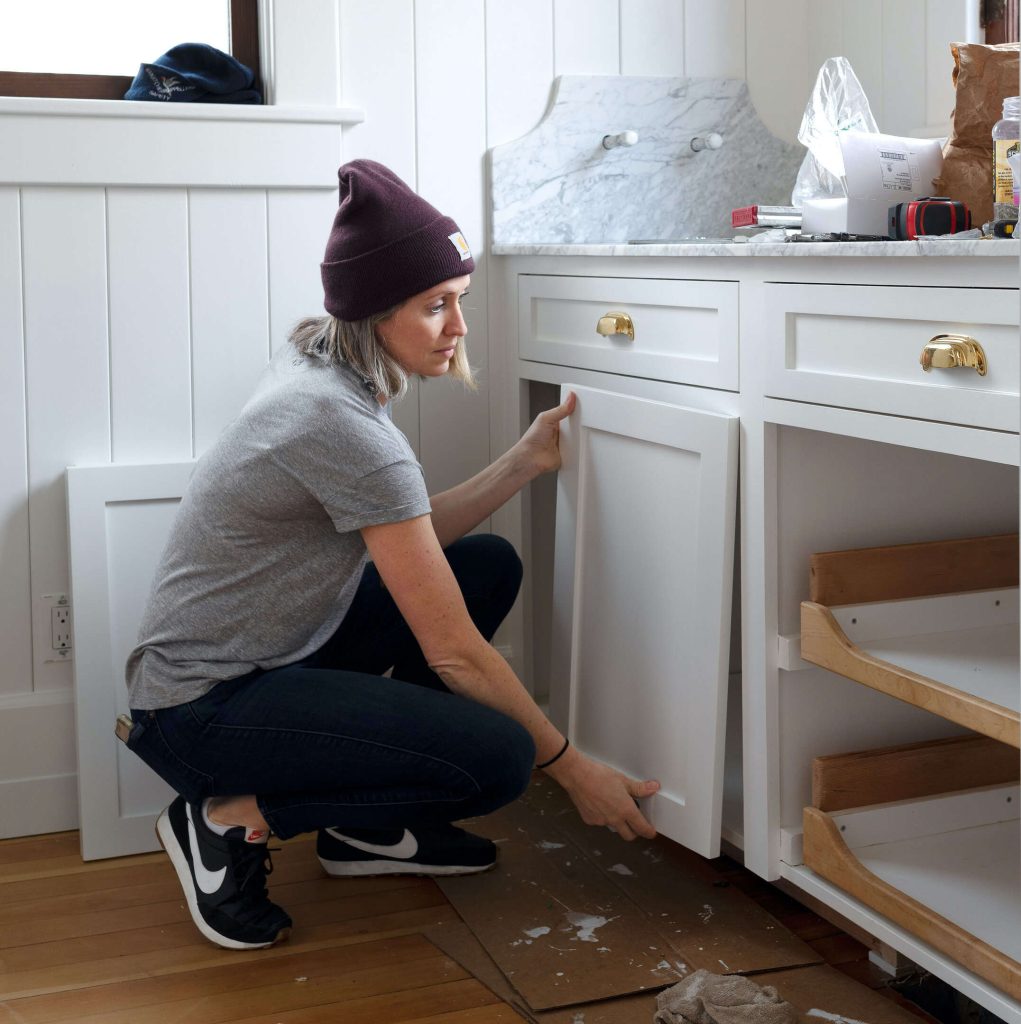
2. Remove the Doors and Drawers

To remove the doors and cabinets of your kitchen safely, follow the steps and precautions given below:
- Remove the cabinet doors one by one. Make sure to label them so that you don’t have to hustle while putting them back.
- Take out the hinges slowly and put them in separate zip bags with proper labels. Do not loose any hinges or fasteners.
- Proceed by removing the drawers and doing the same work of labeling.
3. Clean the Cabinets
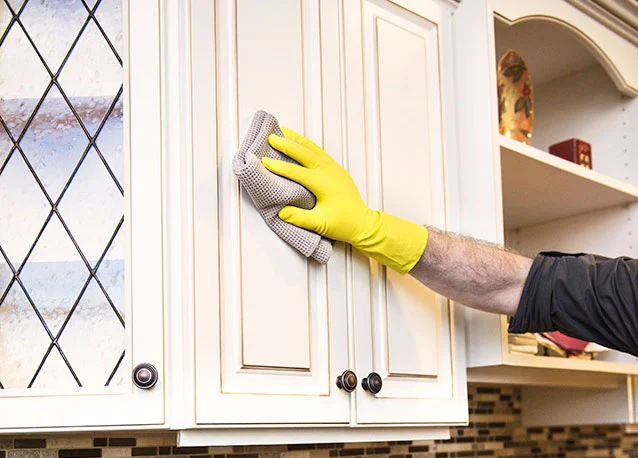
Kitchens are areas of vigorous work, and everything within is susceptible to grease or residue like food splatter. It is very important to get them off before going any further. Use a solution to scrub off the grease. You can use a common dishwasher, a solution made from one part trisodium phosphate and four parts water, or a dedicated grease remover like a TSP substitute.
Wash off the solution with clean water and rub the cabinets clean with a dry rag.
4. A Little Rough Around the Edges
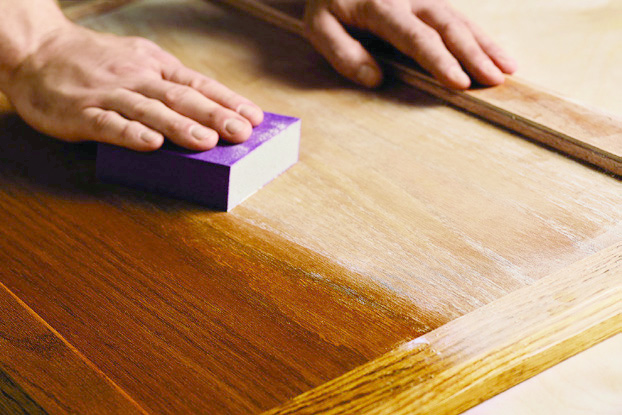
For the paint to actually stick to the surface and also to avoid cluttering the new paint with the old one, you can slightly roughen the cabinet walls with sandpaper. If the walls are smooth with a factory finish, use 120-grit sandpaper. If it’s rough from an old job, go for 100-grit followed by 120-grit. Wipe down the areas or use blow dry around corners to get the residue out.
Remember, don’t go overboard with this, or you will end up ruining the wood.
5. Degloss
Use a commercially available deglosser on the surface. Apply using a clean rag and let dry. Follow safety measures while carrying out the process; put on the goggles, N95 mask, and gloves for safety. Open windows for ventilation and make sure there is no liquid on the cabinet. Follow the guidelines set on the product you are using.
6. Tape Around
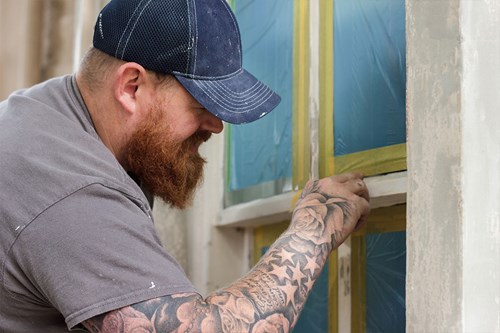
If you are unsure about the preciseness of your work, don’t hesitate to use painter’s tape to secure specific edges and corners. Tape the edges for lengths you want to protect and make sure there are no air bubbles in. Using a painter’s brush leaves no smudge after you take the tape out.
Press down the tape as you go. As it may lift or break, do not stretch the tape. Press tape down firmly with a smooth edge, like a credit card. Wait about 30 to 60 minutes before you begin painting.
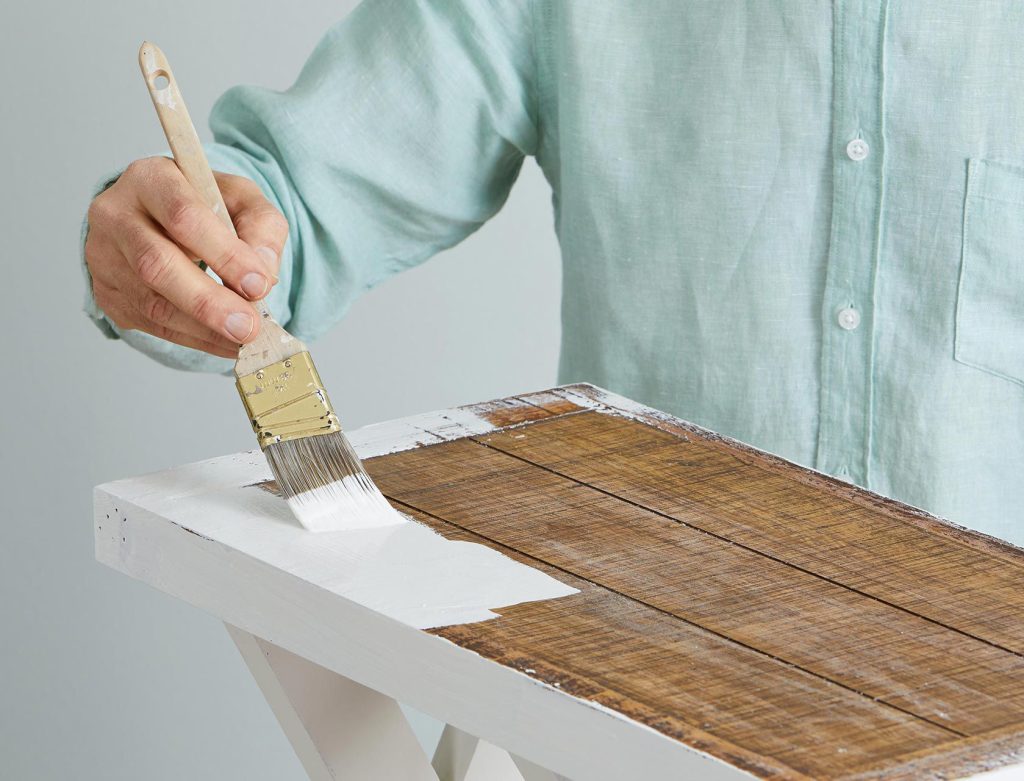
7. Apply Primer
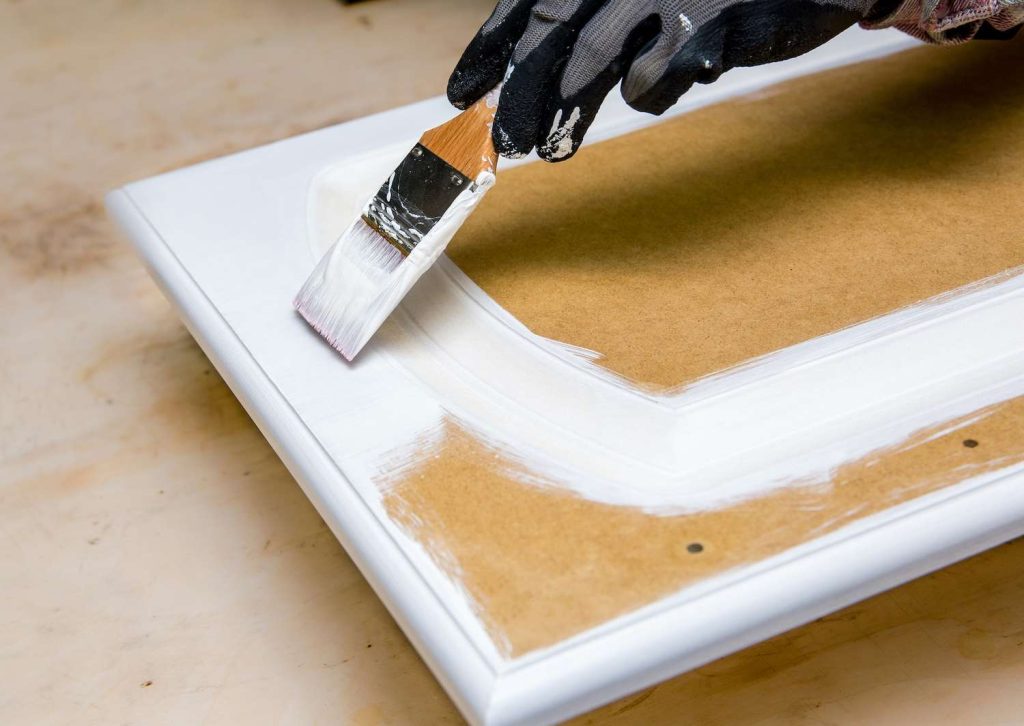
This is where painting actually begins. Choose a primer of your liking and get to work. Make sure to apply an even coating for a better finish. Commonly used tools are paint brushes and foam rollers, according to user preference.
If you are using a foam roller, make sure to use a small brush before so that you don’t miss out on the gaps or grooves. Make clean finishes on the edges.
8. Start Painting
Painting is what you are here for, and you shall have it… in time. Before you begin with the painting, it’s important to:
- Choose the right paint: It’s common for readers to go for the cheapest ones available because, well, it’s just paint, right? While we don’t want to go around challenging the budget too much, we don’t want to go through this process every now and then because the paint wouldn’t last. So go for something that is moderate in both aspects. You could also get high-quality paints when they are on sale, as mentioned above.
- Strain your paint: Many of us skip this part for fresh paint. But it is always advisable to strain before using it to remove the lumps and have a smooth painting experience.
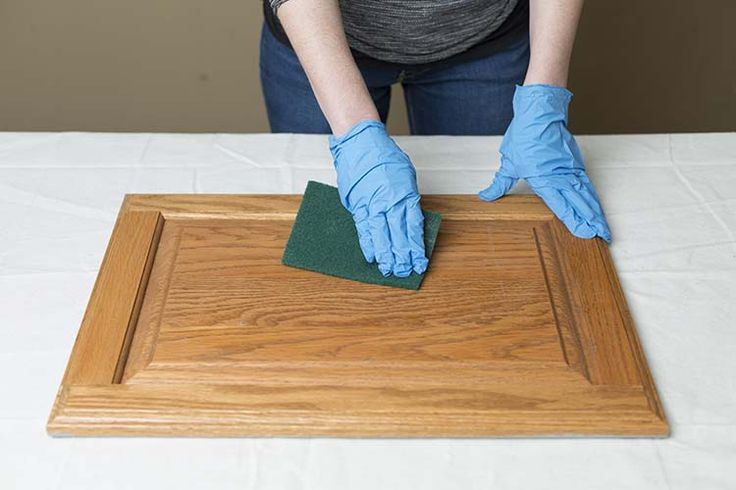
- Roughen the edges.. again: Use a green abrasive pad if possible. This will help you get into intricate parts.
Now let’s get started:
- As mentioned above, get the painting area ready. Use a paintbrush or spray type as per preference.
- Apply the initial coat only after being sure that the primer is completely dry. Try starting from the inside first so that the outside primer has more time to dry.
- The procedure is basically the same as priming. Apply the first coat. Get the corners and grooves for wooden cabinets with a brush.
- Start by painting the insides, hooks, and edges. Now go for the doors and drawer fronts.
- Don’t crowd the paint. Apply thin coats; they dry quickly and leave lesser brush strokes, avoid getting air bubbles and rough finishes.
- Be sure to dampen the brush before using it. Leave it to dry, and then apply the next coat. Take a look from various angles so that you cover all areas and do not leave out the blind spots. Four hours is at least required for the paint to dry.
- A third coat is optional and depends on personal preference and paint type. Many go for it due to the rough conditions kitchen cabinets work at.
- Let dry and clean your brushes and tools.
9. Undoing the Mess
A little bit more before you complete painting the kitchen cabinets white; now that you are finished with the job and the paint is completely dry, it’s time to reclaim the area now covered in plastic sheets and wrappers.
- Remove the wraps and tapes. Be careful.
- Get the labeled drawers and put them back in.
- Now it’s time for the doors. They wouldn’t be as simple as sliding the drawers in. Doors come with hinges and fasteners that you have earlier kept in the zip bag. Users sometimes go for new hinges and knobs or pull for their new cabinets.
- Replace any electrical outlets or vents you have removed.
- The paint would be dry, but give it time to fully cure before going all rouge on it.
- You can also go for additional improvements like adding felt feet if not already present, going for minimalist cabinet decors, or maybe rearranging nearby areas a bit to match your new addition.
Final Thoughts
Painting kitchen cabinets white, especially when doing it yourselves, can be so satisfactory and customized. Rather than just saving on a budget, it always takes you on a journey and gives you basic skills. Also, if you don’t own a tool station or a tool kit, this might be the motivation you have been waiting for.
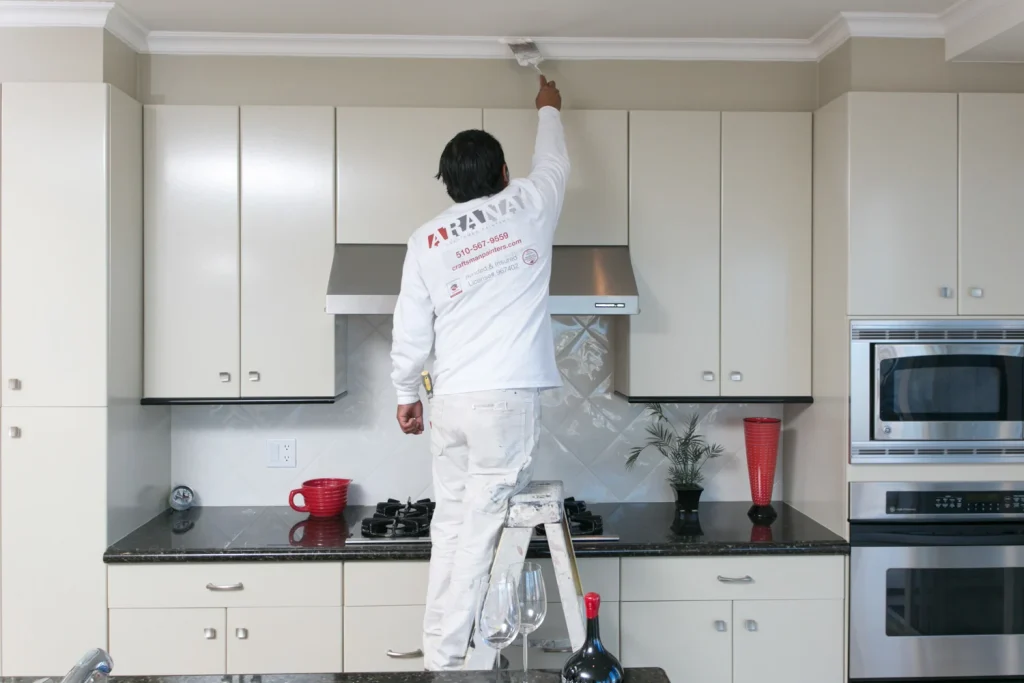
But if painting kitchen cabinets white is too much of a hustle for you, getting contracted painting, even though a little hard at the expense, can give you professional finishes.
And if your cabinet doors are so beyond a simple paint job, you could always install new ones.