If you’re thinking about organizing shoes in a smaller or more clever storing way, it is a tough task. You might get several ideas and still feel confused about where to start. What’s worse is when you are clear about the storage space you can give for shoe racks, but you don’t get DIY shoe storage ideas that are customizable for your need.
No worries. We have covered from DIY garage shoe storage ideas to wooden shoe racks, entryway storage ideas to basket-style storage ideas, multiple-tier shoe racks to narrow shoe racks, industrial-style storage ideas to wall mounts shoe racks, shoe storage cubbies to organizer trays, and more.
We curated this list of 15 clever DIY shoe storage ideas to help you store and organize your shoes in a good way.
1. DIY Garage Shoe Storage Ideas
If you are looking for a smaller shoe rack, this idea is for you. To prepare this garage shoe rack with DIY, you will need 15 metal rods to make the shoe rack rails and ten wood pieces of 1.5” X 1.5” strips consisting of six cutouts of 10 inches each and four of 20 inches.
Determine the length of storage space so that you have an exact idea of how big the garage shoe rack you want. Here we have used the four wood pieces 20 inches to use vertically to prepare the frame of the garage shoe rack. Then six wood pieces, 10 inches each, to use horizontally and fix the metal rods.
Pick up two 20-inch wood strips and attach three wood strips of ten inches to them horizontally. Repeat it for the opposite frame. Now drill holes in horizontal strips, five in each, and insert the metal rods on both ends. Your garage shoe rack is ready. Give the finishing touch and paint it. For comfort, you can change the length, so keep all other dimensions from rod length to wood frame pieces.
2. Rod Shelf DIY Shoe Storage Ideas

This style allows you to store the maximum number of shoes in the minimum storage area. So this DIY idea is best for those who want to store a maximum number of shoe pair in the minimum area. You can use the old closet frames to install the shelving in them to make them like the industrial-style shoe rack with a DIY process. You can also prepare this shoe rack by mounting the shelves directly on the wall. You can use iron rods, plastic rods, wood strips, or even wood sheets.
The idea is to fix the two rods together in a smaller rod at ninety degrees and mount all three of them on the wall. The one pipe-style shelf is ready. Repeat it with the other rods. For a more professional approach, you can use the double rods of curtains. You only have to mount them on the wall or any of your old closets to create multiple Industrial style shelves.
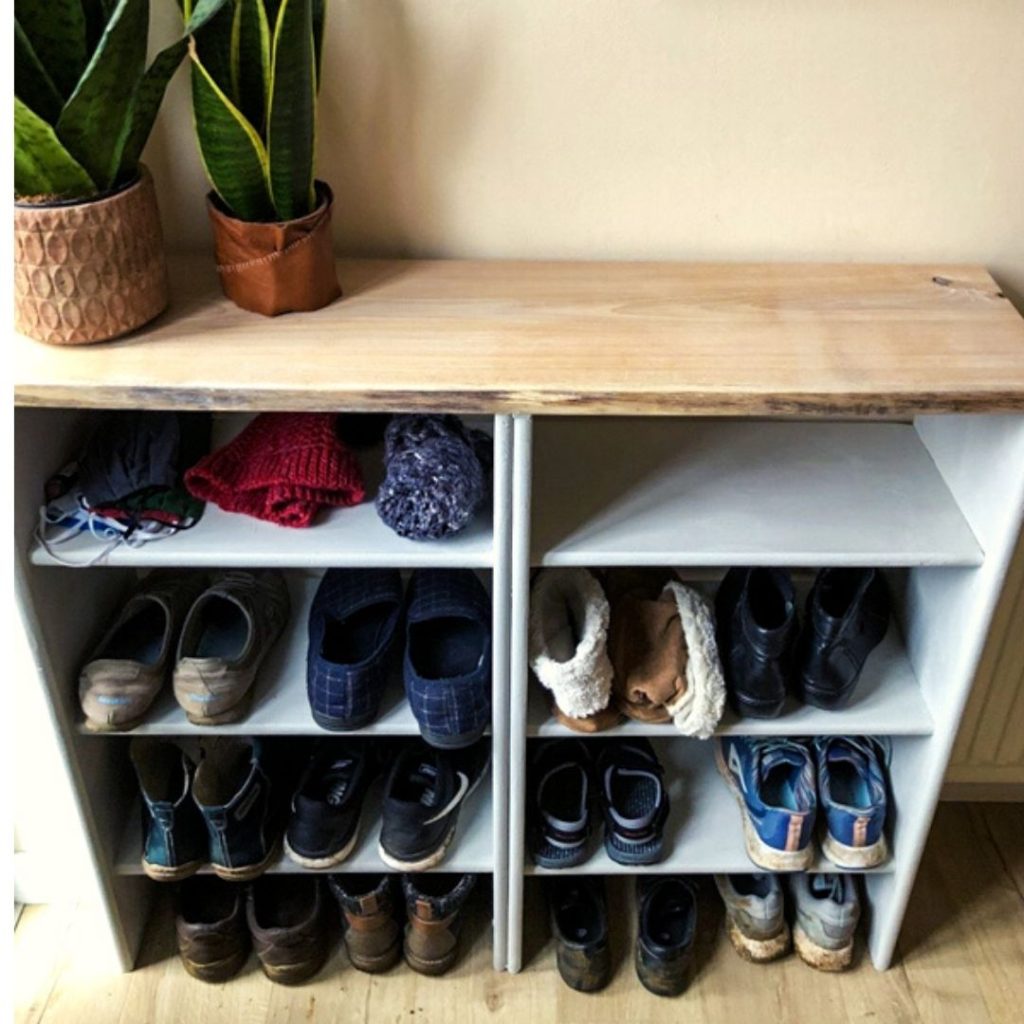
3. DIY Wooden Shoe Rack

If you are looking for a smaller shoe rack, try this wooden shoe rack. You will need wood plank, nails, and other DIY requirement materials. Cut two wood planks as longer pieces so you can use them as the top and bottom of the shoe rack. Cut two wood planks in smaller sizes to use as the two opposite faces that attach the top and bottom of the shoe rack. Give them the finishing touch with the sandpaper and use a primer for wood.
You can also paint them if you want. Fix and insert the nails to attach them and prepare the frame for the shoe rack. For the mid-century vibes in this DIY wooden shoe rack, you can attach wooden legs on each corner using the small wooden pieces converted into legs.
4. Seven Tier Shoe Racks
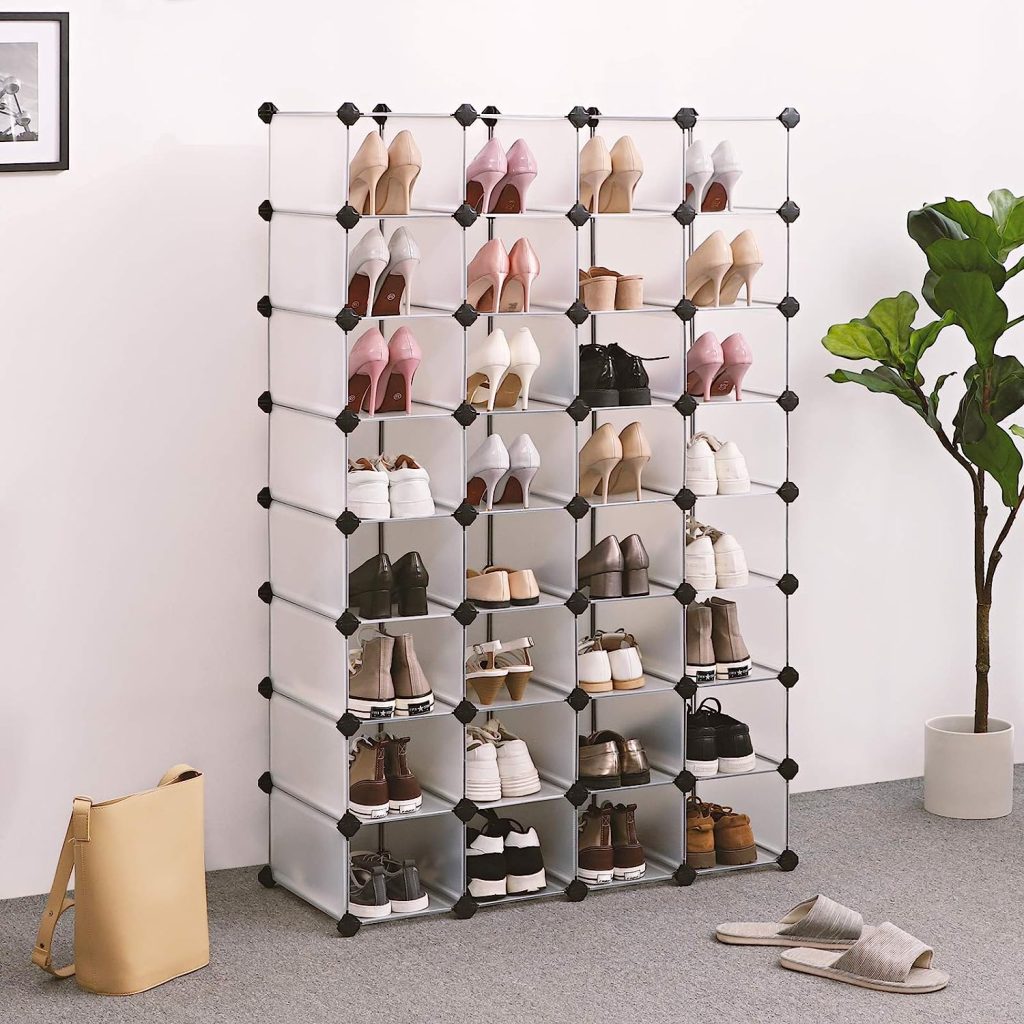
If you want to create a professional shoe rack, you have two options. Either buy one like this 7-Tier Shoe rack for a professional look or make one like this with DIY. If you are ready to give your best efforts, this 7-tier shoe rack idea is for you. This 7-tier shoe rack can have 28 cubbies, and you can organize up to 28 pairs of shoes in it. Use can prepare 28 cubbies of the same size and attach them in this pattern of 7 in one stack, 6 in the next stack, and 5 in the next and decrease like this.
But if you don’t want to make individual cubbies, you can create small shelves like this or a multiple-tier Shoe rack with 7 tiers. You can create a frame of a rectangle shape with a plastic sheet or wood ply sheet. Divide the frame into four equal parts vertically by inserting a playsheet or plastic sheet vertically. Now attach the horizontal shelves to create the cabinets and cubbies. Once done, give the finishing touch.
5. DIY Entryway Shoe Storage Ideas
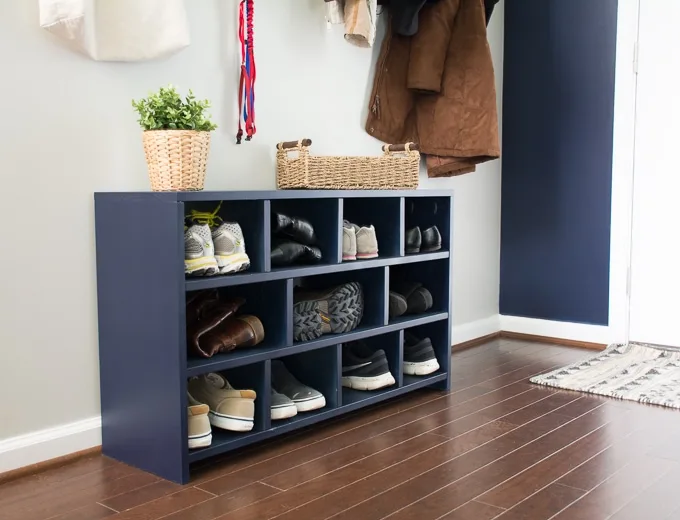
To prepare this entryway shoe rack, you will need wood planks, screws, measuring tape, and other necessary DIY things. Determine the length and height of the entryway shoe rack, and cut the wood planks according to that. Polish them with sandpaper, primer, and paint. Pick up the longest plank to use as the back.
Pick up the 2 planks you have cut according to height and attach them on the complete edges at 90 degrees. Now attach the two more long wood planks as top and bottom bases. Insert two more similar wood planks as the shelves. The frame of the entryway shoe rack is ready. Now you can insert smaller wood plank pieces in them to give the final shape of cubbies, and your entryway shoe rack will be ready to use
6. Super Easy DIY Shoe Rack
If you want to put the minimum effort into the DIY process, you can utilize the old cupboard or bookshelves, and it will be one of the super easy DIY shoe storage ideas. Pick up the two bookcases or part of your old shelves that you no longer want to use for clothes and precious things. You can simply use the frame only and attach two bookcases. Give the surface a finishing touch, and you can also paint them if you want.
You have to take wood pieces to use the shelves, or you can also use the shelf boards to create more space in the bookcases. While using the wood pieces as shelves, attach them to the bookcases with the screws or nails, and your super easy DIY shoe rack will be ready to use.
7. Basket Style DIY Shoe Storage Ideas
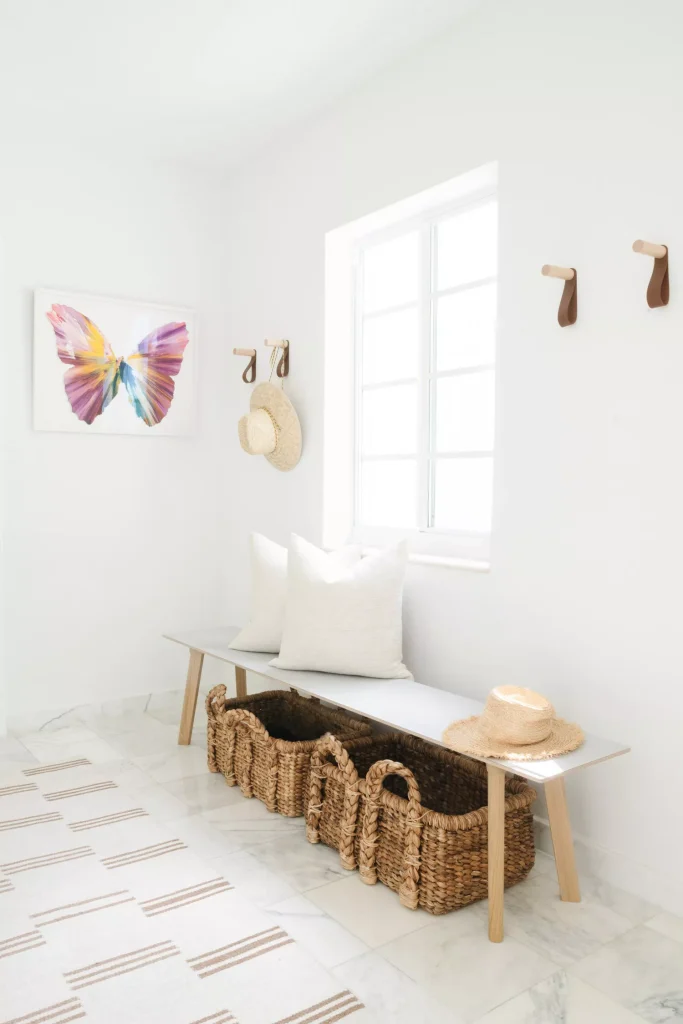
If you want to store your shoe near the entryway in a neatly organized way, storing them in a basket is a smart idea. You can use the Wicker baskets, plastic baskets, or empty crate boxes to utilize them as shoe racks. Give them a new look with the DIY by using old blankets to cover the crates or paint them to give them a new life.
Use can place these DIY crates or wicker baskets under the table near the entryway so that they don’t look shabby, as the table surface will hide the top and most of the open part of quicker baskets or crates. To create more storage space for the shoe, you can use multiple crate boxes or wicker baskets near the entryway. And this will become one of the most affordable DIY shoe storage ideas.
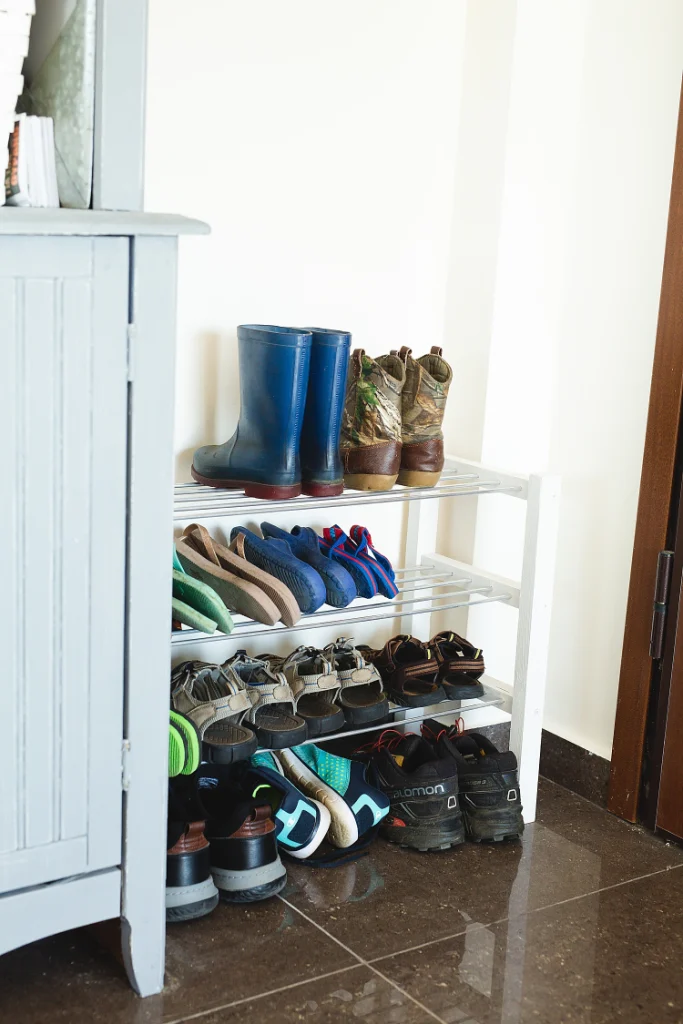
8. Haixin Narrow Shoe Rack
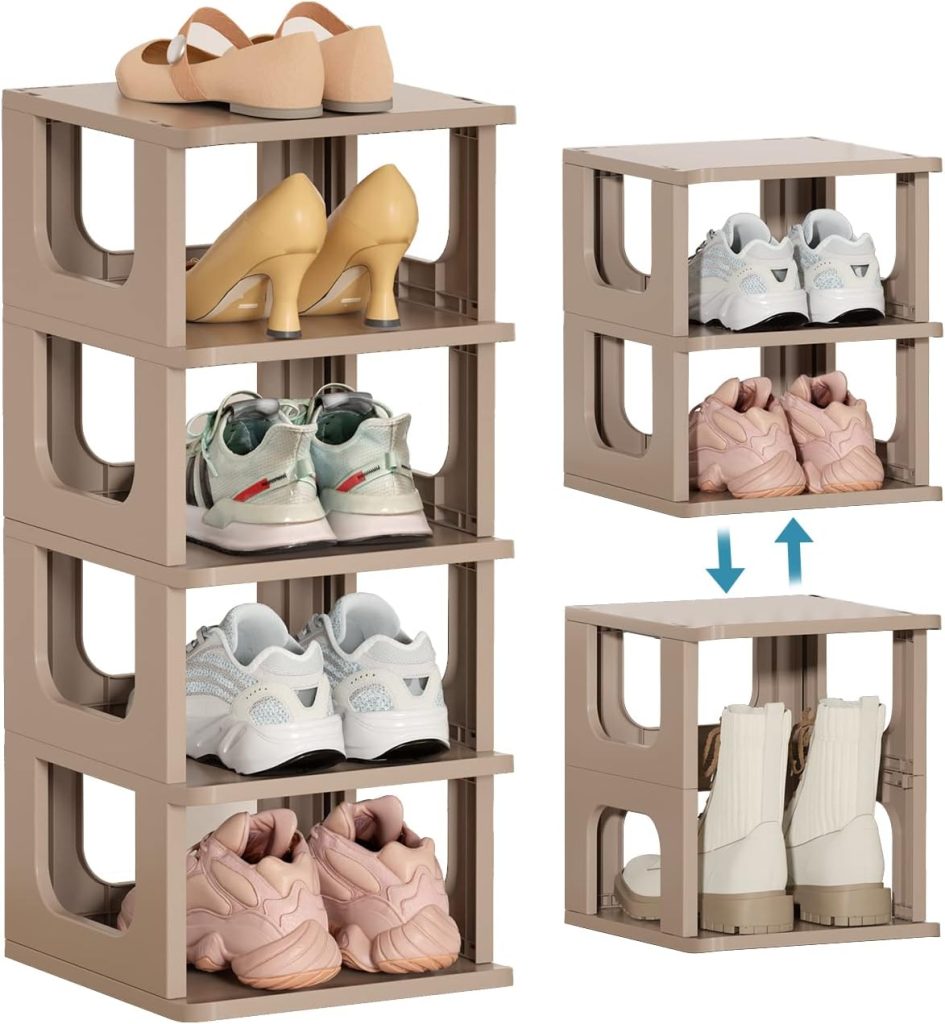
This narrow shoe rack idea is for those who are looking for a smaller and tighter space to organize their shoes. Haixin Narrow Shoe Rack has stacked cubbies that you can adjust one on another to lift it to a particular height and reduce the space on the floor, creating more room for breathable space. This narrow shoe rack consists of 5 cubbies. You can stack them like all five in one column or two columns, depending on your choice.
You can also DIY this narrow rack idea by using plastic sheets or wood sheets. Cut the wood sheet to prepare the outer frame, and then insert shelves in them after partitioning with vertical ply sheet, as described above in several other DIY methods. Or you can create five cubbies with U-shape frames as side faces covered from four sides, leaving the front and floor area open and stacking them on each other. Attach a main floor base with the bottom cubbies.
9. DIY Hanging Shoe Storage Ideas

To prepare the hanging shoe rack, you will need the curtains rods you can use as the shoe hanging support on the wall. You will also need the drapery to holdbacks, screws, and a screwdriver to fix the curtain rod in the wall. Find the place where you want to create the hanging shoe rack for shoe storage ideas and fix the curtain rod in the wall so that it becomes sturdy and you can utilize it for hanging stuff.
Fix the drapery holdbacks with it to create extra storage space to hang things like belts, purses, and scarves. For the large storage space requirement, you can install multiple rods. Once you are ready with the setup on the wall, start organizing your shoes to store them as hanging shoes on the wall.
10. Wall-Mounted Shoe Storage Ideas

To prepare this DIY wall-mounted shoe rack, you will need a primed casing, wood strips, nails, paint, and a saw. Select the place where you want to mount the shoe rack on your wall. Select the primed casing that can hold the heels of your shoes and sandals. Use multiple primes casings to make a shoe rack mounted on the wall. The primed casing is already ready to use, but if you want, you can paint them before fixing them.
Cut them according to the length of the overall wall-mount shoe rack you want. Mount and fix these primed casings in the wall where you want to store the shoes, and your wall-mounted shoe rack is ready to use. Hang the shoes now on these molds of the primed casing by placing their heels on them in a way so that they don’t slip.
11. Industrial Style DIY Shoe Rack
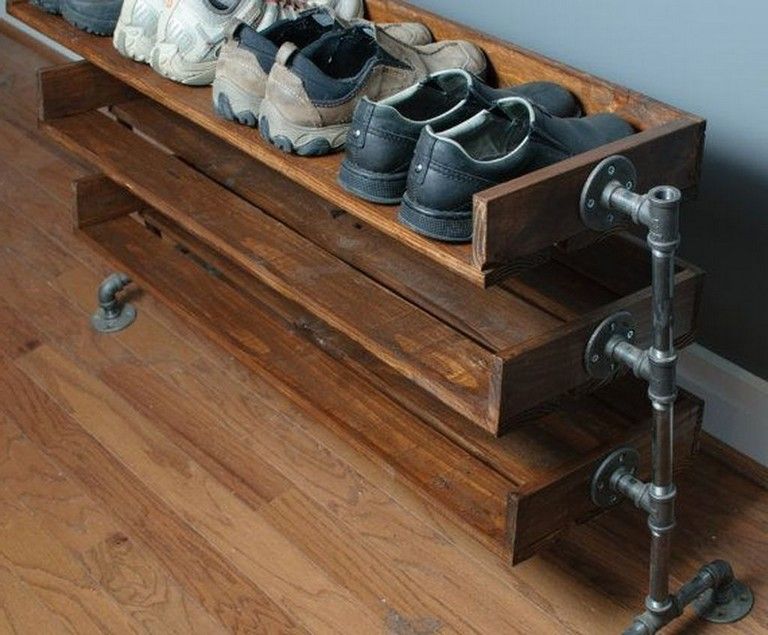
To prepare the industrial-style shoe rack with DIY, you will need pipes, pipe caps and tees, conduit straps, strap ties, drills, markers, wrenches, and wooden sheets. Clean the pipes, caps, and other metal materials. Assemble the pipes to create the legs of the industrial-style shoe rack. Pick up one tee, and insert the two pipes in it at each end. Insert the pipe cap in one vertical end that will work like the stand base on the floor. Use other pipe tees and pipes to complete the stand base.
Now pick up the wood sheet, give it the finishing touch with the sandpaper, and paint them. Attach the wood sheet on the pipes with the nails. Do the same for the pipes on top, and fix the wood sheet as the top base. Your two-tier industrial-style shoe rack will be ready,
12. Whitmor 3-Pair Boot Rack
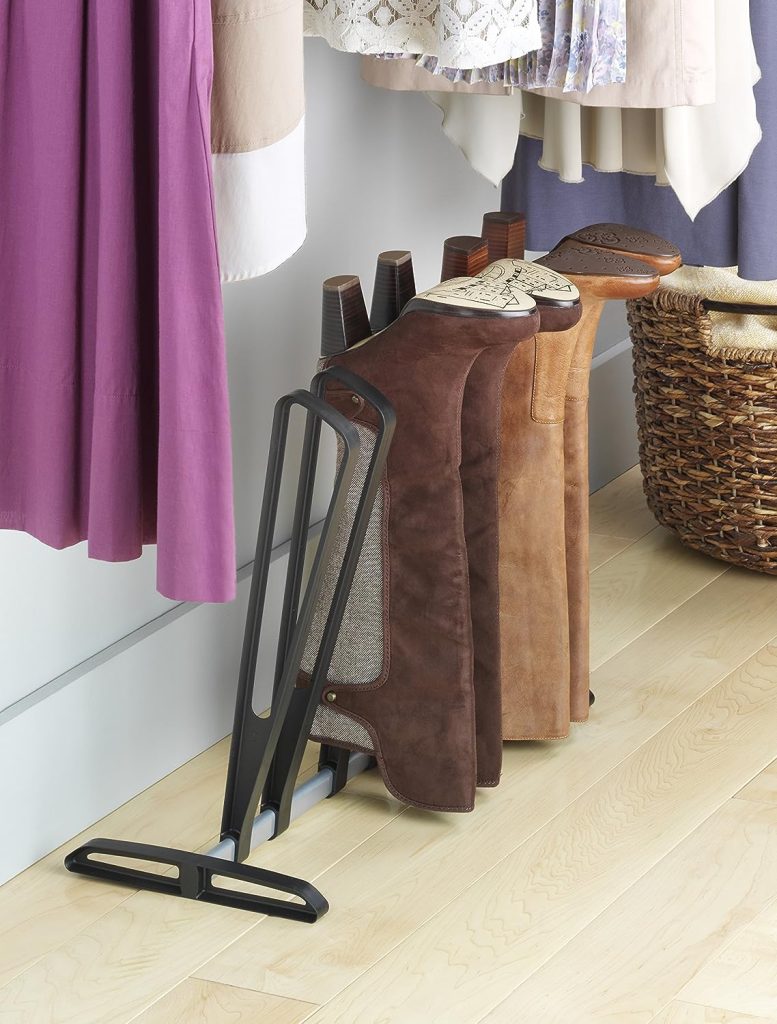
If you need storage space for your long boots or shoes that need to be in shape, this Whitmore 3-Pair Book Rack idea is for you. For DIY, you can use a curtain rod to fix it in your closet or on the floor. Select the plastic hinges that are used to uplift things to fix in the rod. To prepare a three-pair booth rack, you have to install six plastic hinges on the curtain rod. For more storage, you can install a more even number of plastic hinges. And your DIY Whitmore 3-pair boot-like rack will be ready to use with the DIY process.
If you don’t want to invest in curtain rods and then plastic hinges separately, you can buy the Whitmor 3-pair boot rack. You will not have to do anything. It will come as ready to use boot rack. Just hang your boot soles on the hinges of the rod. They will maintain your boots’ shape and save floor space.
13. Shoe Organizer Tray
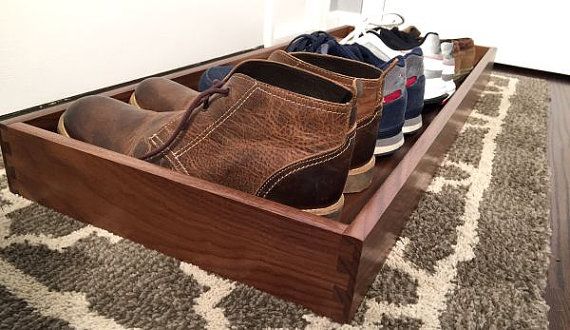
The DIY process of shoe organizer trays is easy, and you can utilize this shoe organizer tray in your mudroom or the entryway. So this is a good DIY job for a shoe rack if you want to build everything from scratch. You will need the wood Planks or sheets, a miter saw, pocket hole nails, and a nail-fixing gun. If you have a big wooden sheet, you can utilize it as the base, according to the size of the shoe storage tray you need. And create a boundary by attaching four wooden pieces at full length on all edges to make it like a box with low depth.
But if you have wooden pieces or strips instead of sheets, you can use them too. Cut the two wood strips in the same length as the front and back pieces, and cut the two in the same length as the side pieces. Your shoe organizer tray frame is ready. Cut the wooden strips of the same size to fill the frame horizontally to make it like an angled tray.
14. DIY Shoe Storage Cabinets
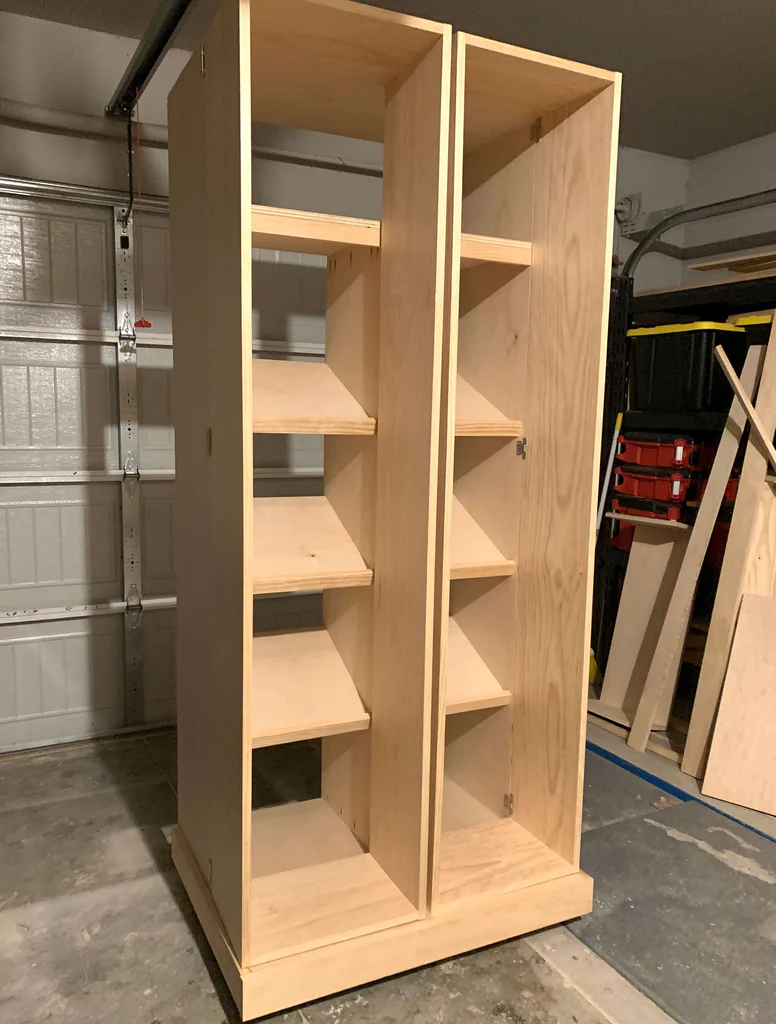
To prepare this Shoe Cabinet, you will need the wood and ply sheets. You will also need hinges, wood glue or nails, filler, paint, sandpaper, a drill machine, and Jigsaw. Cut the plywood to make the base of the top, bottom, back, and side faces. Keep the length of the side faces the same, and the top and bottom should be the same. Now according to their dimensions, use the size of the backside ply sheet. Create the pocket holes near the edges, and use the wooden nails to attach the wood sheets as the side edges to create the frame.
Depending on the inner frame, you can customize how you want your shoe cabinet to look. Here we have created a partition to create a shelf on the top and then parted the whole frame in two parts by inserting and attaching a wooden sheet vertically in the middle. Add the shelves with wood sheets, give it the finishing touch, paint it, and let it dry. Your DIY shoe cabinet will be ready to use.
15. Mad Souky Narrow Shoe Storage Ideas
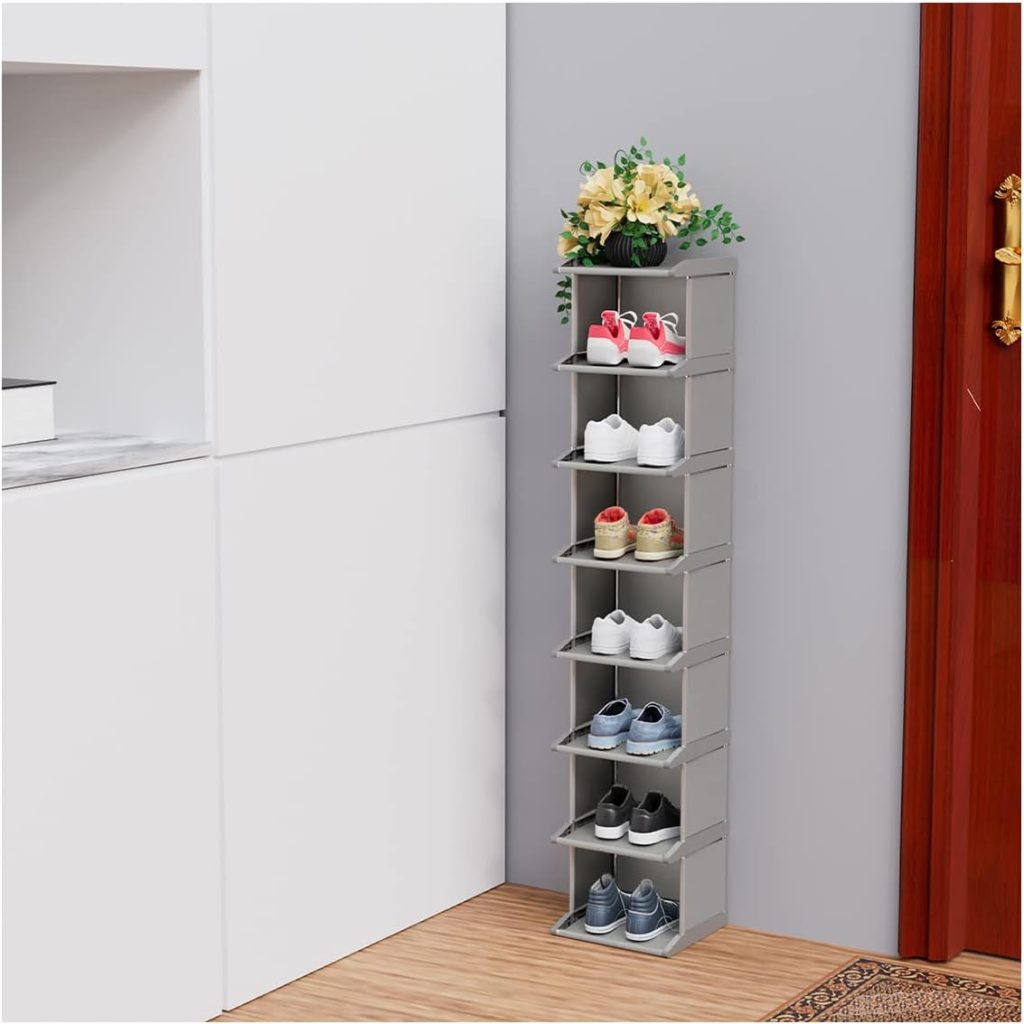
If you are looking for a shoe rack idea that helps you to save maximum floor space but still store maximum shoes, try this one. You can create a shoe rack like this by DIY. If you don’t want to put in the effort, you can buy this Mad Souky Narrow Shoe Storage rack. You can prepare it from scratch from wood planks or plastic sheets.
Pick up the longer pieces of wood planks, and cut one of them according to the sufficient height you need for shoe storage space.
Cut two more wood planks of the same height. Attach them in a U shape, using the nails that attach the wood sheets. Now cut a wood piece according to the space between two opposite wood planks and their depth. Create more wood pieces of the same size according to requirement. Insert them into the frame and fix them with nails. Your narrow storage shoe rack is ready to use.
Final Thoughts
Everybody wants to organize their shoes nicely so they don’t look shabby and weird in the aesthetic interior. And creating Shoe racks for them is a great way to organize them. This post showed you 15 clever DIY shoe storage ideas to help you pick some of the best DIY ideas according to your comfort and storage space for the rack you have decided on.
We have covered various DIY shoe rack ideas so that you can also easily pick up one or more according to the efforts and time for the DIY process.
For maximum storage space, we have shared the DIY process of narrow-space shoe racks. You can also mount the shoe rack on the wall if you get a primed casing. For the professional approach, we have also included the alternatives you can buy or DIY the shoe racks using multiple things that can give you a professional look.