Finding wooden furniture in thrift stores or estate sales that can be repurposed into a statement piece is always something we all find joy in. However, have you ever felt daunted by the idea of another tedious DIY project that would take up long hours? Or do you have old furniture but don’t know where to begin to enhance it again? Worry not because we have found the perfect solution for this problem!
Right from picking the ideal paint for dressers to transforming them into marvelous pieces of furniture without sanding, our guide compiles everything you need to know. Although the process might seem time-consuming and arduous, it can be easily achieved by following our step-by-step tutorial.
Then what are you waiting for? Grab the materials and equipment, and take out the old dresser to give it a bold and stunning appearance.
How to Paint a Dresser without Sanding?
Exploring and executing different types of paint for dressers is an easy process that costs around $50. Moreover, it barely takes 30 – 45 minutes of preparation time, in addition to an hour or two of active work.
Continue reading to learn more about this simple process!
Step 1: Clean the Dresser

Since we’re skipping the step of sanding the dresser, cleaning it thoroughly becomes extremely crucial. You need to make sure all grime, oil, cobwebs, and dust are removed properly. Try using Clorox disinfecting wipes or simply a small brush with warm soapy water. Also, ensure that the paint is completely dry before moving ahead to the next step.
Step 2: Dismantle the Parts
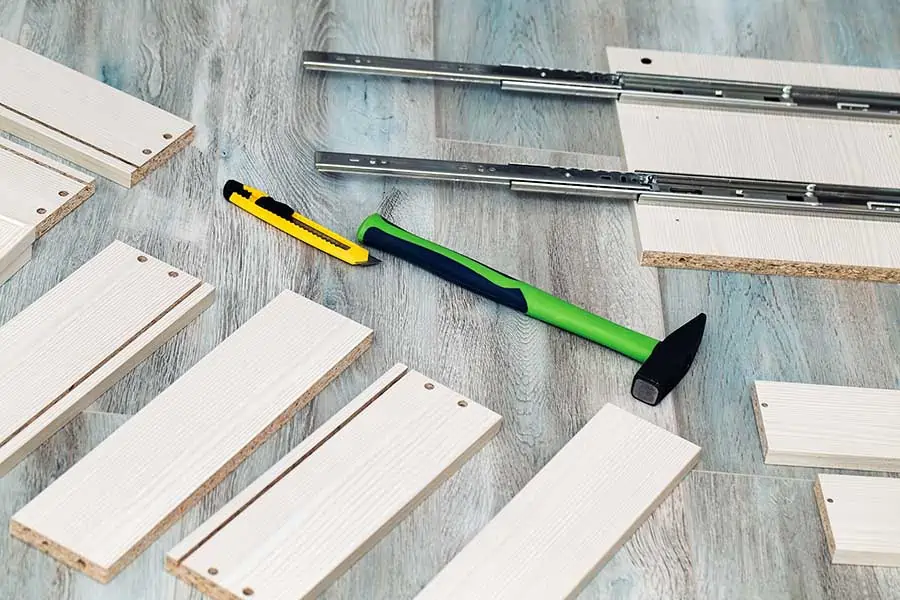
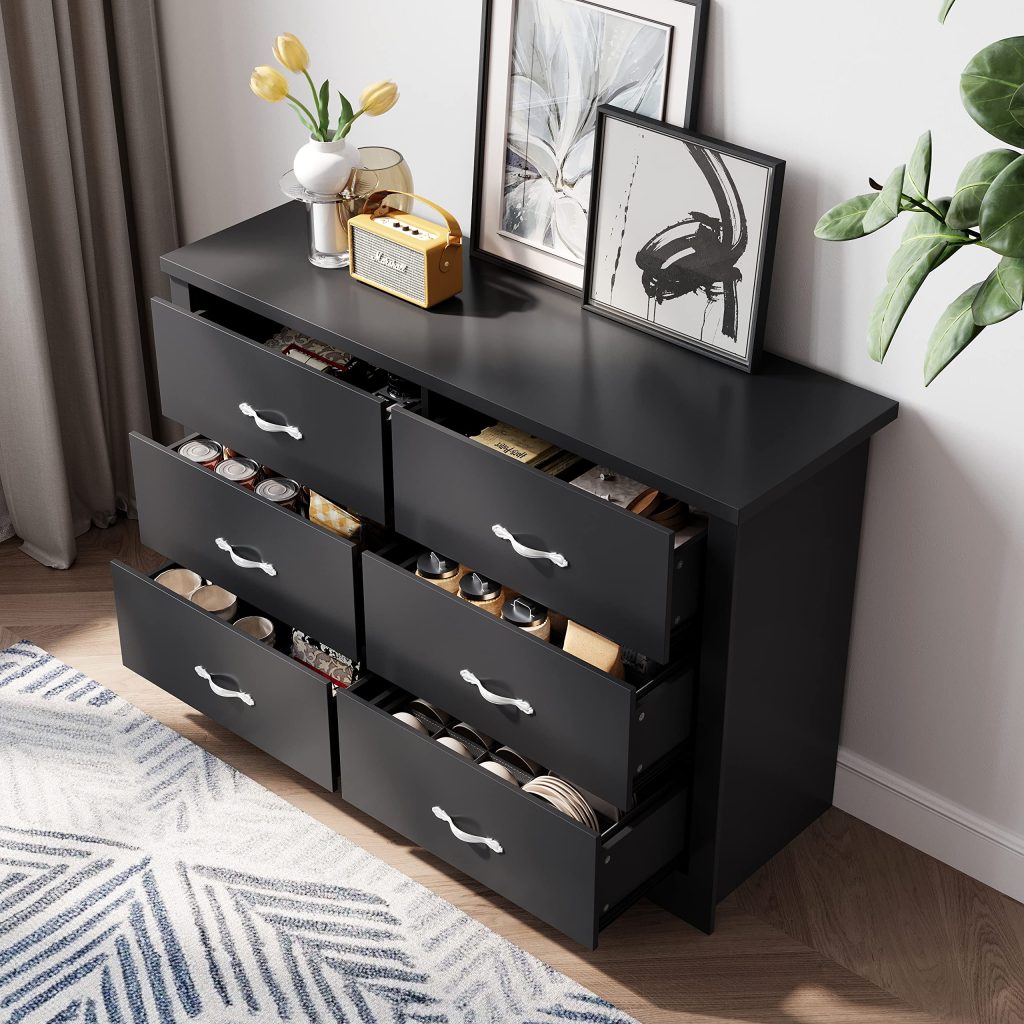
It is advisable to take apart all the parts and clean them properly before you paint if you have an elaborate dresser with multiple drawers and intricate parts. The drawers won’t stick while opening or closing this way, and the paint will dry faster. You can also apply this paint to the dresser more efficiently if you’re working on smaller components instead of the whole piece.
Step 3: A Stain Blocker
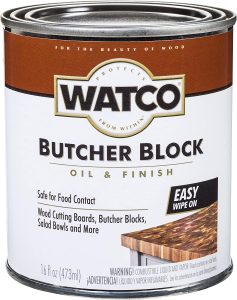
Applying a stain blocker isn’t a necessary process, but it is highly advisable if you’re going from a dark piece of wood to a lighter shade. Because of the stain blocker, the natural tannins won’t create any stains on your furniture over time. Check out one of the best on Amazon here – Block Oil & Finish.
Step 4: Deglosser
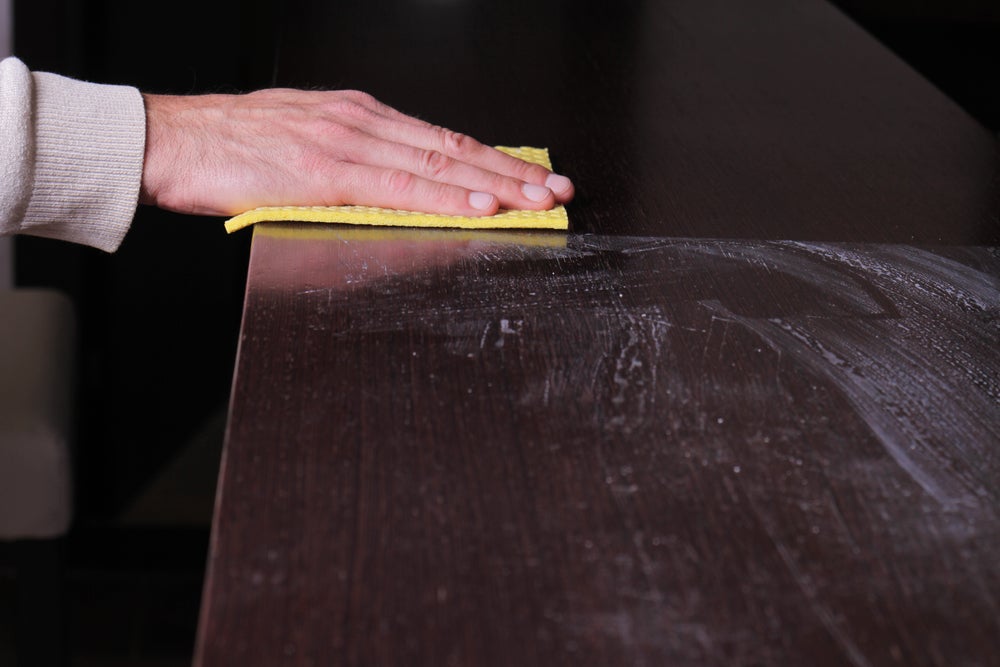
Since we’re skipping sanding, a liquid deglosser or liquid sandpaper is our next best option. It works great to remove the gloss, shine, and smoothness from the previous surfaces, making adding a new coat easier. Use a cloth or sponge to apply it evenly and let it rest for the directed amount of time. Although not as good as physical sanding, a deglosser provides satisfactory results.
Step 5: Using A Primer
Using a primer isn’t essential but highly recommended as it demonstrates better adhesion, paint adherence, and durability. Apply it before moving to the paint for a dresser that you select. Make sure you apply it evenly all over the surface of the dresser. For resting time, we advise you to follow the manufacturer’s instructions for the best results.
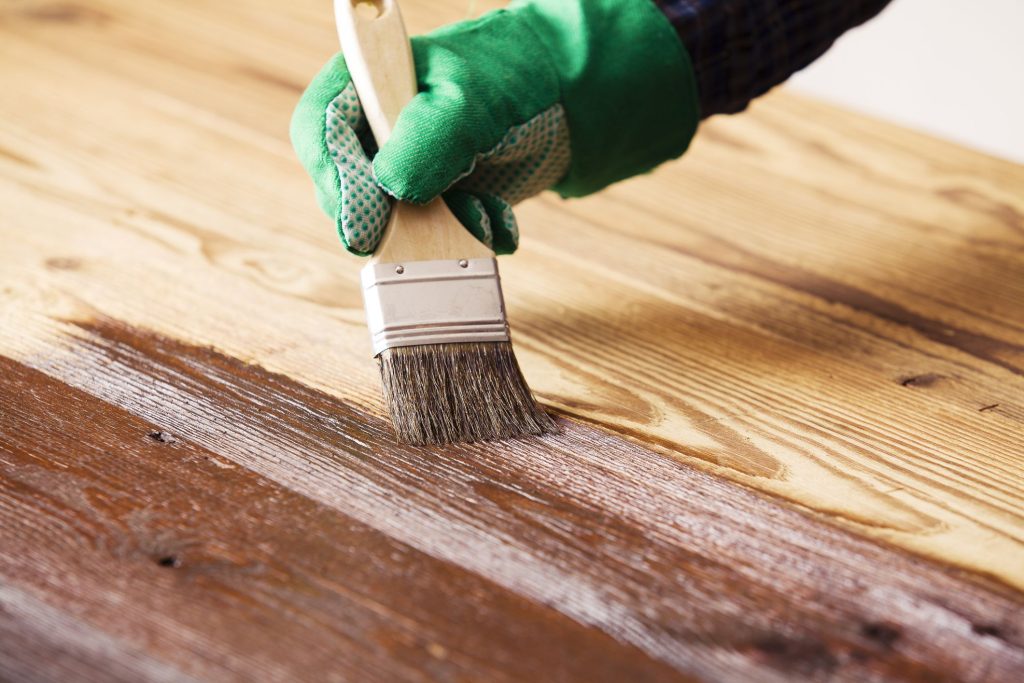
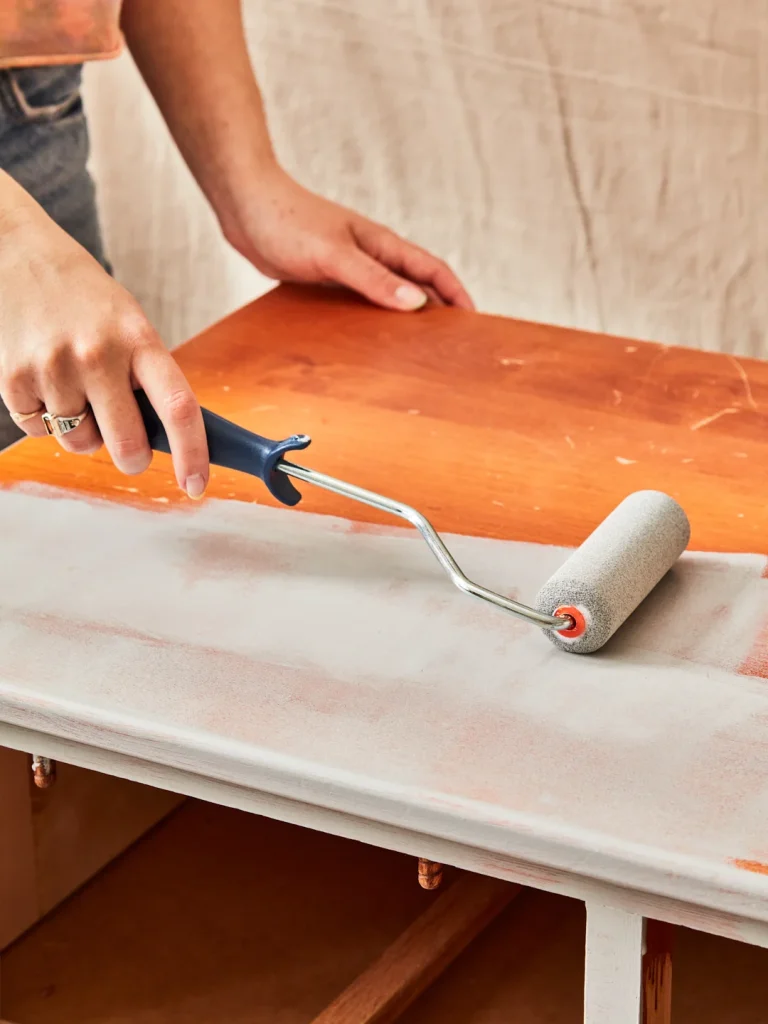
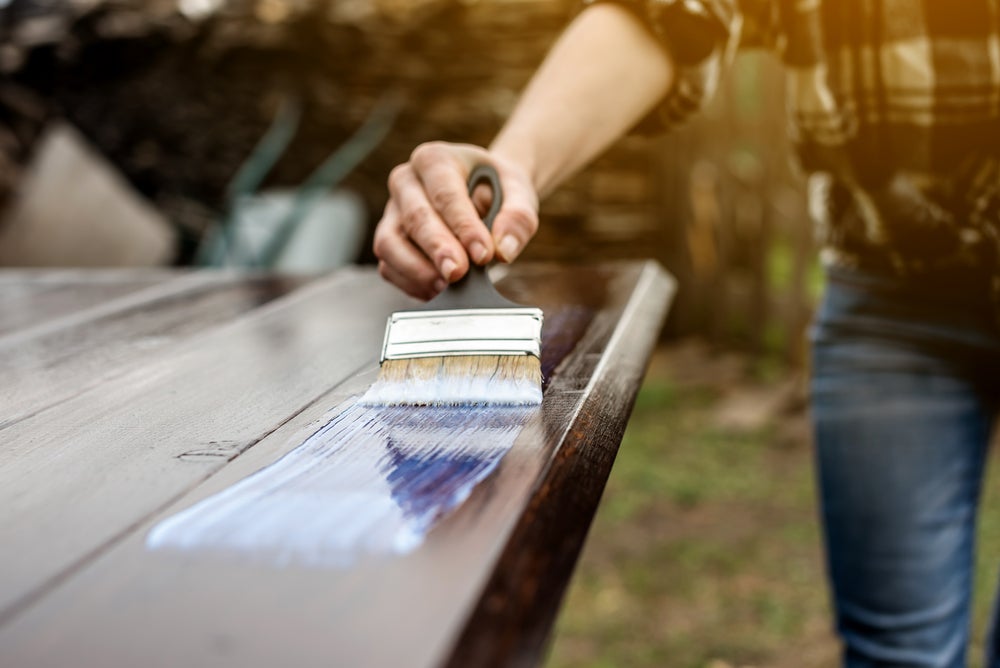
Step 6: Apply Paint to The Dresser
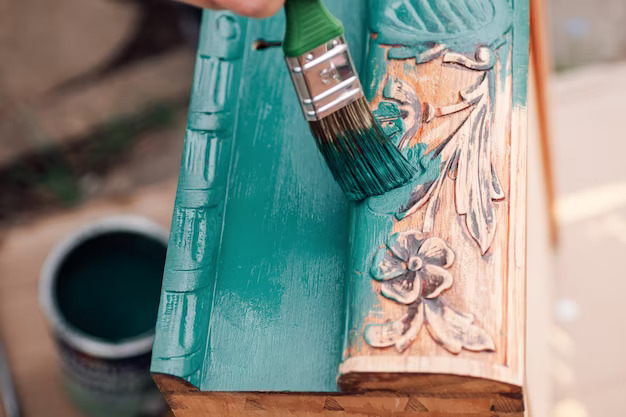
Here comes the main step: selecting and putting on the most apt paint for the dresser! Ensure the paint is coated smoothly all over the surface, including the intricate spots. To achieve a durable finish, apply at least 2 – 3 coats at an interval of two hours. You might want to check the bottom and side edges to make sure you don’t miss out on any spots.
Step 7: Seal
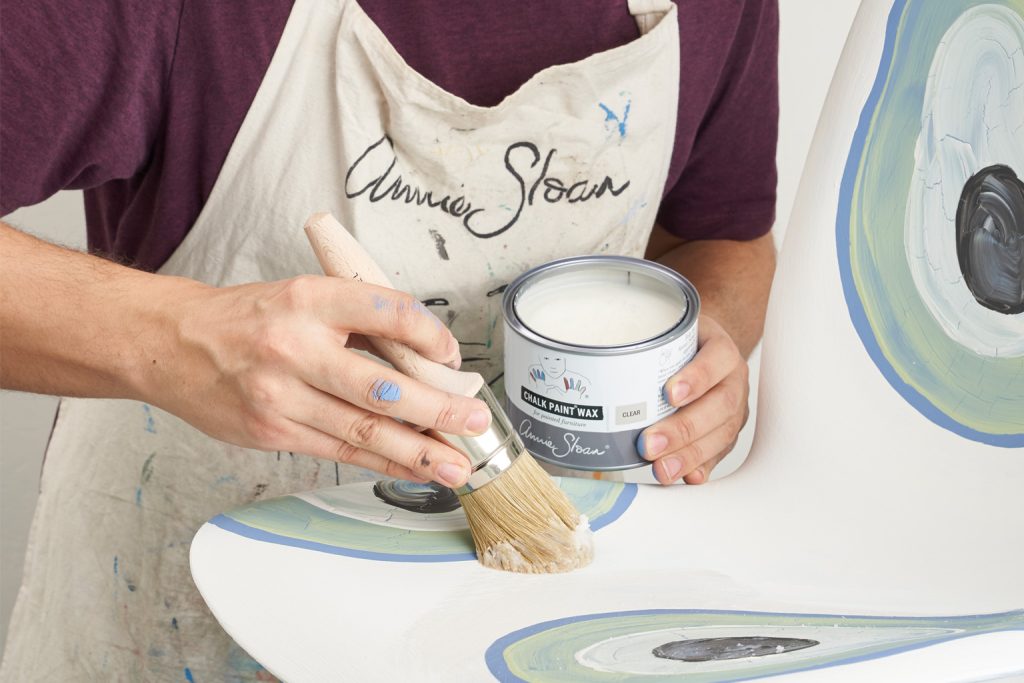
Since we’re now close to “sealing” the project, one of our final steps is to apply wax and seal it. We recommend using a durable, non-yellowing wax that will give your dresser a sleek and classy look. You can use any type of Creme Wax, easily available online for low prices, to add a glossy or matte look according to your theme.
Step 8: Reassemble
In case you underwent the additional step of dismantling the drawers, hardware, knobs, and other components of the dresser before painting, reassemble them now. However, make sure the paint has dried well. We advise you to leave the dresser to dry for at least 2 days, or even longer if you live in a humid area.
Step 9: Clean Up
Painting can be a messy process. Don’t we all hate it when excessive paint creates an unnecessary mess after every DIY project? It’s best to start with all precautions in order, like laying down newspapers and dirty rags. Once done, clean up the mess behind while the dresser paint dries.
Step 10: Innovate
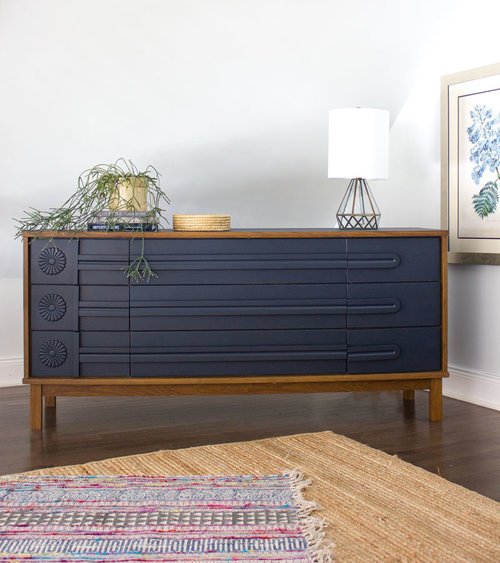
Painting a dresser is a great way to repurpose it and bring it into use again. However, why stop there? Unleash your creativity and give your dresser a new look. We have elaborated on some classy and rich looks for dressers in the following sections. But these are our suggestions. You can innovate and create your dream dresser the way you want!
Methods to Apply Paint for Dresser without Sanding
Since we’re discarding sanding as an option, it is worthwhile considering the different methods for painting that act as a substitute. Although we have discussed a couple of these before, let’s take a look at their advantages in depth.
1. Mineral Paint
Mineral paint is a well-liked, highly preferred option since it doesn’t require a primer either. Mineral fusion paints have great adhesiveness that makes the paint stick to anything. Moreover, this type of paint is water and stain resistant, that is, durable and long-lasting.
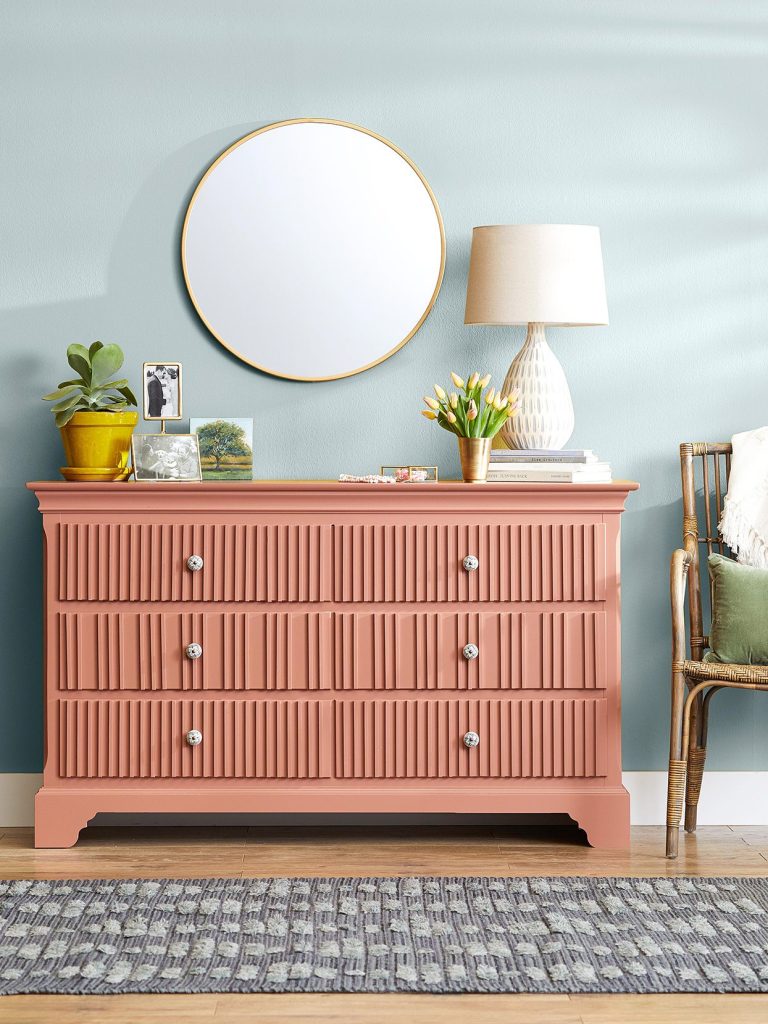
2. Chalk Paint
If you’re looking for a matte finish for your dresser, then chalk paint is your best bet. It adds a gorgeous sleek look to any kind of furniture and is quite easy to work with. Of course, with the added advantage that it needs no sanding.
3. Milk Paint
Not only is milk paint environment-friendly, but it is also made from simple, natural ingredients like clay, milk protein, and lime which give it an enhanced grip. Add a simple bonding agent to that, and voila! Your paint mix is good to go.
4. Primer
Despite mentioning primer as an optional step, we still highly recommend it since it helps the paint to stick to any surface without any sanding process. Effective and good-quality primers might cost more. But they are a one-time investment with assured results.
5. Liquid Deglosser
The reason why liquid deglosser deserves a special shoutout is its effectiveness. It is one of the most guaranteed ways of skipping physical sanding and can be used quite conveniently with a piece of cloth, brush, or sponge. Especially recommended for removing unnecessary gloss from the old paint.
When Should You Not Skip Sanding?
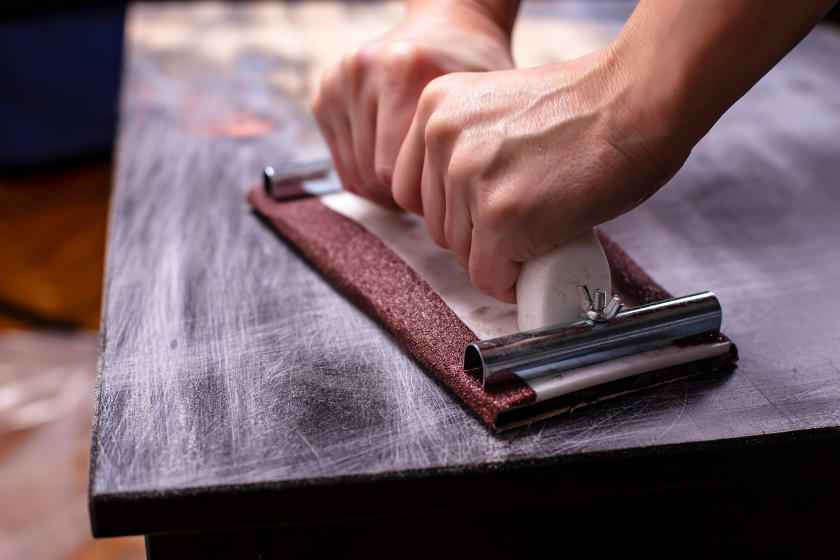
Yes, the entire guide consists of steps and methods to avoid sanding. But sometimes, it becomes an absolute must depending on the state of the furniture. Which situations are these? First is when it is an old piece that has many scratches, imperfections, and uneven surfaces. Any holes or wedges must be filled with a wood filler and need sanding before applying paint. Secondly, if the old paint is peeling off in parts, proper sanding is necessary to start your project from scratch. If your old dresser does not fit in either of these prerequisites, feel free to scrap sanding from the procedure!
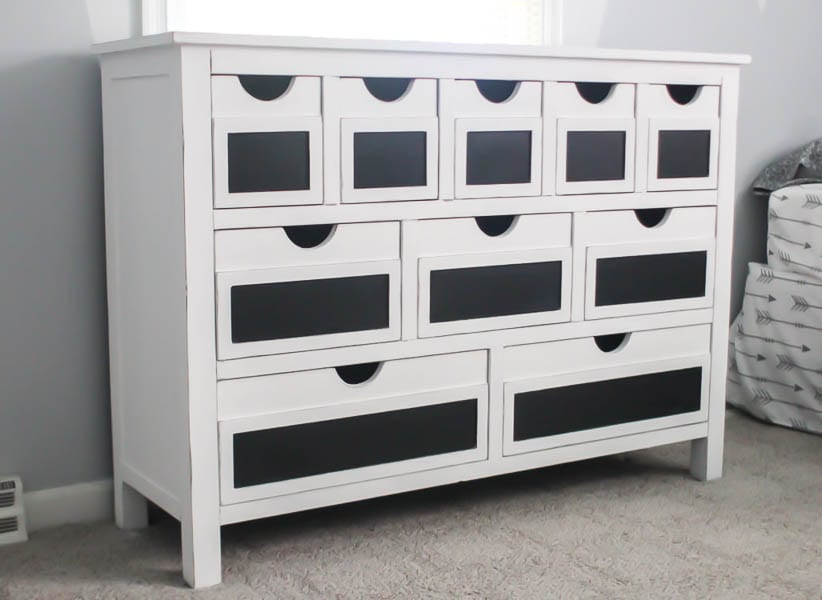
Easy DIY Dresser Ideas
Applying paint to a dresser is an easy procedure if you follow the step-by-step guide accurately. However, innovating and designing it creatively can be challenging. We all want a unique touch to our dressers, but do you feel you’re out of ideas?
Check out some of our suggestions below to get started.
1. Use a Wallpaper
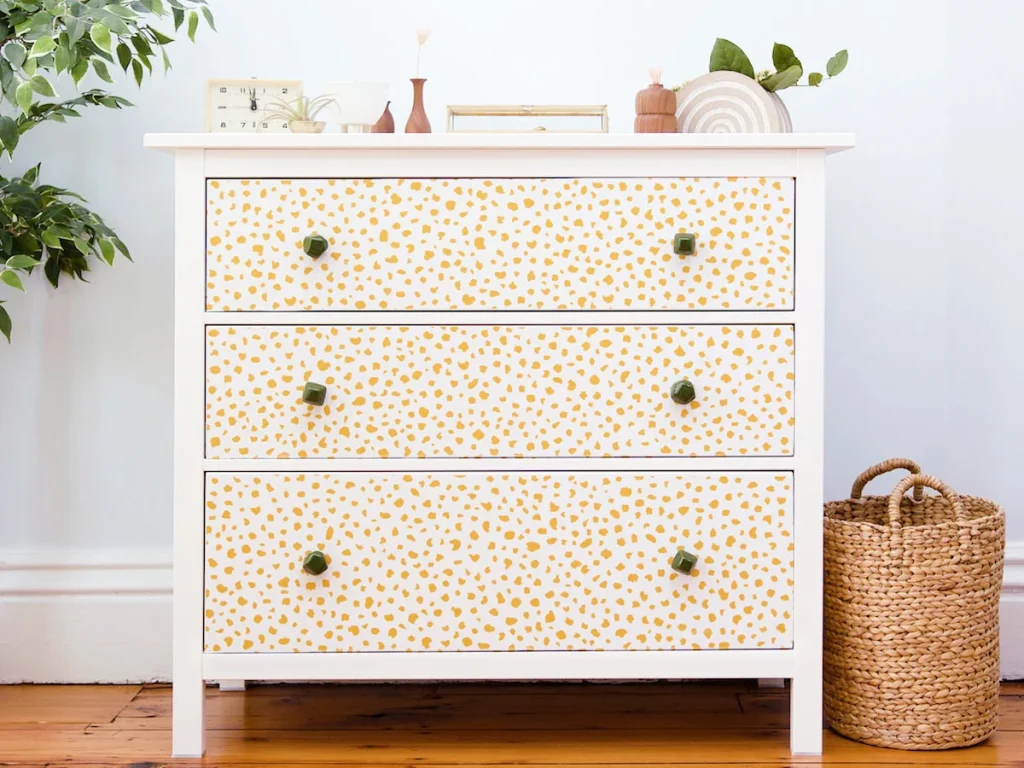
If your dresser has a flat front, you can elevate it by sticking elegant wallpaper. Make sure you opt for a texture and color palette that matches the aesthetics of your room and other furniture. Or you can go all monotone and use the same wallpaper as that on your walls.
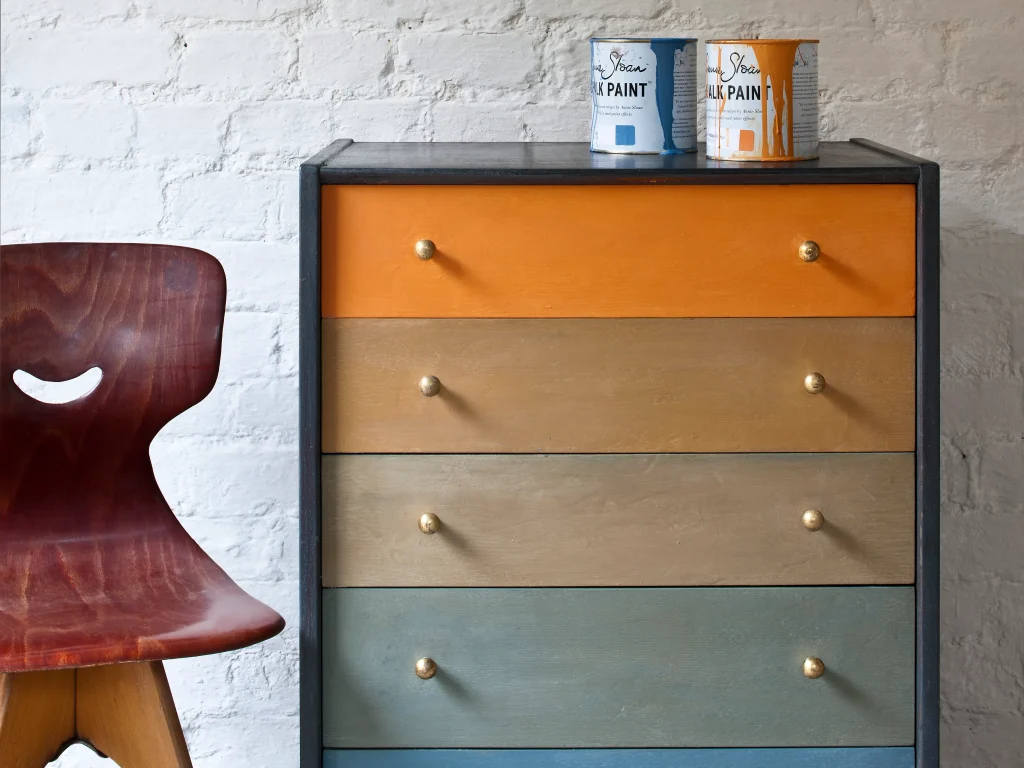
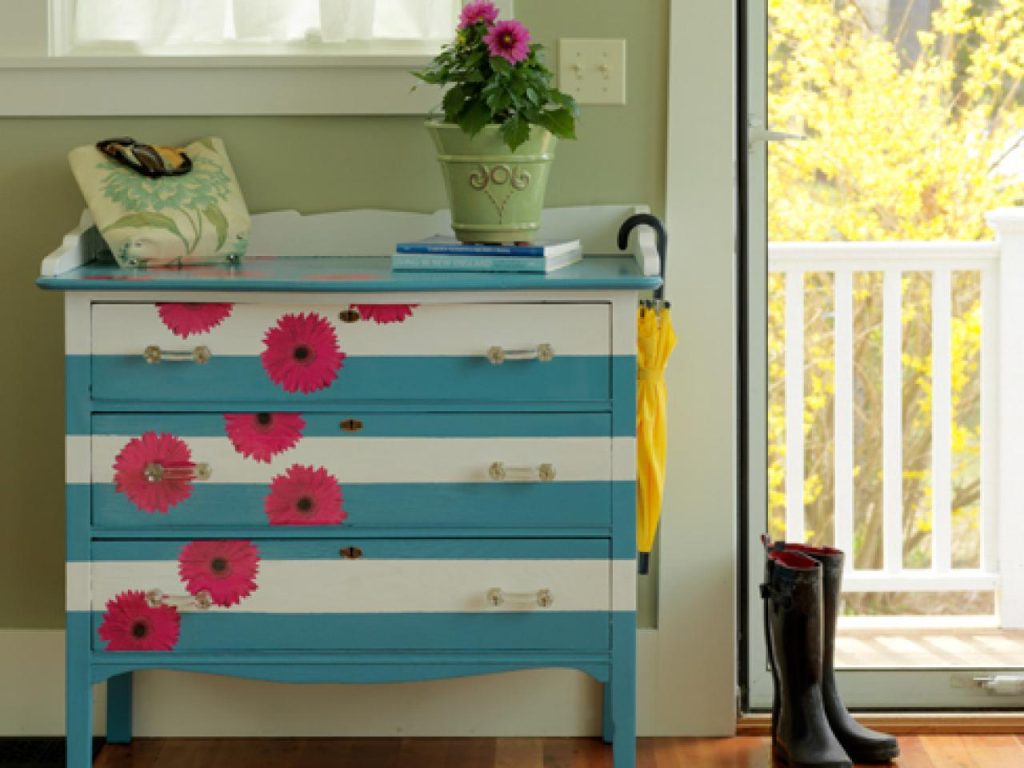
2. Add Some Stripes
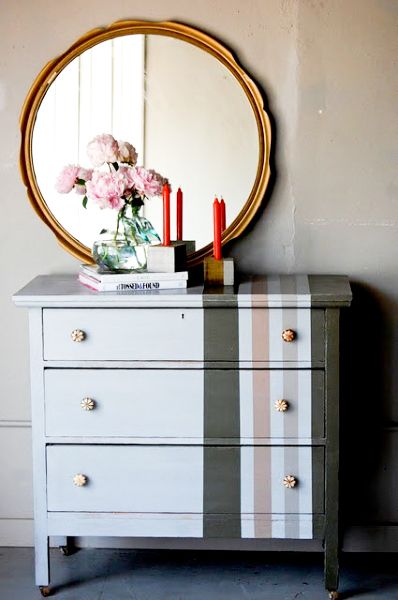
Since most dressers have horizontal drawers, vertical stripes of different colors can be a quirky addition. Use a plain white background and innovate with various colors to achieve a sleek, modern look that matches the minimalistic vibe.
3. Geometric Patterns

Similar to stripes, geometric patterns like triangles or diamonds can really elevate your dresser to the next level. Try using different shades of the same color palette for a classy yet creative look. Although it might take time, the end result will be worth it!
4. Texturise
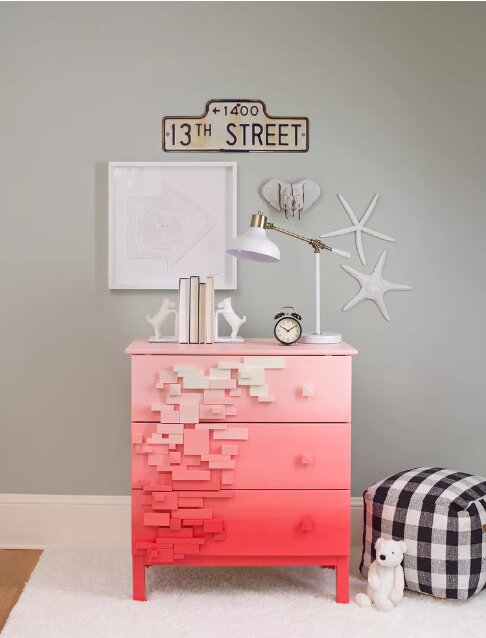
While repainting the dresser, you can explore some designs to add extra textures to your dresser. For instance, using wooden blocks to create a 3D pattern. Not only does it look creative, but it also adds a whimsical touch to an otherwise simple dresser.
5. Tops First
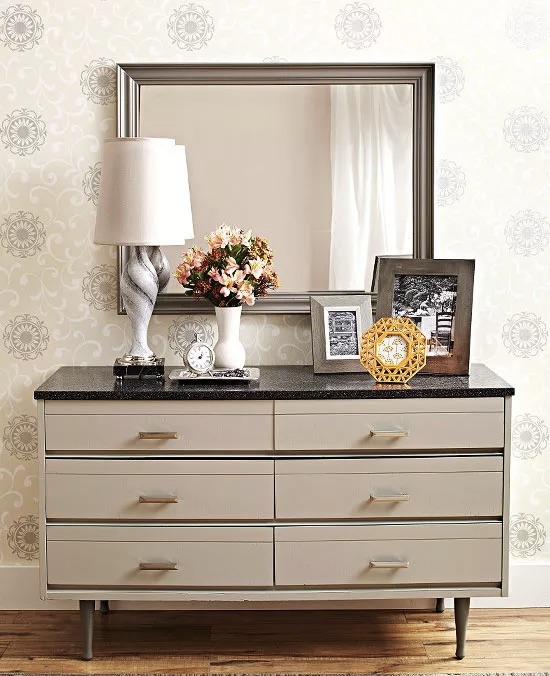
Focus on the top! The ultimate makeover is when you change the top of the dresser. Attach a slab of faux granite or marble, depending on the sturdiness of the dresser, and finish off with similar classy themes of paint. Also, countertop transformations are easy-to-follow DIY projects.
6. Irregular Geometry
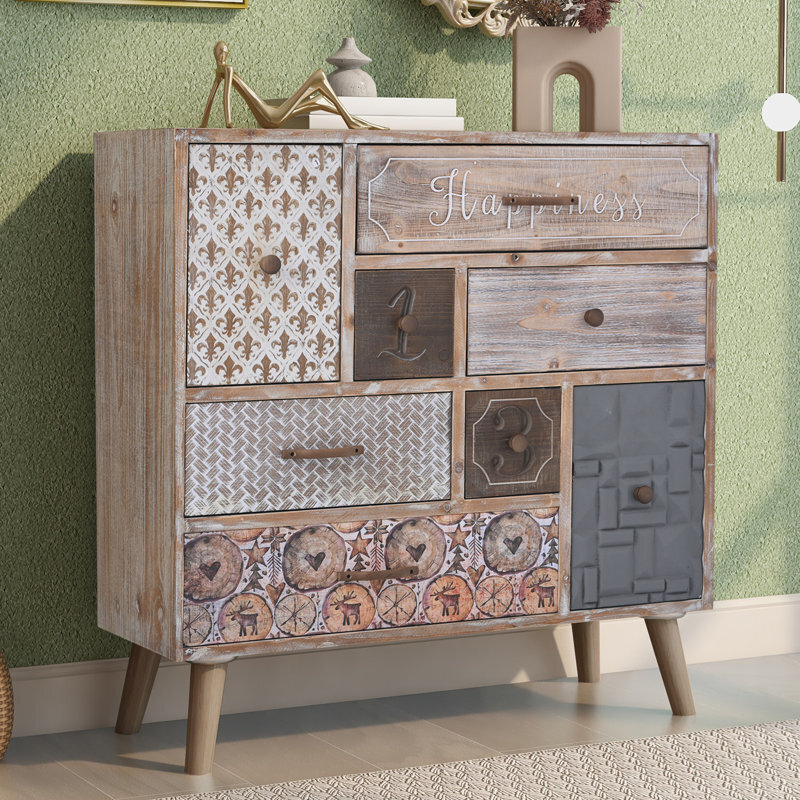
Who said the drawers have to be only horizontal? You can go unconventional and install drawers of irregular geometry or different proportions. It is the perfect way to showcase your uniqueness, creativity, and one-of-a-kind aesthetics.
7. Handpaint
If you have the art gene in yourself, you can take a chance at decorating the dresser by hand-painting the designs. Although time-consuming, you will have a piece of furniture that you restored, repurposed, and designed yourself. Apt to portray your uniqueness.
Final Words
Repurposing an old piece of furniture can be a tedious process to follow. One of the longest and most arduous steps is sanding, which is why people prefer to skip it. Sanding isn’t essential unless your furniture has many scratches, holes, and uneven surfaces or if its old paint is peeling off. Otherwise, you can skip sanding altogether by following our step-by-step guide.
Begin by cleaning the dresser thoroughly and dismantling the components to work better. Next, apply a stain blocker or liquid deglosser to compensate for physical sanding. Using a primer before you apply paint to the dresser is highly advisable since it increases adhesion. Next, apply 2 – 3 coats of paint and let it dry for at least 48 hours.
Lastly, be as creative as you can and style your dresser in fun ways! Which is your ideal dresser style? Let us know in the comments section below!
Frequently Asked Questions
Can I Repaint a Dresser without Sanding It?
You can easily skip sanding while repainting a dresser using specific types of paint, like mineral paint, chalk paint, and milk paint. They stick to any surface and give a sleek matte look. You can also add bonding agents to increase adhesion.
What Happens if You Don’t Sand a Dresser Before Painting?
If you don’t sand a dresser before painting, chances are that the paint will peel off much faster because of the older one. However, if the new coat is applied on raw wood or a sealed surface, sanding is not necessary.
Do I Need a Primer to Repaint a Dresser?
Although using a primer is not a set rule, it is highly advisable to maintain the adhesion of the paint and to prevent any stains from bleeding through. For wooden furniture, satin and semigloss finish are the best types of primers.
How Many Coats of Paint Should I Apply?
A minimum of two to three coats of paint must be applied to the dresser to achieve the perfect look. However, you must apply these coats at an interval of two hours. Lastly, let the paint dry well by letting it rest for 48 hours or more.