In school, we all have come across several art and craft workshops to enhance our creative thinking. Also, a common question of how to make paper flowers was famous among your peers. Well, paper flowers are a common delight among crafts fanatics in the class.
Turning a bland piece of paper into a beautiful flower is a benefit of learning origami. And believe me, these paper flowers are as beautiful as the real ones, and only they lack the essence that any of your favorite perfumes can add.
However, there can be a fair chance that your first attempt might not look appealing or as you desired. But, you don’t have to lose hope, as after two or three trials, you will get what you want.
And finally, you’ll get the proper learning and knowledge of how to make paper flowers. Well, don’t we have got a step-by-step tutorial for you to learn how to master the art of making paper flowers?
Materials Required to Make Paper Flowers
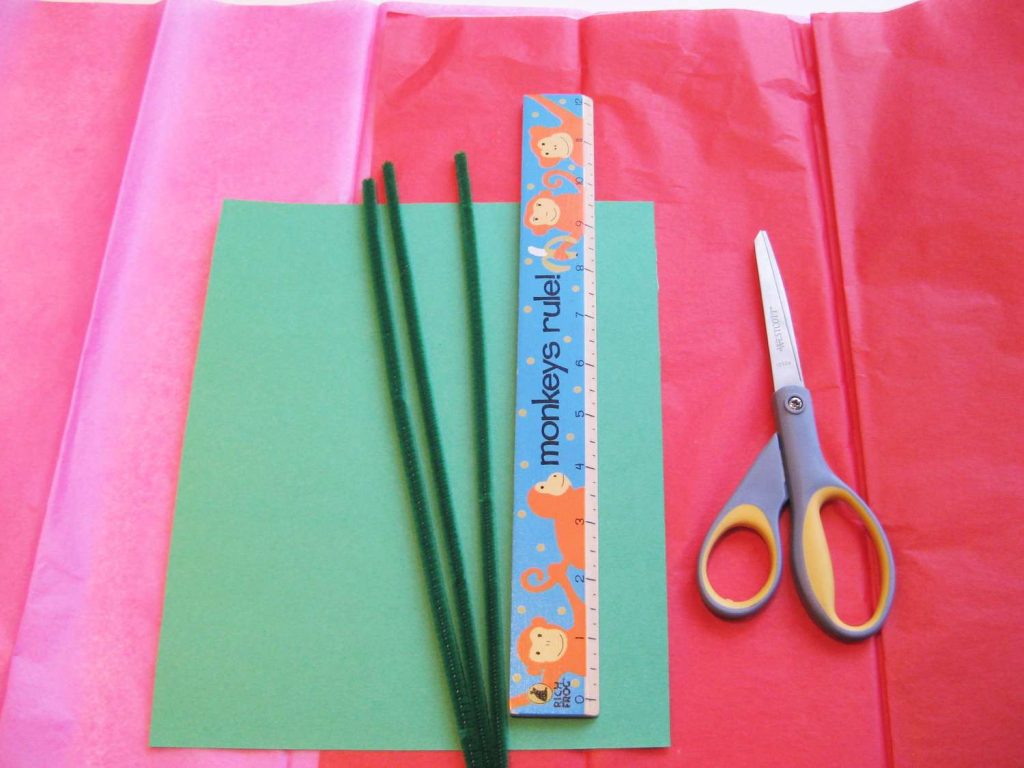
You surely need to buy some things, but the most important thing that you need to have in order to make paper flowers is patience and zeal to learn a new skill. Other than that, we have mentioned a small list of things you’ll need to learn to make paper flowers.
- Colored craft paper or cardstock
- Scissors
- Craft glue or glue gun
- Floral wire or pipe cleaners
- Floral tape
- Pencil or marker
Now use these materials to make plain papers into whimsical flowers to impress your guest.
Step-by-Step Tutorial to Make Paper Flowers
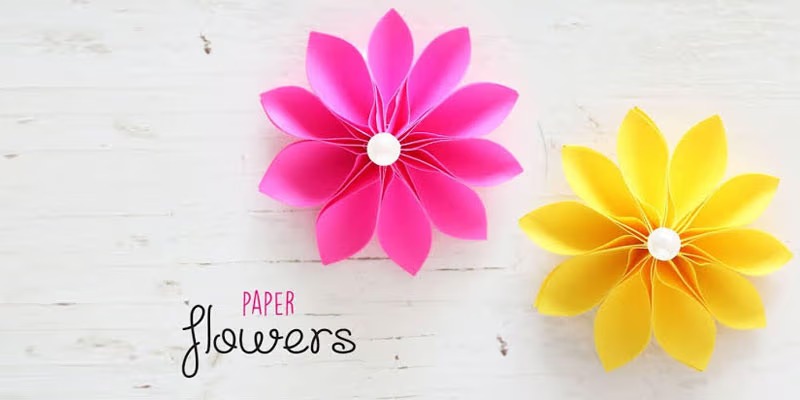
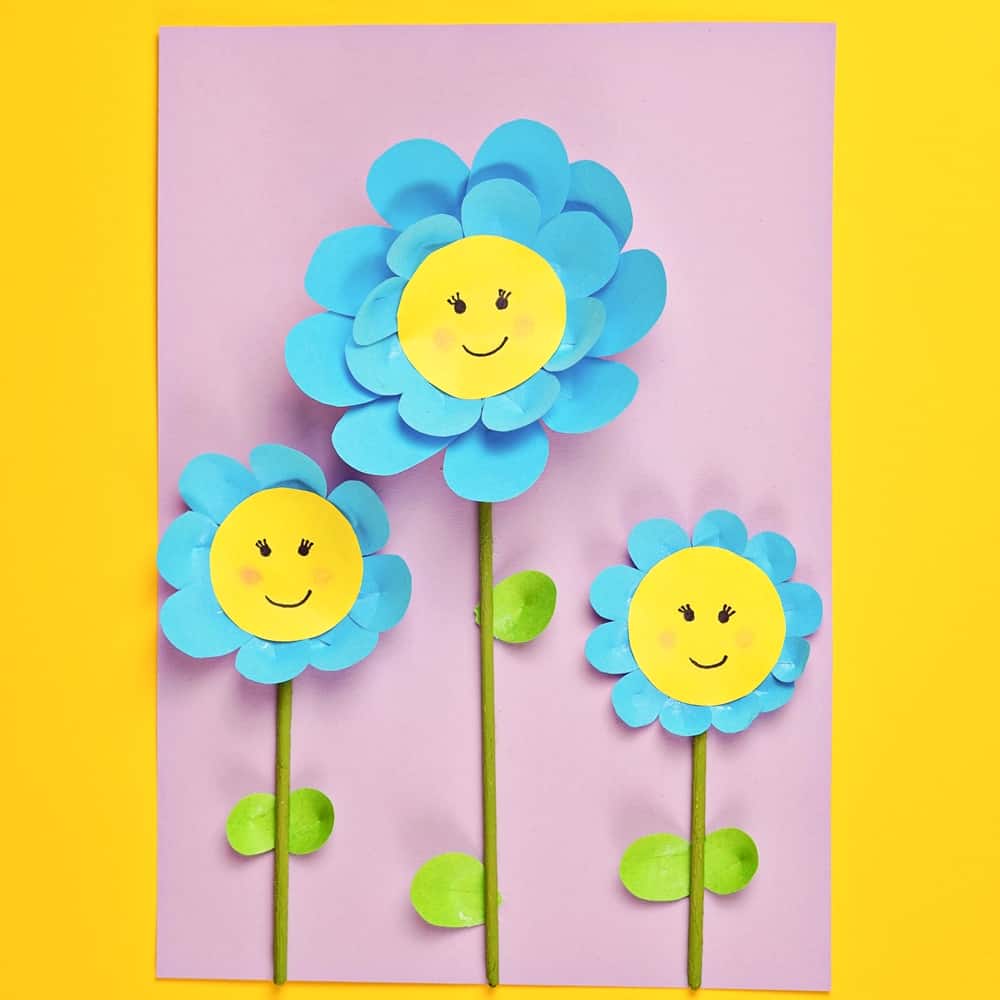
Before we tell you about the step-by-step process of making paper flowers, you need to choose the type of flower you need to make. This is because there are so many types of flowers, such as roses, daffodils, simple 8-petal flowers, and so on. You can either draw your own design or find free templates online. Templates can serve as a helpful starting point, especially if you’re new to paper flower making. Here we are going to tell you to step by step procedure to make an 8-petal simple paper flower.
Step 1: Prepare the Paper
After you have selected the type of flower that you want in order to find the answer to how to make paper flowers, all you need to do is prepare the paper. Prepare as in select the desired colors for your flowers. Start with a square piece of paper. Prefer thin or lightweight paper. Further, you can use square origami paper and follow these easy steps. If you cannot find origami paper, then just use a rectangular piece of paper that is available.
Step 2: Create the Flower Petals
There are two easy steps for making petals. One, you can do it simply by cutting various sizes of petals individually and then sticking them together. Other you can just cut one single sheet forming a flower of eight petals.
For Single Sheet
Fold the square or rectangular sheet diagonally in half to form a triangle. Further, fold the resulting triangle in half to make a smaller triangle of the original shape. Now you need to fold the smaller triangle again from the middle to form an even smaller triangle. In the next step, rotate the triangle in order to have the longest side positioned vertically and the solid or paper’s center at the bottom. Now cut the shorter side.
Furthermore, this is the most important part, as you have to draw an arc starting from the top corner of the triangle’s vertical side. This arc should end about ½-inch from the bottom to the end of the triangle. This arc defines the shape of the paper flower petals. Now cut along the arc. And open it gently to see a paper flower. This is how to make paper flowers of eight petals.
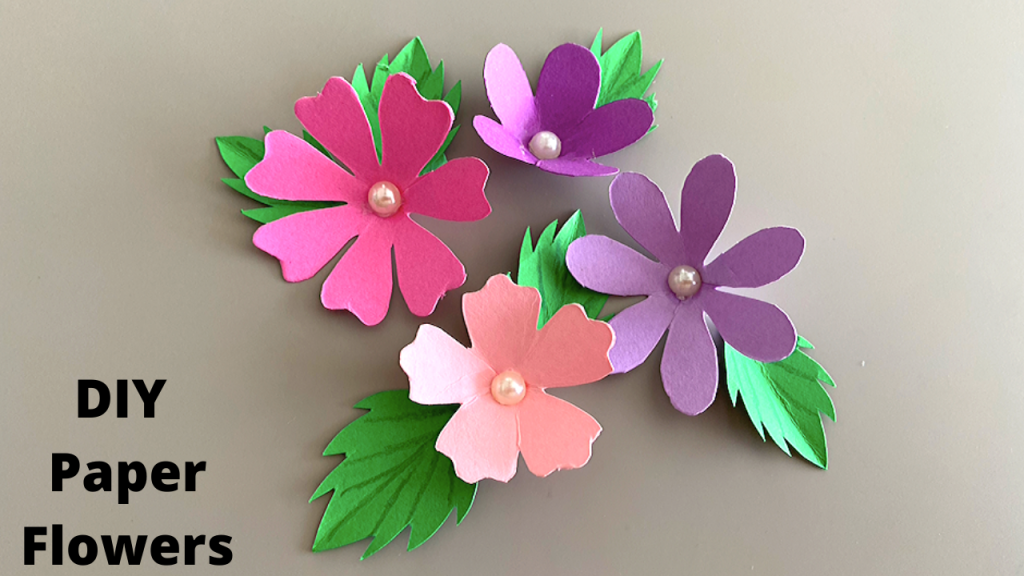
For Single Petals Design
Suppose you want to have a paper flower with so many petals. Then all you need to do is take one of the cut-out shapes and begin shaping it into a petal. Further, you have to gently curl the edges using a pencil or marker to give the petals a natural look. Additionally, repeat this process for each petal, varying the sizes and shapes of the petals.
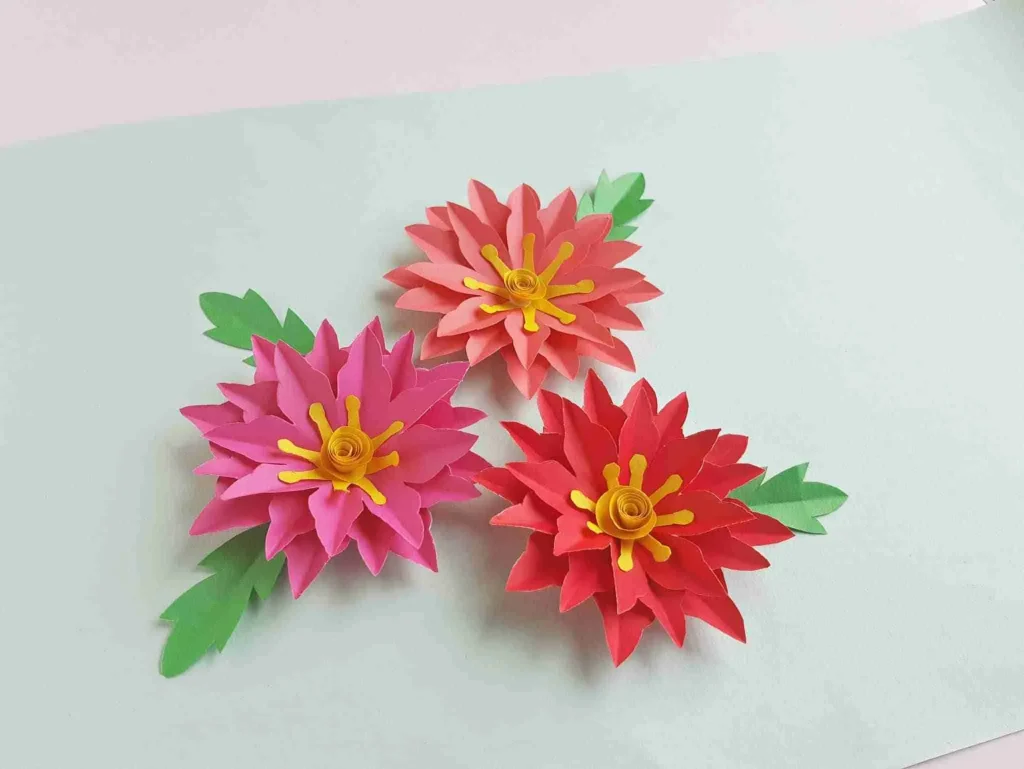
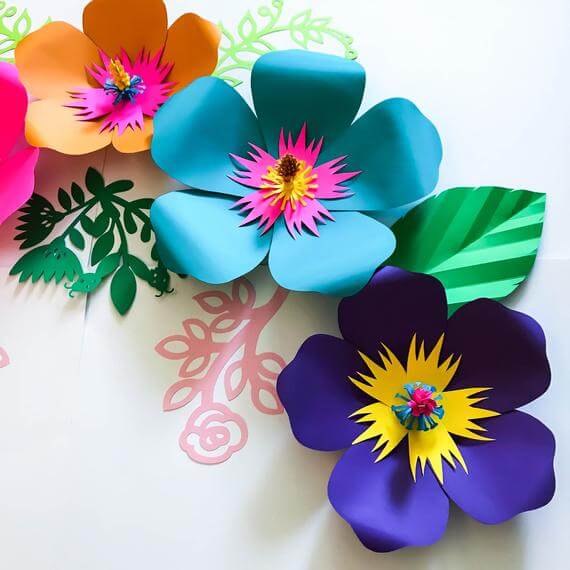
Step 3: Create a Flower Center
In order to learn how to make paper flowers, you must know that to make a paper flower whimsical, you need to have an attractive center. To create the flower center, you can roll up a small strip of paper tightly and glue it together to form a cylindrical shape. Alternatively, you can use a small pom-pom or a bead to achieve a different texture and appearance. Attach the center to the middle of the flower using glue. You can use your creativity to make the center of the flower extremely attractive.
Step 4: Assemble the Flower
If you have made an eight-petal flower, then you can just stick the middle part, and your paper flower is ready. But if you are creating a cluster of petals and then making a flower by arranging those petals, then you need to follow this step. Lay out the petals in the desired arrangement, with larger petals forming the base and smaller ones towards the center. Experiment with different arrangements to achieve the desired effect. Once you are satisfied with the layout, use craft glue or a glue gun to attach the petals together, layer by layer. Hold each layer in place for a few seconds to allow the glue to set.
Step 5: Add Stem and Leaves
If you are a perfectionist and want to give your paper flower a realistic touch, then you can create a stem using floral wire or pipe cleaners. In order to learn how to make paper flowers, you need to know the making of paper leaves and stems, as this will complete the look of the paper flowers. Create a stem using floral wire or pipe cleaners. Cut the wire to your desired length, leaving some extra length for attaching the flower. Bend the top end of the wire into a small loop to prevent the paper flower from sliding off. Secure the looped end to the flower base using glue or floral tape.
If desired, cut out leaf shapes from green craft paper and attach them to the stem using glue. This step adds an extra touch of realism and enhances the overall aesthetic of your paper flower.
Step 6: Go an Extra Mile
Add finishing touches to make your paper flower look extraordinary. Further, all you need to do is take a strip of floral tape and wrap it around the stem. You should do it from the base of the flower and go till the end. This will add extra shine to the paper flower. Also, it will secure the stem from the base of the flower and provide a polished look to the flower. In the end, just gently stretch and pull the tape as you wrap it around the stem so that everything stays in place.
Step 7: Have a Little Fun
Learning how to make paper flowers should be a fun activity, so you can enjoy doing this experiment with your kids. You can also do it to have a clear mind, as art and craft are great options for calming yourself. You have created a beautiful paper flower, so now let your creativity flourish and make different types of flowers from various colors, sizes, and shapes. Combine various flowers to create stunning bouquets, or use them individually as decorative elements for gifts, centerpieces, or wall displays.
Uses of Paper Flowers
You now know how to make paper flowers, but once you have made so many flowers, what are you going to do with them? Well, don’t worry; we have a solution for you as we have mentioned five different uses of paper flowers to showcase your creativity.
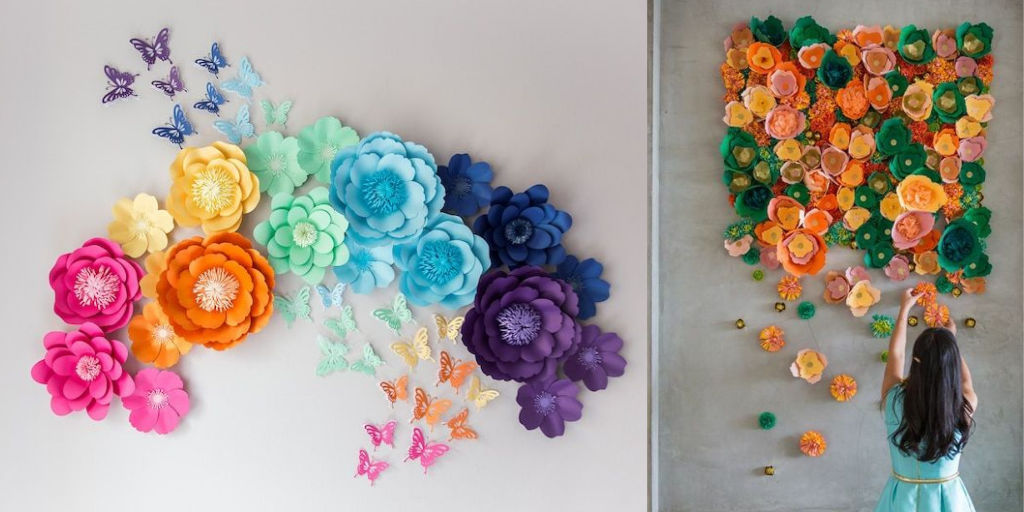
- Paper flowers can be used to add a touch to your home decor. Create a vibrant floral arrangement in a vase or attach paper flowers to a wreath or garland.
- Paper flowers are perfect for parties, weddings, and other special occasions. They can be used as centerpieces, table decorations, or hung from ceilings and walls to create a whimsical and festive atmosphere.
- Paper flowers are long-lasting alternatives to real flowers, so you can easily create personalized bouquets for various occasions. They can also be used to make beautiful corsages for proms or other formal events.
- These flowers can be a great option for adding on gift tops or used as embellishments on gift wrapping. They will act as a memoir for the future use of the recipient.
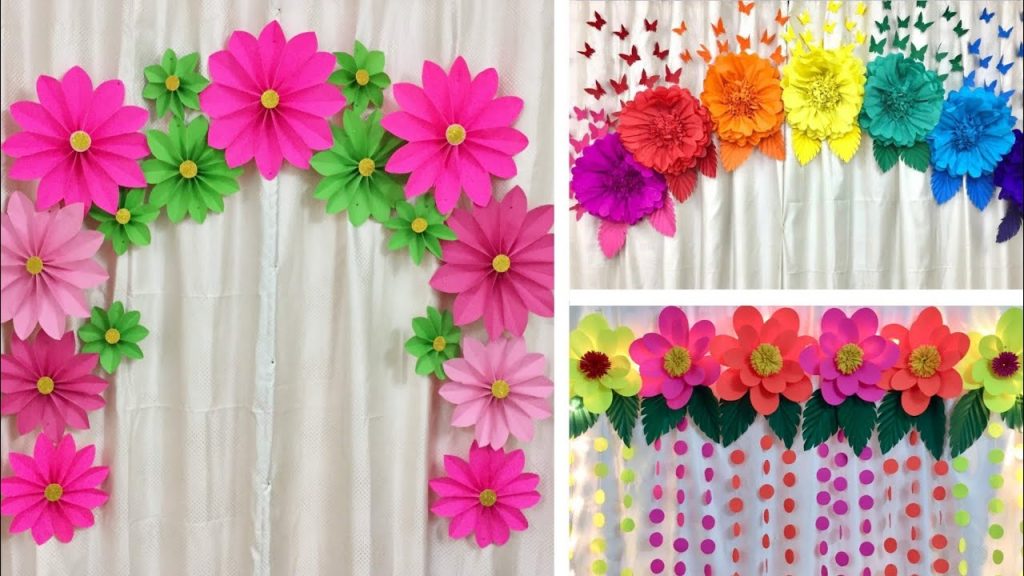
- Paper flowers can be used as props in photoshoots or as backdrops for photo booths. Whether for weddings, baby showers, or birthday parties, paper flowers add a whimsical and romantic element to photographs, creating memorable moments.
Conclusion
Now you know how to make paper flowers and also how to use them in decoration. Crafting is therapeutic, and you should do it often. This is because creating paper flowers is a rewarding and enjoyable craft that allows you to bring the beauty of nature into your home or special occasions.
Moreover, it does not need a lot of materials and only needs a little creativity. And with all these little things, all you get is a long-lasting stunning blossom.
However, we have mentioned a step-by-step tutorial for you so that you can bring your creativity to your best.
Follow these steps and enjoy the little milestone that you have created.