A closet is an essential component in the storage section. Many people include closet units not only just for storing clothes, shoes, and accessories but also for the pantry, house supplies, and kids’ toys storage, etc. Moreover, you will see commercial places like offices also furnished with closets for storing required office supplies.
However, having a closet is the best idea for storing purposes, but somehow, it might create clutter if not organized well. Often we experience closets without proper shelving that look like a dumping ground. As an example, it does not matter how well you set your supplies in closets, but still, it seems like a mess.
Choosing DIY closet shelving will cost you less and will deliver the expected result. Depending on your requirements, it will give you 100% control over customizing your shelves. In this article, we are going to explain the thorough process of DIY closet shelving to provide you with precise knowledge to build your shelving without any doubts.
Step-By-Step Guide to Building DIY Closet Shelves
We will discuss the start-to-end process of DIY closet shelving. It consists of the fundamental steps which will guide you throughout your DIY journey.
So let’s first discover the pre-planning elements.
1. Understand the Purpose

You might think this is a very dumb thought of all the time, right? But the answer is no! It is the fundamental step of any DIY activity. In DIY closet shelving, you want to customize your closet as per your requirements. Hence, it is necessary to have a clear thought on what elements you wish to store in your closet. The answer to this question will assist you in adapting the right plan for your DIY closet shelving process.
2. Plan on The Paper
The next step is to shift your imaginative plan on the paper. For this, you can draw your idea on paper, or you can use virtual drawing digitally if you have expertise in the field. When you draw the structure, it gives you more clarity to follow the next process in crafting customized DIY closet shelving.
In addition to this, make a list of shelves you wish to install in the closet according to their size and shape. As an example, if you are planning a closet for clothing, then note down the number of shelves you want for clothing, shoes, hanging rods, accessories or laundry baskets, etc. This list will be your major guide in the shelve-cutting process. In fact, you can make a list of shelving board cutting as per its height and width. These noted points will save you lots of time and will provide maximum accuracy in the cutting process.
3. Empty Up Your Closet
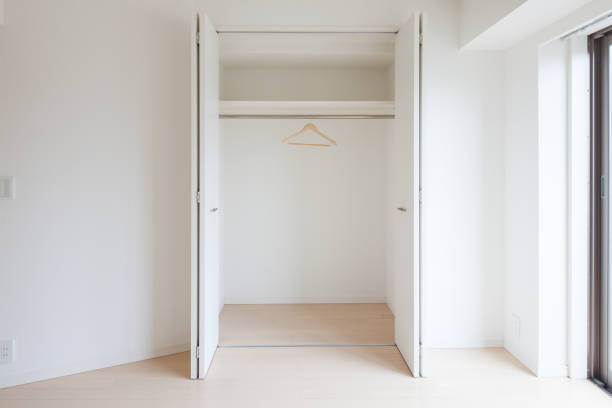
Before getting started with the DIY closet shelving task, pull out all the stored supplies. Besides the elimination of core elements, it is obligatory to discard the pre-arranged components too. For instance, wire racks, previous shelves, if any, baseboard, carpet, etc. The completely emptied closet will be a perfect peach to start with. Eventually, it will provide a clear and concise view of the area for getting accurate measurements to craft a perfect DIY Closet shelving.
4. Congregate the Essential Supplies
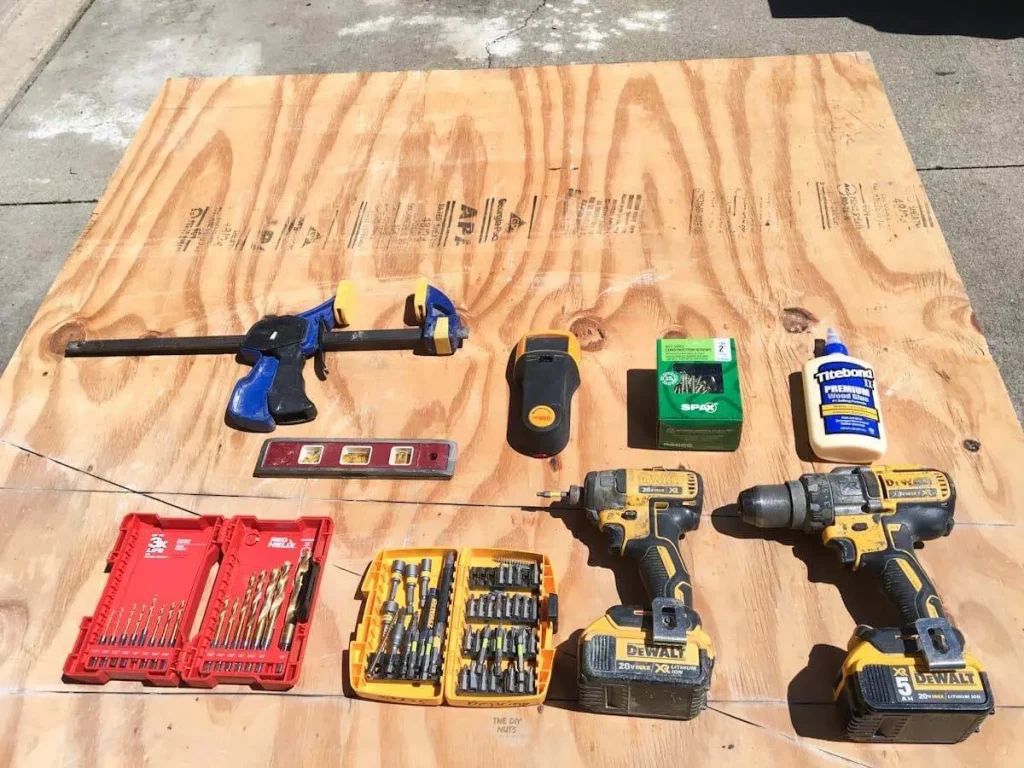
In the DIY closet shelving task, it is mandatory to have the right kind of tooling resources and raw materials to invent a sturdy structure. Here is the list of essential tools and the materials you will require.
The following list of resources is a provisional list. It can be varied as per the shelving structure.
| Measuring tape / Laser measurer
Table saw / Circular saw Clamps Stud finder(to locate and mark the studs) Drill / Brad nailer Nails / Screws Level Sand Paper |
MDF / Plywood / Melamine / Engineered Wood
Primer (Oil / Water Based) Paint Brush / Roller |
Required Tools – Measuring tape / Laser measurer, Table saw / Circular saw, Clamps, Stud finder (to locate and mark the studs), Drill/Brad nailer, Nails/Screws, Level, Sand Paper.
Raw Material – MDF / Plywood / Melamine / Engineered Wood, Primer (Oil / Water Based), Paint Brush / Roller,Wood Putty.
5. Get Accurate Measurements
DIY closet shelving method gives you the freedom to customize your closet. However, it even consisted of more responsibilities because the all the tasks involved in the process you have to do on your own. Getting the right measurement is also a major responsibility you have to conduct. If measuring goes wrong even slightly, then it can ruin the whole shelving structure for sure.
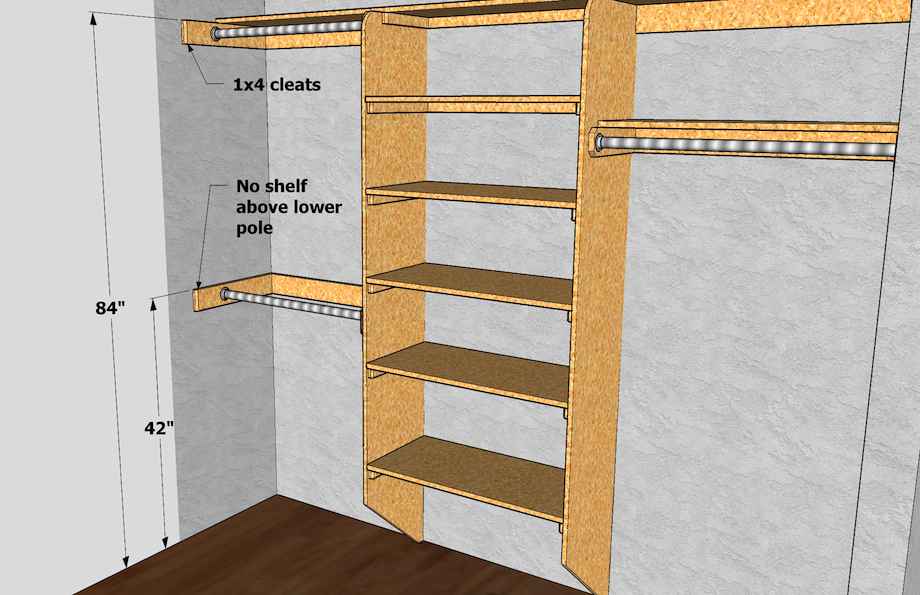
Hence, it is important to get proper measurements of your closet wall, i.e., its height, width, etc. Decide what kind of shelving you require, how many shelves you want in the closet, how much length, and how deep the shelving structure you want to install. Measure twice every element so it won’t create any confusion while ply cutting activity. This overall measurement process is a prime key to your DIY closet shelving plan which is why it needs particular attention.
Start Constructing DIY Closet Shelves
After getting over the theoretical aspects of this DIY idea, let’s elaborate on the practical steps.
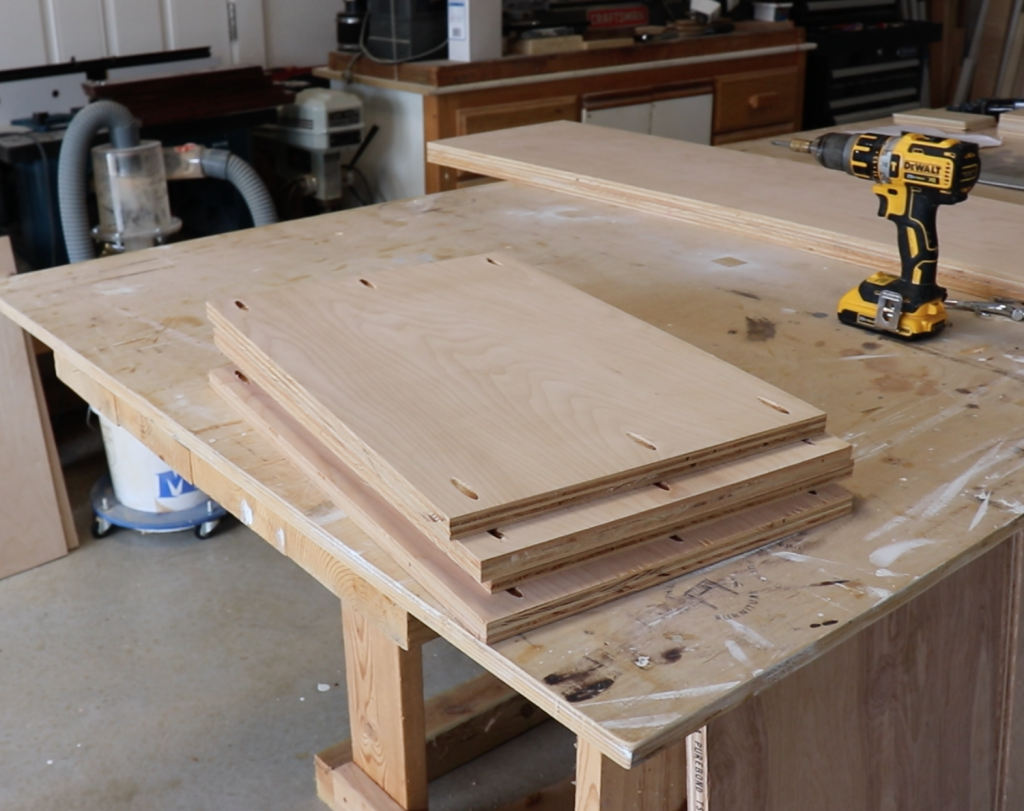
- After the measurement process starts with cutting the pieces of plywood/MDF into measured sizes, i.e., width, height, etc. (the choice of material is totally up to you, the list of resources provided above if needed)
- To skip the cost of shelf brackets, you can utilize the same board/ply. Cut pieces for shelves supporters. This shelve supporter makes the shelving structure more sturdy.
- Once you are done with the whole cutting process, sand the cut shelve boards using sandpaper to soften the edges and give finishing to the boards.
- Wipe out all the dust from the cut pieces. However, it’s totally up to you, but still painting the shelve boards before installation will create less mess in the house. For painting purposes, use oil base primer and try to apply a double coating of paint on the shelve boards and let them rest till they get dry.
- Before installing shelves in the closet, do prepare the walls. As an example, try to rectify uneven walls. If the wall consists of holes, then patch up the holes. It is not necessary, but if possible, try to repaint the closet walls. (Colour choice as per your wish)
- To start to shelve fitting first draw lines on the closet wall as per the measurement. It will provide more accuracy while fitting the shelves.
- Mark the studs for setting up the shelving support using a stud finder.
- Fix the shelve supporter on the wall where lines are drawn with nails (Brad nailer is a more efficient tool for nailing. It will take less time)
- Install the horizontal shelf board on the shelf supporter and fix them with nail and construction adhesive/glue.
- Install vertical shelving boards, which require the baseboard cut. This baseboard cut should be there according to the ply thickness.
- Include rods in closet shelves. (if you are dying a closet for clothes)
- Fix all the shelving structures with nails properly, and if you want more elegance for your closet cover all the displeasing elements using wood putty.
(Note – Above DIY closet shelving activity steps you can apply as per your preferences.)
Conclusion
Even though we are well-versed in how essential a closet is, we still don’t put much effort into organizing it very well. For a well-organized closet with maximized space having appropriate shelving is very important. However, we get stuck with choosing the correct idea for closet shelving.
To get rid of your confusion, we have explained the DIY closet shelving concept. It will assist you in customizing your closet with shelving. We have elaborated on the overall components, like prerequisites you will need to get through before installing the DIY closet shelving and the whole DIY closet shelve building process.
To give advanced knowledge, we have also shared the list of required resources that will benefit you to be prepared with supplies. Altogether this article will provide you with start-to-end knowledge of How to Build DIY Shelves effortlessly.
So plan your DIY closet organizing activity with more confidence.
Frequently Asked Questions
What is the Best Material for DIY Closet Shelves?
Ans. It somehow depends on you because it depends on how much you want to spend to build DIY closet shelves. For instance, if you want to spend less, then you can opt for plain chipboard. MDF is also the least expensive option for closet shelves.
What Do I Need to Install Closet Shelves?
This list can be varied as per the shelving structure. However, the following supplies list will guide you to some extent.
Board – Ply / MDF / Engineered wood/ Melamine, Paint (Oil/water base primer) and paintbrush, Circular / Table saw, Nails / Screws, Stud Finder, Brad nailer/ Drill machine, Construction adhesive/glue, Sand Paper, Clamps, Level.
What Are Shelves in The Closet Used For?
These shelves are useful for every storage purpose. For instance, in clothes, shoes, and accessories stores, even you can use closet shelves for kids’ toys and pantry supply storage. In commercial places, closet shelving gets used for storing office supplies.