If you use a saw machine, you know handling it while making accurate cuts is a tough job. You struggle to find the right balance between the wooden sheets and the saw machine, especially if you are preparing smaller parts, and it becomes a hassle.
What’s worse is when the project is easy, but the saw keeps moving everywhere except where you want it to move and run over. In such a situation, you don’t have the right tools to use a machine like a miter saw table.
No worries. We have curated this list of 9 DIY miter saw table plans for your workshop to help them prepare the one to make your saw DIY projects hassle free. We have covered many DIY miter saw table workbench ideas, from the easiest one in DIY to the one suitable for narrow spaces and the miter table that is a good fit for heavy-duty workshops.
1. The Basic Miter Saw Table
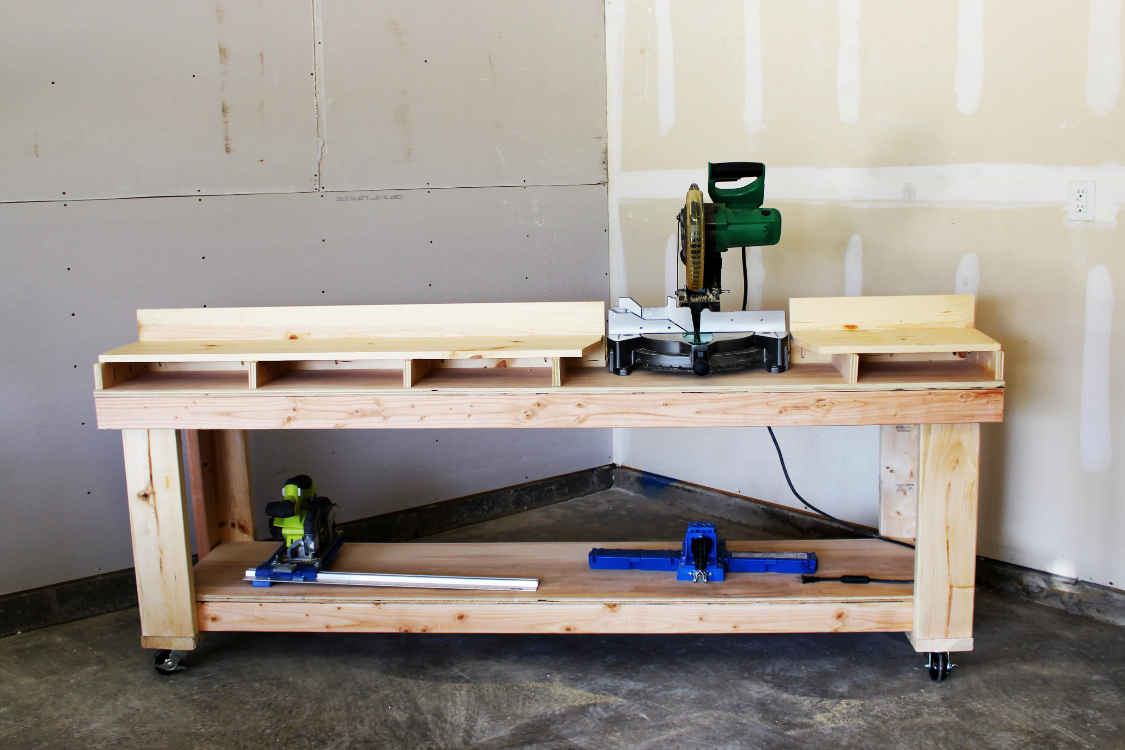
Basic Free Miter saw table has a simple design; you can easily prepare it DIY. To prepare it, you will need wooden material for the workbench, plywood, four small caster lockable wheels, and woodworking tools. Start from the longest flat wooden piece and cut it to the desired length and width of the milter saw table. Prepare another wooden piece of this similar size. Consider one of these as the top base and another as the floor base.
Take the wooden frames to prepare the legs for the table. Once you have all the same size and length wooden legs, fix them with the base and top of the table. Prepare space for the miter saw on one side of the table and install the saw machine there. Lock the caster wheels with the milter saw table and give the finishing touch with the sandpaper to make it smooth. You can fix and attach the plywood to make it smoother.
2. Mobile Miter Saw Station
To prepare the mobile milter saw table, you can DIY a similar workstation stand, according to the material availability. Start the work by taking the minimum requirements for plywood sheets, bolts, screws, washers, and other basic DIY tools.
You can take a 40 inches tall table stand or DIY one like an open wooden box, covered from 5 sides, and have a drawer attached to the top surface. Install the milter saw machine on the top surface of this stand by screening it with the top surface. Attach wings on both sides of the miter saw station that will sum up approximately 90 inches long from left to right with this mobile milter stand.
Also, create spots like dust and vacuum control to use the miter saw smoothly during the work. Finally, attach dust lines and storage space, and your mobile miter saw station is ready.
3. Simple Miter Saw Workbench
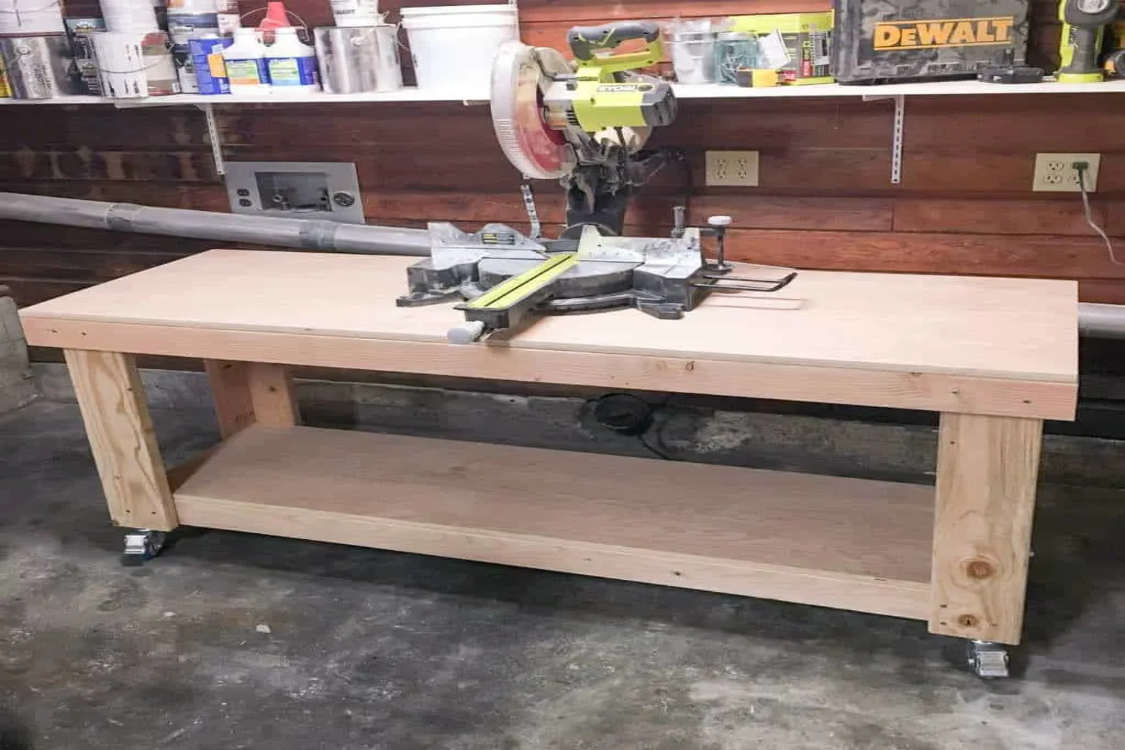
You can easily DIY this in the simple milter saw work table if you want extra storage space in the workshop or your workbench. This milter saw table consists of DIY tools and a multifunctional tools organizer, including a pegboard tool organizer.
To prepare the table, use a strong and thick wood base that can bear heavy-duty loads. You can prepare the top surface and bottom base as you have prepared in the above basic free milter saw work table. To prepare the legs, select thick wooden logs.
Install the milter saw on one side of the table. On the top, attach a tool organizer box vertically with a narrow top surface base. For this toll organizer box, you must DIY separately by creating several hooks, hanging small spots, trays, and small tool organizer spots on the wooden board.
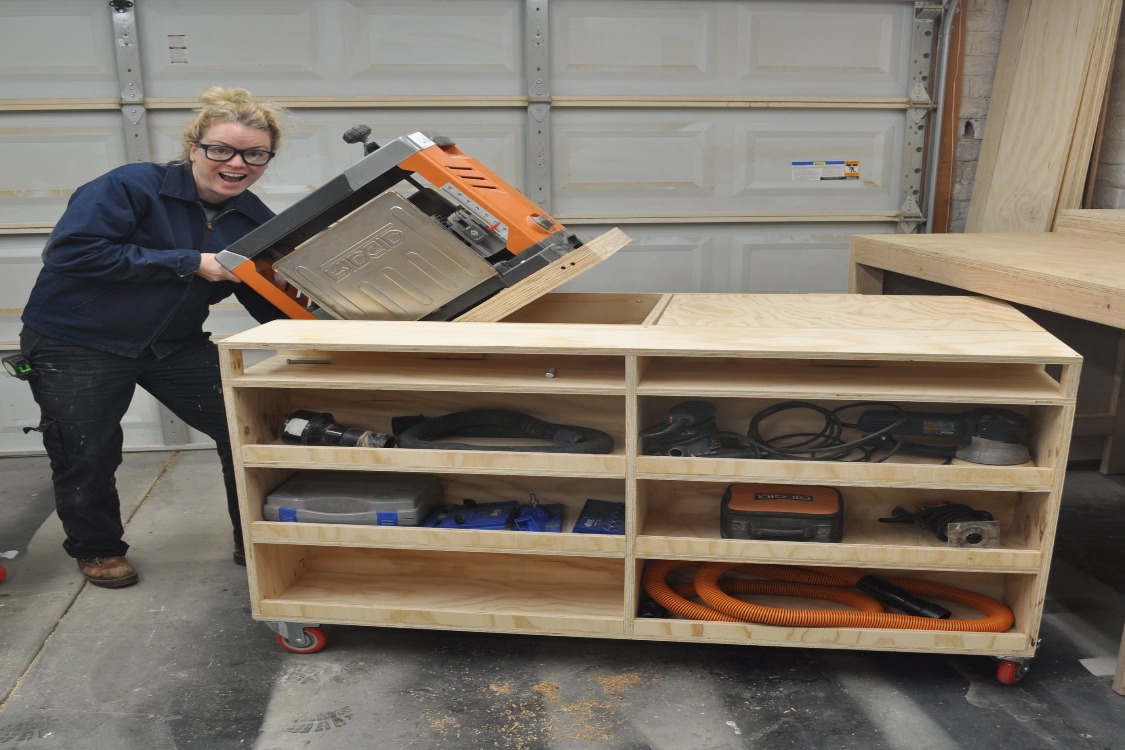
4. DIY Miter Saw Cart

If you are looking for a small miter, saw table for a narrow space, a DIY milter saw cart is worth trying. You will need plywood sheets, four caster-locked wheels, screws, shelf hinges and supports, and a plate mount caster.
Prepare the two-ply sheets in the same rectangular size for the top surface and bottom base. Prepare another two-ply sheet to join the top surface and the base ply sheet as side walls by vertically attaching them to the left and right sides. Also, attach a ply sheet vertically to prepare the backside wall of the table.
Install the milter saw machine on the top surface by screwing it with bolts. Attach the four locked caster wheels with the bottom base to ensure you can move the cart; they don’t unlock themselves. Attach the top wings with the help of support and shelf hinges.
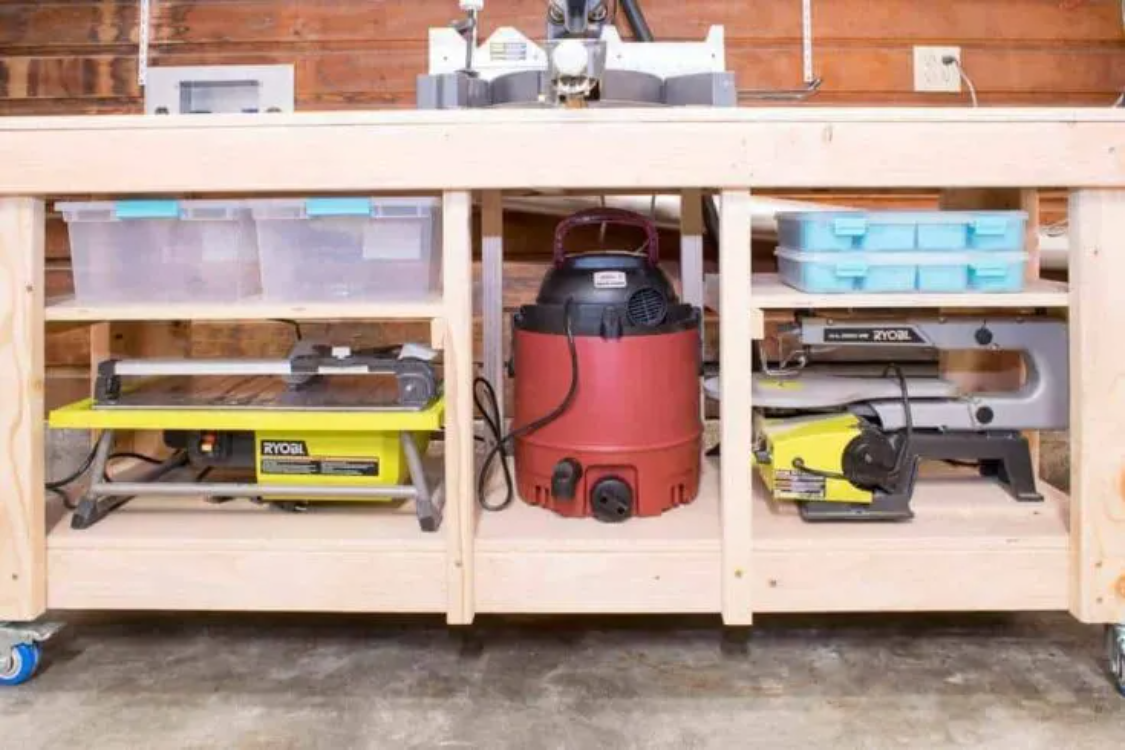
5. The Ultimate Miter Saw Workbench
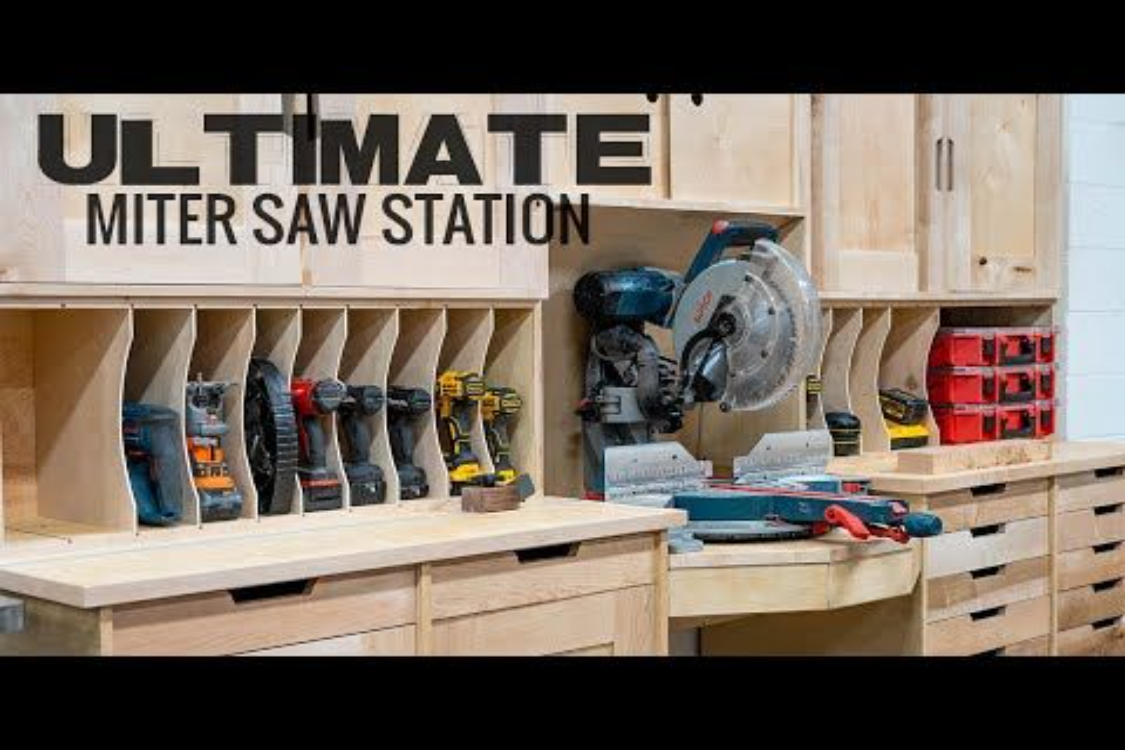
Ultimate Miter saw work table offers advanced features to cover your needs related to the workshop. To make the huge ultimate miter saw workbench consider the table’s width of 4 feet and the length of approx 8 feet.
Prepare the top miter table and floor base surfaces accordingly. Attach the vertical playsheets for the side and backside walls. Prepare the inner portion of the workbench with cabinets and fix the drawers as the tool organizers.
Install the side shelf rod or hinges to store frequent reusable things like sandpaper and other tools that you can easily hang in them. In the cabinets, prepare the space for dust collection storage, storage shelf, power outlets, and cords to connect the saw machine and operate it easily.
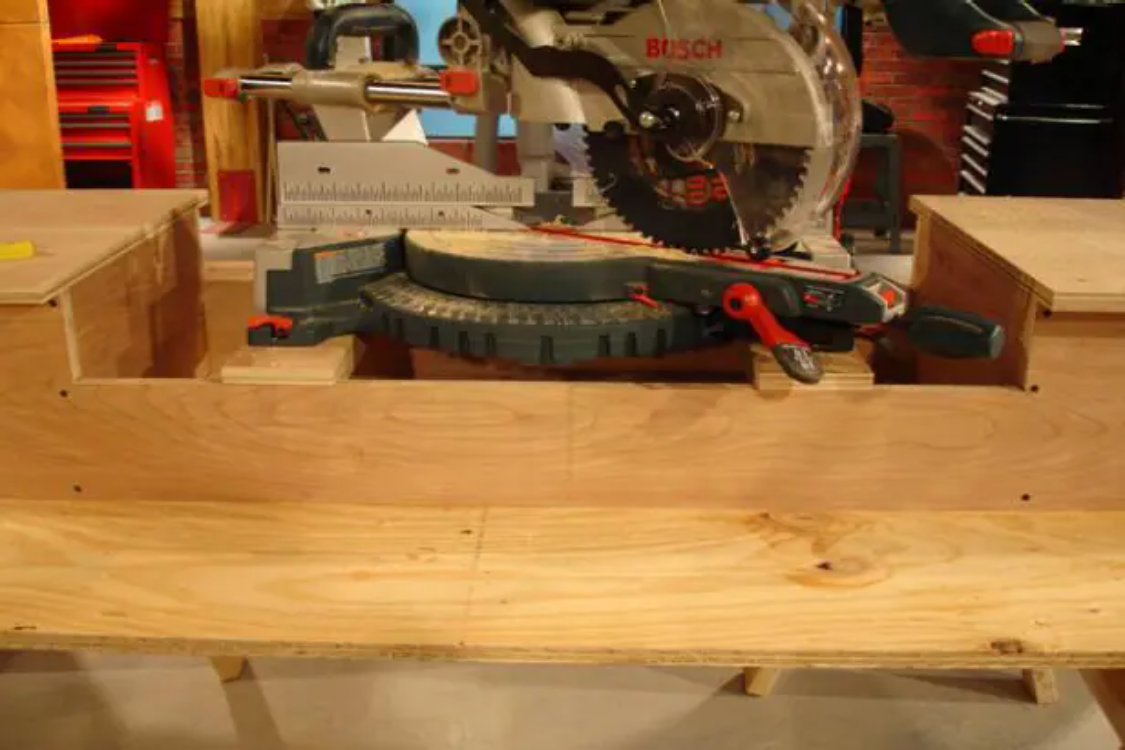
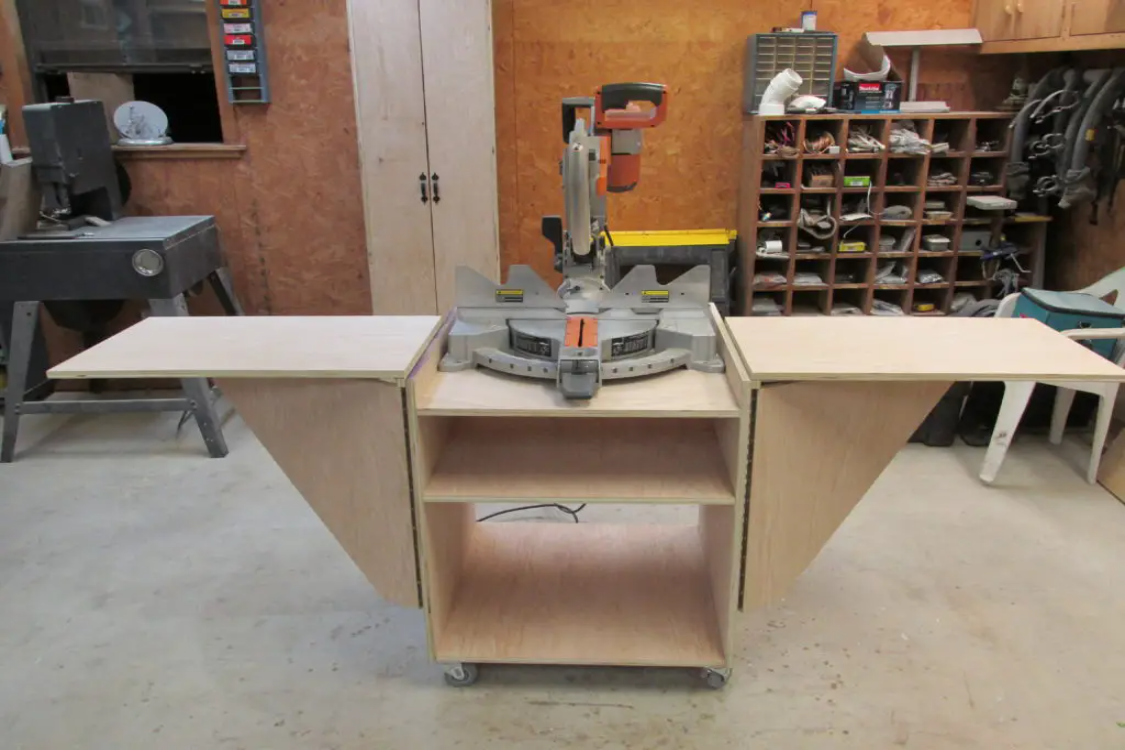
6. Fliptop Miter Saw Workbench
If efficiency and accuracy are your main concern, flip top miter saw workbench is worth trying. You can easily DIY this double flip-flop table by creating two flipping stations. Prepare a normal table with the help of DIY. Consider the space where you want to install the saw machine. Mark this area and cut the wooden piece separately. Make it a little thinner by cutting thin strips of wood from two sides to move easily and freely on the table.
Take the help of movable hinges to make it the supportive flippable piece on the table. Install the saw machine on the flippable piece, and your flip-top miter saw workbench is ready. You can use it like a normal miter saw table.
When you don’t need the miter, saw, you can flip the side to send it beneath the surface, and the miter saw table can be used as a normal table for other tabletop purposes too.
7. Shop Cart Miter Table
If you want a smaller miter saw table idea, a shop cart table is worth trying. To prepare this with DIY, prepare a small basic table by preparing the top and floor base surfaces, table legs, and side walls.
Attach a vertical ply sheet in the middle of the table between the top and floor base surface to create the partition. Use one part of the partition as the cabinet and storage space. Keep the other part open. You can also attach horizontal ply sheet layers to create the small shelves in the table to use frequently used DIY or wooden craft tools.
You can also use any old shelf cabinet to avoid labor efforts to prepare it from scratch. Install the saw machine on the open side of this table’s top surface to make it easier for the dust to collect and remove it.
8. DIY Miter Stand with Extra Storage
If you need a large miter or saw workbench for your workshop that offers extra storage space, this DIY miter stands with extra storage is worth trying. Prepare a long basic DIY workbench with the help of ply sheets by creating the top surface, floor base, and table legs. If you have an old basic workbench, you can also utilize it to DIY for creating the extra storage miter saw workbench.
To create the extra storage space, you have to add wooden ply sheets vertically and horizontally so that they will take the form of a shelf. Attach two vertical ply sheets to make the mobile miter stand in the middle, and attach the ply sheets horizontally in the side partitions to make shelves for storage.
On the top surface, install the saw machine in the middle of the table above the mobile stand by screwing it with the surface. You can attach the extended fence and stop blocks on both sides of the saw. And your DIY miter stands with extra storage are ready.
9. DIY Mobile Miter Saw Stand
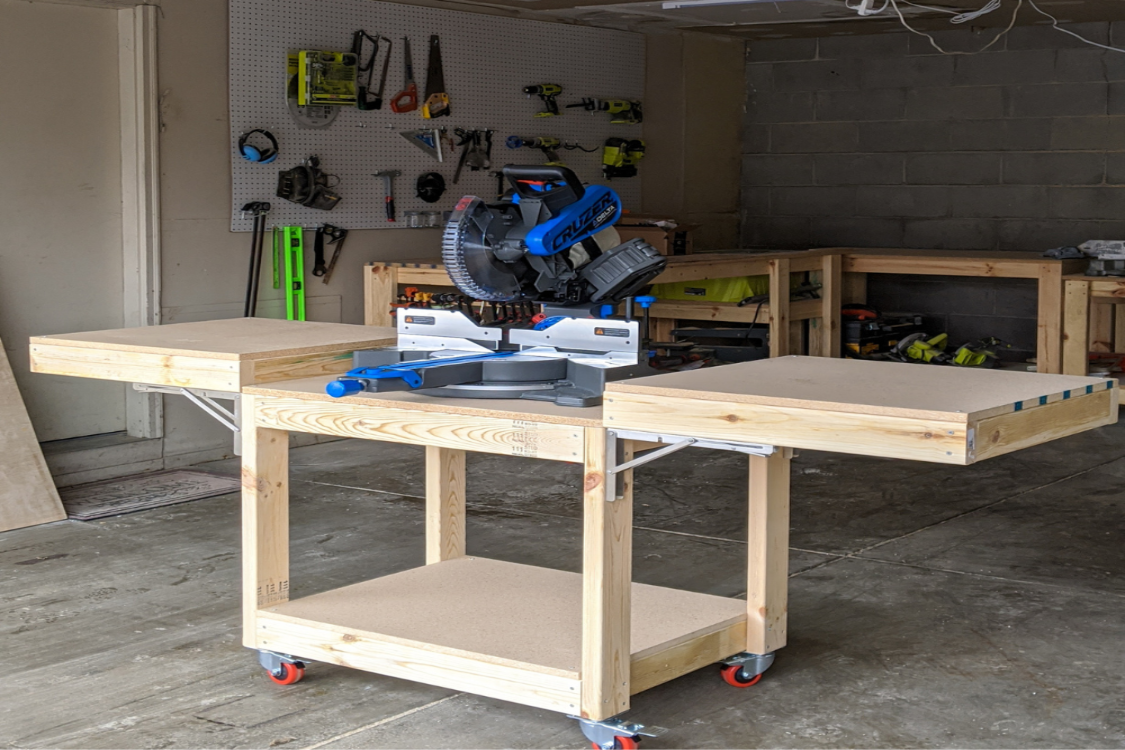
This DIY idea is worth trying if you want a large workbench that offers great storage space and can be easily folded and stored in a smaller space. It has six drawers and expandable side wings that you can easily fold. To DIY this miter saw stand, you will need two strong playsheets of 25 * 65 inches to prepare the top surface of the table and the floor base. Attach the side legs with the table to join the top and bottom surfaces. Fix the ply sheets in the frame to prepare the vertical walls of the table. Prepare the cabinet on the front side by vertically creating a partition in the middle of the table. Attach two-ply sheets in each cabinet horizontally to make the shelf, and insert drawers in these for storage.
Attach the side wings with the help of hinge support that offers enough flexibility to fold it down. Add a fence on the top surface, Install the saw machine in the middle of the top surface, and your mobile miter saw stand is ready.
Tips and Tricks for Building Your Miter Saw Table

1. Use the Right Miter Saw
Before you start, ensure your miter saw is in the right adjustments. To examine, tune up your miter saw and set the blades correctly, like a square to the table, along with the saw fence. Use the saw blade with more teeth for accurate and clean cuts. To maintain the accuracy of cuts, carefully clean the saw blade teeth frequently or when you feel they start becoming dull.
2. Use the Old Grill
Most grills have a frame and wheels, and they are a good choice to start the DIY projects of your miter saw tables and stands. You will need extra ply sheets to create the tops and side wings according to the type of table you want to create.
3. Use the Foldable Iron Board
Take an old iron board for your DIY miter saw table as a portable stand board. Use the ply sheet to prepare the top base surface and install the saw machine. If you want, you can slo prepare the floor base surface to use the portion of the inside surface as a storage space for the small DIY tools related to crafts or workshops.
4. Use the Roller Stand
With DIY, you can easily convert the roller stand into a miter saw table stand. You can buy a roller stand with for legs or two roller stand with two legs. You can also use the old one if you have one in your home. Take the ply sheet to use as a top surface. Install the saw machine on the ply sheet by screwing fine holes for the bolts and fixing it on the ply sheet. Attach this ply sheet on the top of the roller stands to make it the miter saw table.
Final Thoughts
Everybody wants accurate measurements in their craft projects and DIY works. Having the right miter saw table in your workshop or home, along with the DIY tools and plywood sheet material is the way to get there to make your saw accurate measurements journey hassle-free and easier.
This post showed you 9 DIY miter saw table palms for your workshop to make your craftsmanship or DIY journey stress-free, easier, and faster. This post has covered the basic miter workbench plan for the DIY miter saw cart, the simple miter workbench for the mobile miter saw station, and more.
If you are looking for more ways to make your home DIY journey easier and more creative, sign up and get our best strategies sent to your inbox.