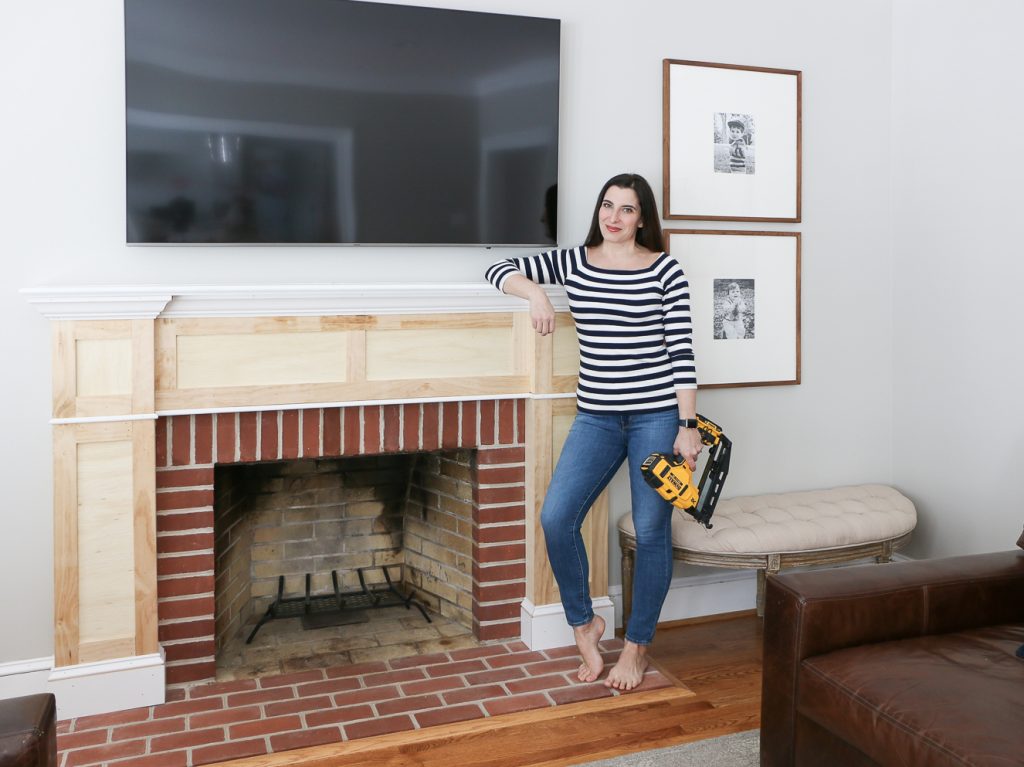
A beautiful-looking brick fireplace can enhance the aesthetic of your home as well as make your neighbors envy you. However, if not executed properly, it will do the opposite.
And when it comes to painting the fireplace, it becomes even more important to follow the correct process. The fact that one mistake holds the ability to ruin the entire design and the area around it scares me a lot.
Thinking about it, the first step you may take is to search the internet, but you may end up exploring different techniques which are meant for professionals.
For that purpose, we have researched and brought you the simplest and the most economical ways how to paint a red brick fireplace white. This article will provide a step-by-step guide from choosing the correct tools to perfecting the paint of the brick firepit.
So don’t start before reading this article.
Steps to Paint Your Brick Fireplace White
Step 1: Material Required
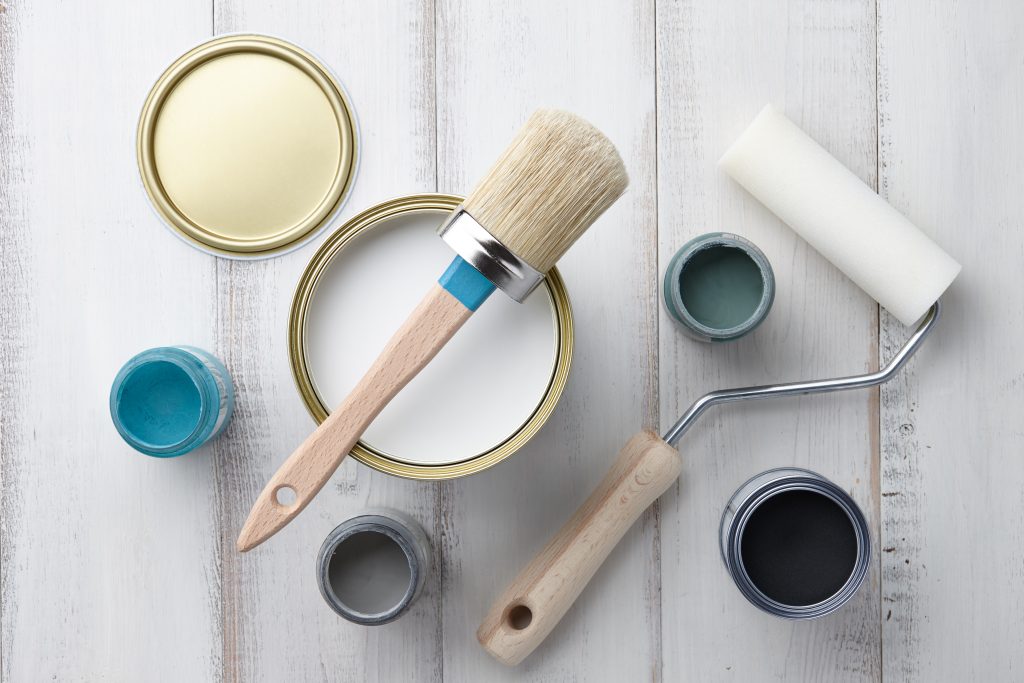
Imagine starting a task but not having the correct tools for it. Proper tools make a process easier and improve quality, time, and cost efficiency. Just after you decide to paint your brick fireplace, use the list below to confirm if you have the tools or not. If not, we have provided links to where you can purchase them.
Protective Gears
- Drop Cloth: This cloth is used to cover the places/items around the subject-object which you want to paint. However, these days the majority of artists use a plastic sheet instead of a drop cloth since it provides additional features of transparency and is nearly half the price.
- Painter’s Tape: These types of tapes have weaker glue that doesn’t leave the surface when it is removed. It offers high precision while painting the edges, but it is important to remember that you have to wait till the time the paint looks dry before peeling them so that paint droplets don’t drop on the floor. However, peeling the tape after the paint has fully dried up also has some problems, which we will talk about later in the article.
- Gloves and Mask: Do not ignore the importance of gloves and masks. They make the painting journey safer and more comfortable. Modern masks also include safety goggles that especially protect you from toxic smells, dust, and other gases that arise when you combine different chemicals.
- Protective Clothing: Although optional, these clothes may seem excessive at first. But when it saves your good outfit from getting stained, it turns into a good investment. In to that, it also protects your body from random paint or chemical sprinkles, which take a lot of time to recover.
Painting Material
- Paint Tray: Often, there are moments when you need to mix your paint with paint thinners for the best results. For that reason, it is not always beneficial to mix it in the entire paint can. A paint tray not only solves that problem but also allows you to apply an even amount of paint on your paint roller for better precision.
- Primer: Primer paint solves two of the major problems. First is making a white layer on the item you want to paint, and second, it gives better protection to the walls. These days, there are many primers in the market that also act like paint, and they also have spray paint versions.
- Latex Paint: A Professional or someone who regularly paints knows spray paints aren’t a really good option for painting. Neither do they offer a good finish, nor is their quantity comparable to traditional paints. Overall, spray paints only offer speed and time, which aren’t really the criteria when we choose to paint our walls. We want long-lasting beauty, even if it takes a little extra effort (in the majority of cases).
- TSP Cleaner: Also known as Trisodium Phosphate. It helps in removing paint sprinkles or grease that doesn’t come off easily by mopping. If the stain is tough for TSP cleaner, you can use a metal brush to scrape it off. It is also advisable to wear proper rubber gloves before handling TSP cleaner since it can damage your skin.
Step 2: Cleaning & Preparing Area
1. Area Around the Fireplace
Once you are ready with all the requisite materials, start by removing all the chairs and other movable items around the brick fireplace. Even after you will put a drop cloth or plastic sheet, there is no surety every item will be safe from paint sprinkles. If you cannot move certain couches or chairs, it is advisable to cover them, especially near their foot.
2. Cleaning the Fireplace
For any type of fungus or oil stains, use a metal brush and wash it with water & detergent after scaping. Removing dust and dirt using a vacuum cleaner can help in even painting and remove any marks or spots which may be visible after putting white paint on it. If the metal brush doesn’t work on some stains, you can also use sanding paper. This will deal with both the problems of stains and uneven surfaces.
3. Damage Repair
Repairing damaged spots is one of the important tasks before painting. Especially when it comes to brick. For that purpose, you can use crack fillers or apply some cement there. Doing this is important for painting the fireplace and serves the idea of regular maintenance due to heat and fire.
4. Preparing Painting Material and Getting Ready
After all the pre-painting steps, it’s time to get ready and gather all the materials for painting. I.E., Paint roller, paint, primer, paint thinner and paint tray. First, pour some paint into the painting tray and make it of the preferred consistency by adding thinner. It is crucial to remember the ratios of the quantity you added for the first time. Else even after using the same color, you may see some unwanted variations.
Keep in mind you are ready with a few things-
-
- You are wearing your mask and gloves.
- You covered the area and furniture items with a plastic sheet.
- You calculated and wrote the ratios of the paint quantity.
- You applied the tape on the edges.
- Your brick fireplace is dried after you washed/cleaned it.
- There is no electric wire/appliance near it.
- You are ready for something interesting.
Step 3: Primer and Painting

1. Mix Before Applying
In many cases, paints are kept for a long in the shops or garages. This allowed the liquids to separate according to their densities. Once you open the can, stir well using a small stick or any metal rod. This will blend all the content perfectly, giving you the best quality results.
2. Apply the Primer First
- Painting can be a take consuming task. This is mostly because it takes time for the paint to dry before applying another layer.
- A primer takes near about an hour to 3 to dry and get ready for the 2nd paint layer. However, some oil-based primers can also take up to 24 hours before getting ready for the next layer of paint.
- Details about the primer must be checked before you make a purchase. The link for the primer provided above has a cure time of nearly 1 hour. This is suitable for those who don’t have enough time, but even if you have time to wait 24 hours, you must note that the longer it takes to dry, the riskier it gets to keep them clean and away from children.
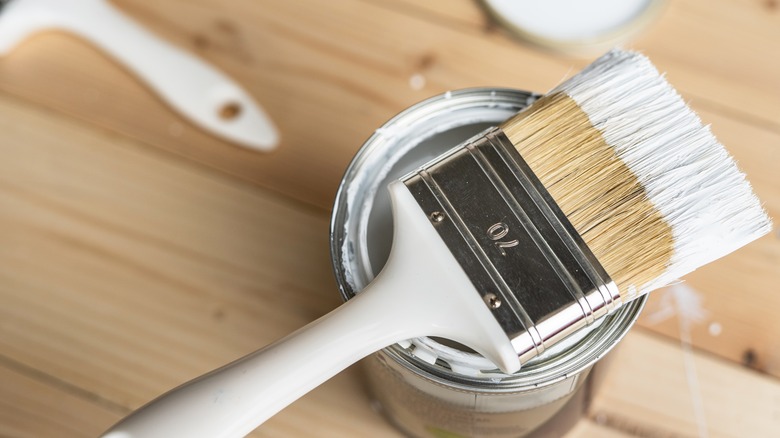
3. Painting
- Just like the primer, start by mixing the paint for better results.
- It is advisable to start with the edges. Take a brush and paint along the edges where you applied the tape earlier. Be patient and make sure no one there distracts you in case of accidental strokes outside the tapped area. Keep a cloth and wipe it off quickly.
- For faster painting (after the edges), start using the roller in a zig-zag shape. This technique is used by many professionals as well. Also, if the wall feels to be big to paint at once, divide it into parts. You can take a rest after each section, and the work will feel even more systematic for you.
- Apply on the stains, but just in case you feel the spots are not getting invisible. Wait for the paint to dry and again apply one more layer there. Keep repeating this step until you get the desired results.
- Last but not least, remove the tape from the edges. Do not let the paint dry off completely before pealing the tape since it may lead to chipping.
Step 4: Cleaning
The work doesn’t end just after you peel the painter’s tape. There are some tasks after you have beautifully painted your brick fireplace!
- In general cases, the paint roller cover isn’t useful after you paint with them once. If this is the case with you, too, then wrap the cover in a paper or plastic bag and throw it away.
- It’s for sure your painting tray is covered with paint which is dried. To clean them, you can use the thinner or the TSP clearer and stir them till the time paint comes out. For better results keeping them for a few hours is the ideal choice.
- For the brushes, use a detergent and rub the bristles using your hands (with gloves on). If that doesn’t work out, then just like the tray, you can put them in a thinner or TSP cleaner for some time. Rises the brush, and it will be ready for use again.
- At last, dispose of the excess toxic materials which you are not going to use again, such as thinner and unusable brushes. If your local management has some laws or guidelines regarding it, follow them for environmental protection.
Following this guide has several benefits, such as-
- You will feel a slight sense of accomplishment once you finish cleaning the tools at the end. This will motivate you for future DIYs and develop your overall skills.
- Proper disposal will help to clean the environment.
- You will save a lot of money if you do not hire professionals.
- If there are children at your home, they will also develop the habit and learn how to do things systematically and without getting frustrated.
Final Thoughts
Painting your brick fireplace can be a difficult task if not done systematically. In this guide, we simplify things for you, from the basic problems like the material required to giving tips for better results.
Before you start painting, you need paint, primer, brush, roller, and a few protective gear such as gloves, mask, and body cover. Once you get into the task, clean and cover the area around the painting region, then begin by repairing any damage like broken walls or grease stains using TSP cleaner.
Once these things are done, prepare the material that you are going to need, such as covering your body and calculating the paint-thinner quantity ratio. After getting these things done, start applying the primer and let it dry for nearly an hour.
If you use any oil-based primer, you need to wait for nearly a day. Start applying the paint once the primer has dried. Remember to start by painting the edges and using zig-zag shapes to paint faster.
In the end, clean your tools and remove the plastic covers to enjoy the beauty.
Frequently Asked Questions
Can I Paint My Brick Fireplace using a Sponge?
The answer is a ‘yes’ but also a ‘no.’ Using a sponge to paint the brick fireplace can be a very difficult task. Not only are they difficult, but also you may not get the desired results since they absorb a lot of liquid. You may end up pressing the sponge for the paint, which can drop on the floor and damage the aesthetic. However, you can use sponges for creating patterns and designs on the wall after you have painted your brick fireplace.
Is It Important to Prime Before Painting?
No, it is not important to prime before painting. However, if you prefer perfection, you can apply a layer before painting. Not only do they protect the walls, but they also make a white base acting like a canvas for any colored paint. This brings a brighter and cleaner look to the overall aesthetics of your home.