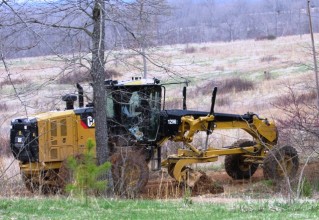
 The rumble and racket of the county road grader every spring gets my heart pounding. I know in its wake will be a fresh batch of pumpkin-sized rocks scattered all up and down the roadsides.
As soon as the grader passes, I’m out there with my rock-toting wagon selecting those with smooth, flat tops and blocky, stocky shapes perfect for my next gardening project. This spring, it’s an expansion of our strawberry bed.
Surrounded by so many plastic and chipboard building materials today, what a pleasure to beautify a garden with natural Missouri Ozarks stone. When we built our first raised bed garden with rocks four years ago, it was simply because we unearthed so many rocks that we had to do something with them.
Growing up in rock-less Wisconsin, I’d always admired rock walls I’d seen elsewhere. I was even intimidated about building one since I had no experience in it. My husband had no such apprehension. In fact, I came home one day and discovered he’d already placed the largest cornerstone – a monster measuring 3 feet by 2 feet, 20 inches tall – by himself.
And thus began our first mortarless masonry project.
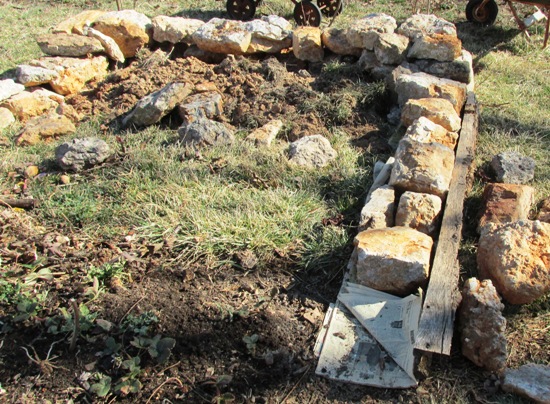
As it turns out, working with natural rock is much easier than I feared. Darren staked out a square area and ran string as a guide to keep the rocks in line. Then we placed the absolute largest rocks on the corners and started lining up the remaining large rocks as the base.
Incidentally, be sure to wear heavy boots and leather gloves. Squishing your fingers between two rocks, even small stones, is amazingly painful. As you gather rocks for your project, remember that snakes like spending time under rocks, particularly in early spring. I woke three startled snakes this week.
Placing the first rock row is relatively easy without too much repositioning involved. Since we were building a garden, I also put several layers of newspaper under each rock to keep down the grass. Plus, earthworms love newspaper.
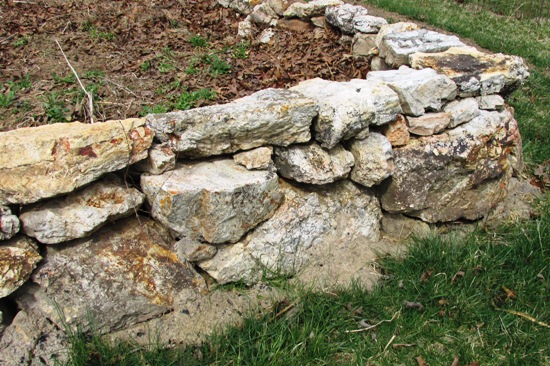
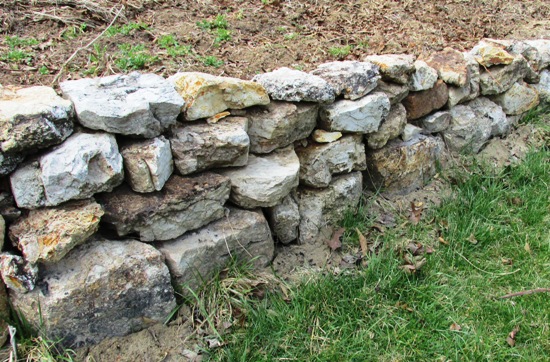
The second row takes more time as you begin fitting the pieces snugly. I enjoy this stage, though, as it’s like assembling a puzzle. Small wedge-shaped rocks come in handy to keep the rocks level and steady. Also, place the rocks so they lean slightly inward. This will keep pressure on the form and prevent your wall from tipping over onto the lawn.
Stack the rocks like bricks with the center of rocks overlapping the joints beneath them. Place the rocks in the same position as they were formed over millions of years, not with the layers running vertically. If you notice any cavities that could potentially fill with water, turn them so the hole faces downward. Otherwise they could split in winter or become a mosquito hatchery in summer.
I save the smoothest flat rocks for the top layer. What better place to sit with a cup of tea after a day in the yard? This also gives the project a finished look.
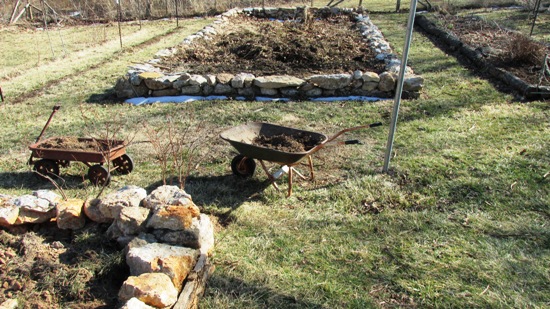
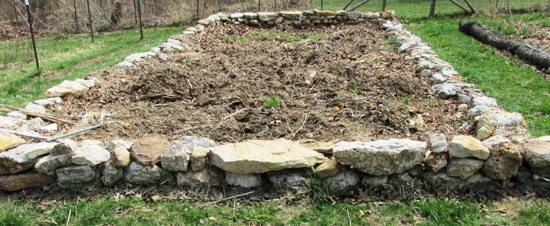
Our first raised bed measures 16 feet by 33 feet. In four years of freezing and thawing, no rocks have dislodged. By their very nature, dry rocks walls are somewhat flexible and able to tolerate frost heaving without tumbling over.
We chinked the inside of the first finished bed with red clay, partly because there was a big pile of it in the yard, but we also thought clay would keep the garden soil from filtering out. As it turns out, the clay was not necessary. Although it did no harm, it was extra work without benefit.
After putting down a layer of leaves and newspaper, we filled the bed with soil we harvested from our woods one wheelbarrow at a time. The very first season, we had a bountiful crop of potatoes, squash, greens and more. At the end of the growing season, the bed becomes a giant compost pile of leaves, grass clippings and kitchen scraps. Throughout winter we empty the woodstove ashes around the bottom to control weeds.
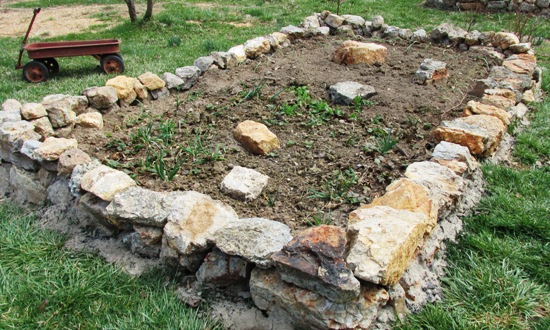
Our latest project, the expanded strawberry bed measures 8 by 13 feet and, now that we know what we’re doing, could have been completed in just a few days if not for the weather. I didn’t mind the cold, but rocks were perpetually buried in snow. Instead of a string as a guide, I used an old board.
I work with rocks I can handle myself and do not split or shape them. For our purposes here, I don’t need to be fancy, just sturdy. Personally, though, I think completely natural rocks are beautiful. My only tool is a small metal wagon for hauling.
If you’re interested in building something more elaborate than a garden bed, two excellent reference books include Reader’s Digest’s “Back to Basics”, 1981, (a must for any homesteader) and “Building with Stone” by Charles McRaven, 1980.
Other Mother Earth News articles include this one from 1981 by Sharon and Lewis Watson, Stone Masonry by John Vivian in 1984 and another by Vivian in 1991, and a 1970 article by Ken Kern.
©2014 Well WaterBoy Products LLC ♦ WaterBuck Pump™ ♦ Pedal Powered PTO™ 

Nicely done! Attractive, yet functional.
Nice! I had no idea Missouri had so many rocks. Great way to use them.